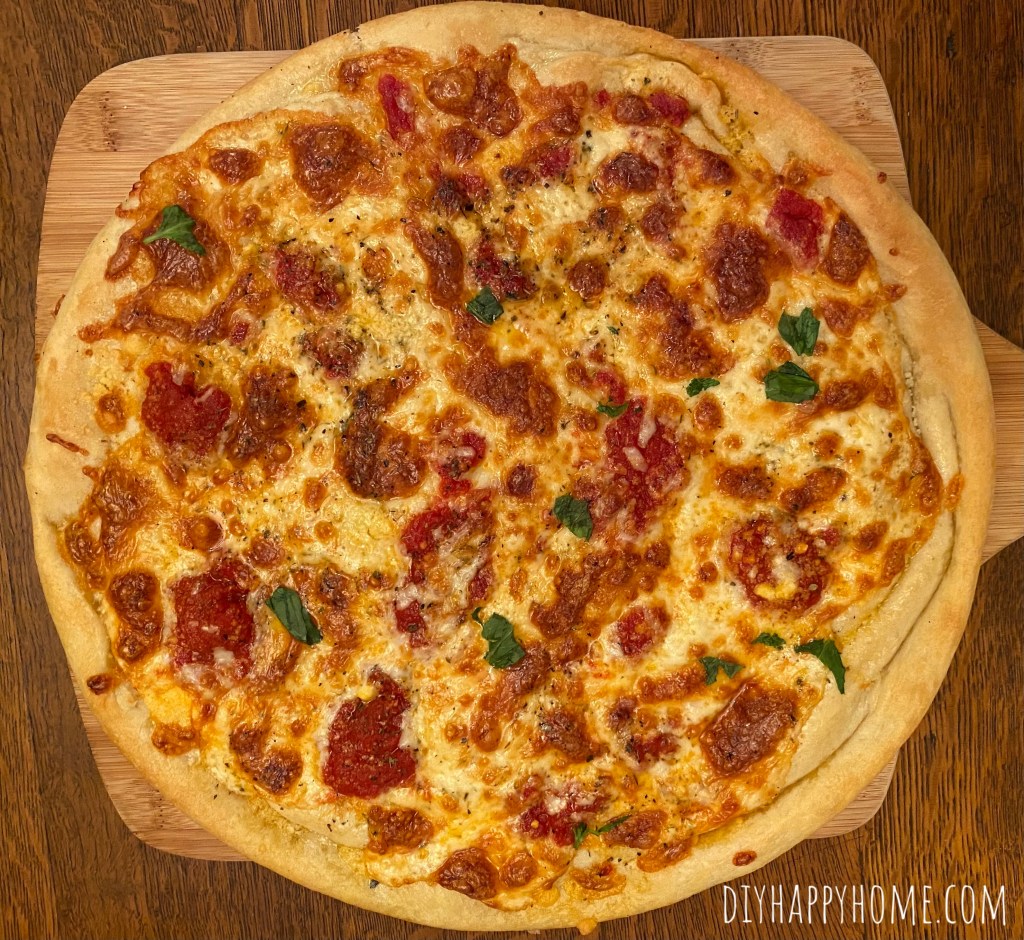
I coated my frozen pizza dough in olive oil in my pizza pan, covered in plastic wrap, and let it sit a couple hours before on the back of my warm stove to prep for my weekly Friday night pizza night. If only I could manage meal planning other days of the week. 😂

Ingredients:
- Frozen pizza dough, I used Mama Cozzi’s brand from Aldi
- 2 Tablespoons of Olive Oil to cost dough while defrosting
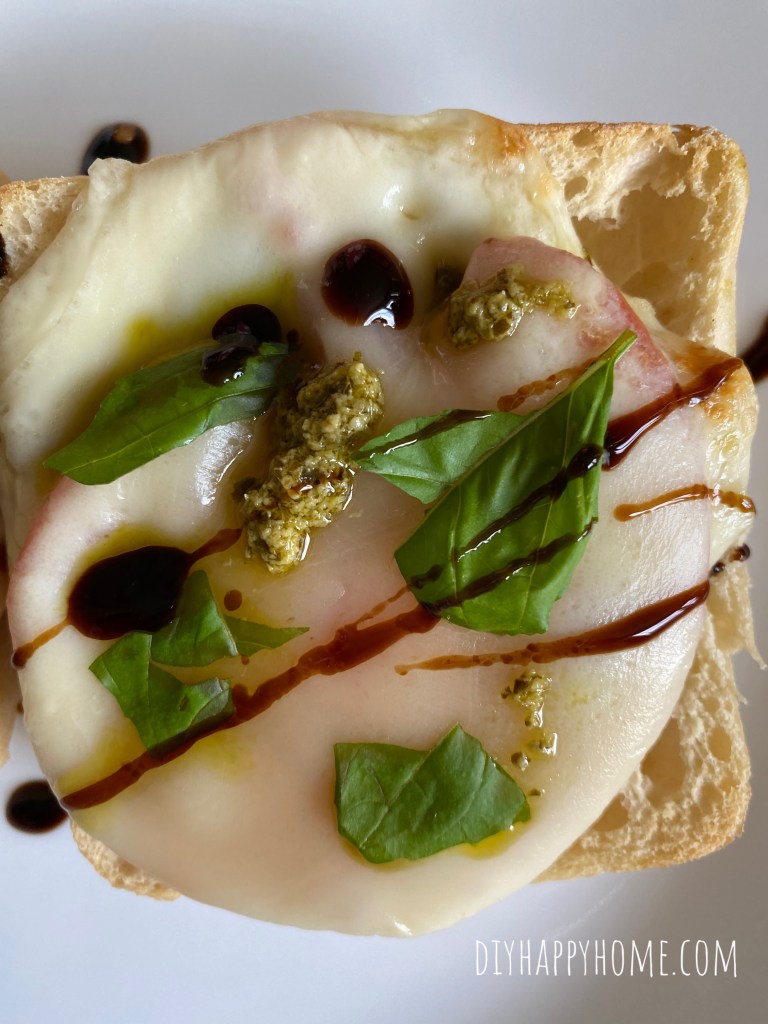
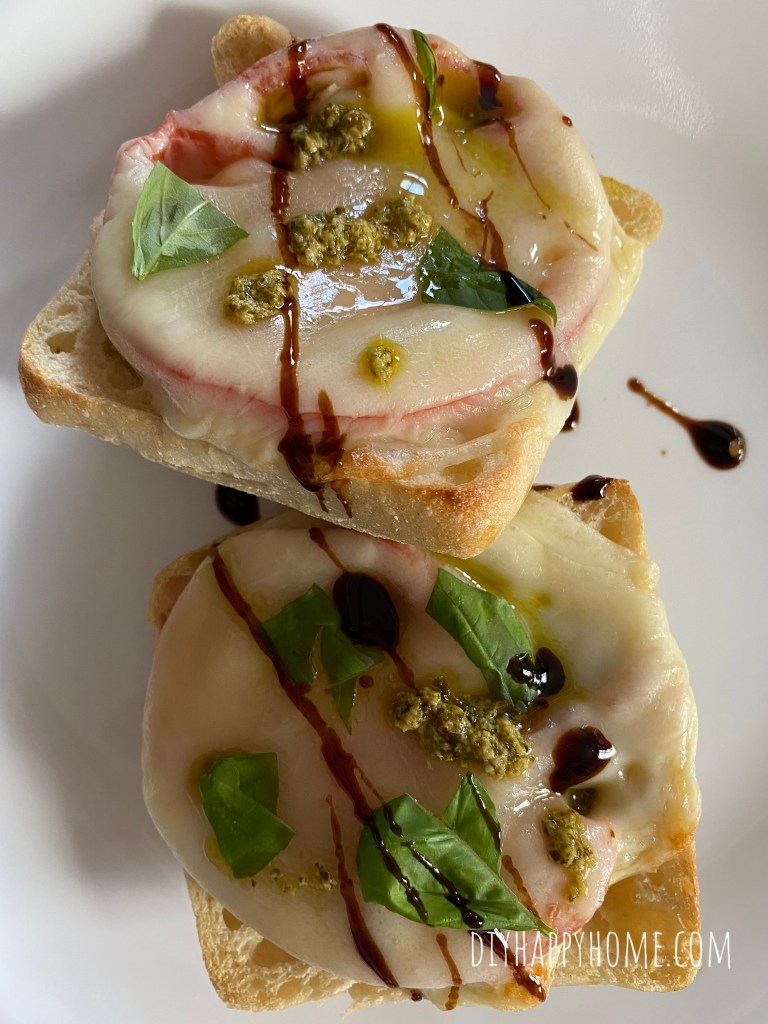
- Provolone cheese to cover the base of the pizza
- Pizza sauce, place on pizz in a spiral shape
- Fresh mozzarella cheese, torn and placed on top of pizza
- Italian seasoning, to taste
- Garlic powder, to taste
- Locatelli Romano cheese, grated, on sprinkled on top
- Two large fresh basil leaves, torn, to garnish

Instructions:
- Coat frozen pizza dough in olive oil, place in your pizza pan. Top with plastic wrap so it doesn’t dry out. Place on the back of your warm oven to defrost.
- Once defrosted and dough has rested, use the plastic wrap to push your dough to the edges of the pizza pan.
- Preheat your oven to 500°.
- While the oven preheats, top the dough with the provolone cheese.
- Add a spiral of pizza sauce on top of the provolone.
- Tear up the fresh mozzarella and dot it all over the top of the pizza.
- Sprinkle on Locatelli Romano cheese, Italian seasoning, and garlic powder.
- Bake at 500° for 13 to 15 minutes, or until cheese is bubbling and crust is brown.
- Top the pizza with the fresh torn basil and serve.
Enjoy!