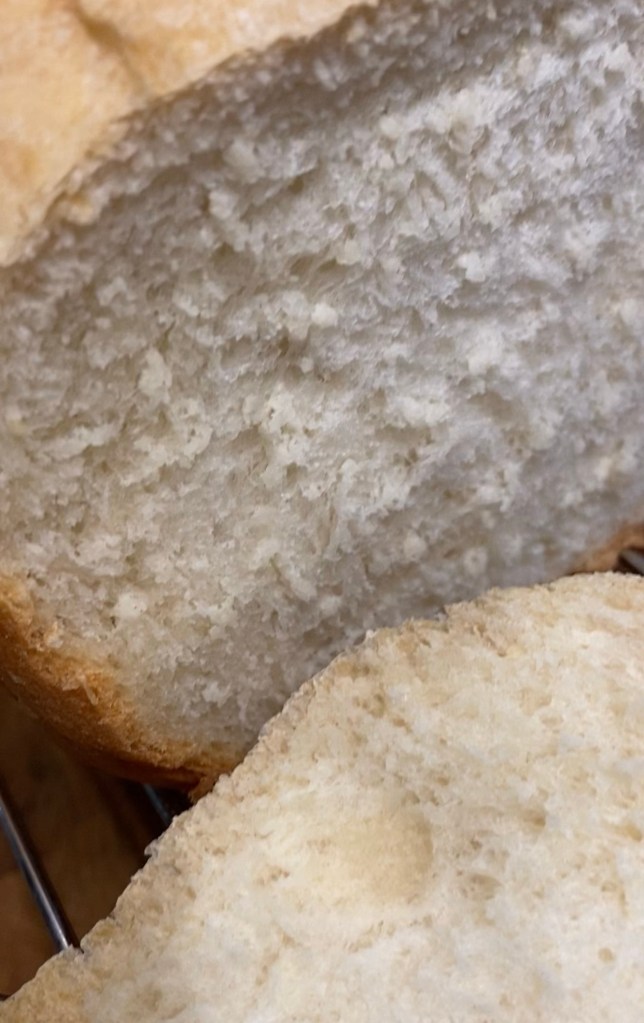
I make this bread frequently. It turns out great everytime and the Bread Machine makes the process so easy! There’s nothing like coming home to the smell of fresh baked bread.
Warm white bread 🍞
Easy White Bread Machine Bread on YouTube ⬆️
Ingredients for a 1 1/2 to 2 pound machine:
1/3 cup milk, warm
1 cup water, warm
3 Tablespoons of butter (I use Salted Butter)
3 3/4 cups of Bread Flour
3 Tablespoons of sugar
1 teaspoon of Salt
1 1/2 teaspoons of Instant Yeast
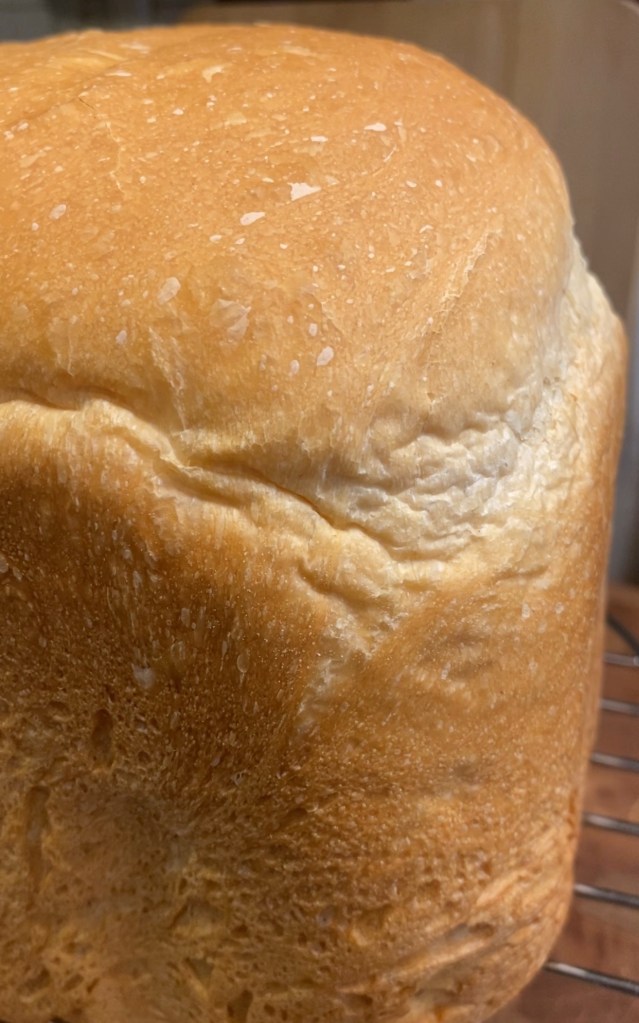
Delicious white bread 🍞
Instructions:
Add in ingredients to the bread machine bread pan in the order recommended by your breadmaker manufacturer. I have a Zojirushi, and add as follows:
Add in the Milk, Water, Butter, flour, sugar, salt, and yeast.
Program the bread machine for Basic White Bread and press Start.
When loaf is done, remove the pan from the machine. Wait 5 minutes, then gently shake the bread loaf from the pan. Place the bread on a wire rack to cool.
Enjoy!
Please like, share, and follow. Please also Follow my page on Facebook and Subscribe on YouTube. Thank you!
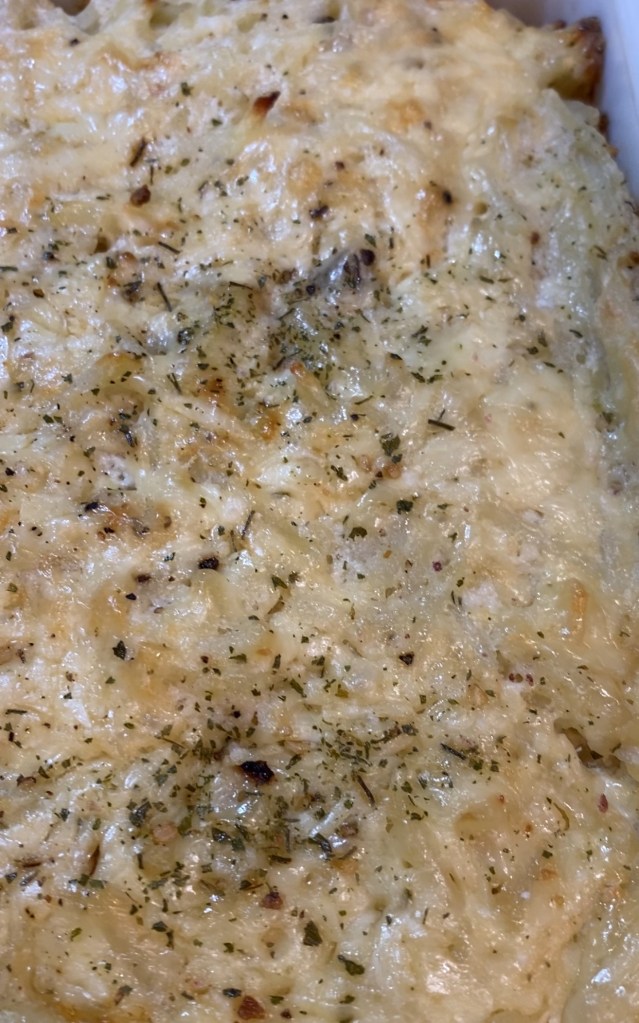
Frozen defrosted hash browns make this cheesy hash brown casserole so easy to whip up. This casserole has crispy edges and a creamy, cheesy, tangy flavor that is delish!
Cheesy Hash Brown Casserole ⬆️
Cheesy Hash Brown Casserole on YouTube ⬆️
Ingredients:
30 ounces of Frozen Hash Browns, thawed and drained of any excess liquid . (I drained the hash browns on a paper towel.)
1 stick of butter, melted
1 can of cream of mushroom soup (you can substitute cream of chicken, or cream of celery, whatever your preference is)
1 small onion, chopped finely
8 ounces seriously sharp cheddar cheese, shredded (can sub with your cheese preference of cheese, for example Colby Jack, Sharp Cheddar, etc.), divided in half, reserve some for topping.
1 teaspoon of salt
1/2 teaspoon of pepper
1 cup of sour cream
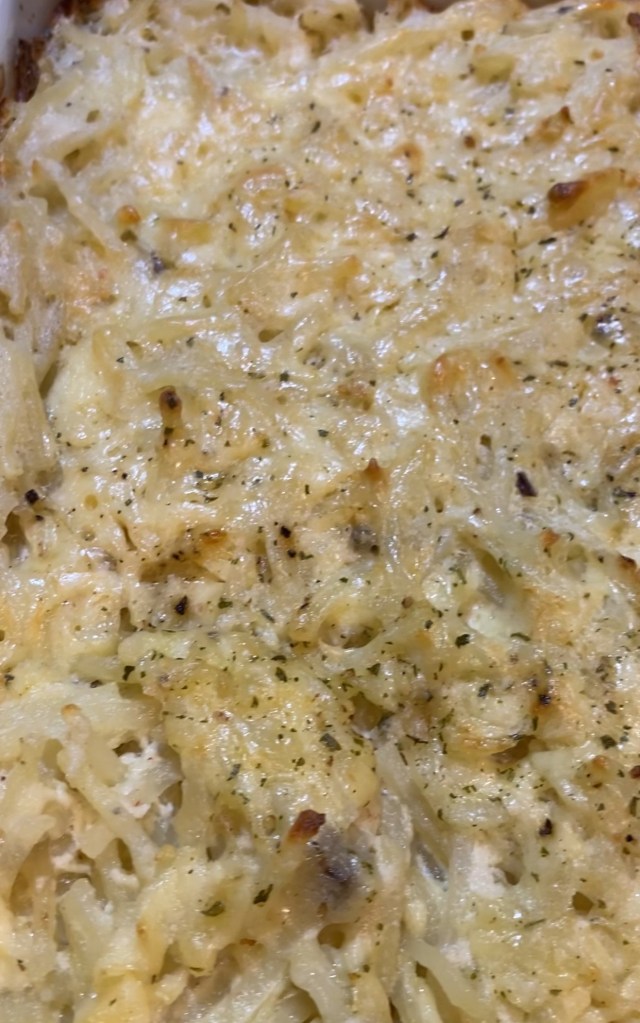
Yum!
Instructions:
Preheat oven to 350°.
Spray a 9” x 11” baking dish with your choice of nonstick spray.
In a large bowl mix together hash brown, melted butter, cream soup, chopped onion, all but one cup of the shredded cheese, salt, pepper, and sour cream.
Transfer mixture to the prepared baking pan.
Bake 45 minutes covered with foil. After 45 minutes, remove foil and bake an additional 15 to 30 minutes, or until brown and bubbly and the hash brown potatoes are tender.
Enjoy!
Please like, share, and follow. Please also Follow my page on Facebook and Subscribe on YouTube. Thank you!
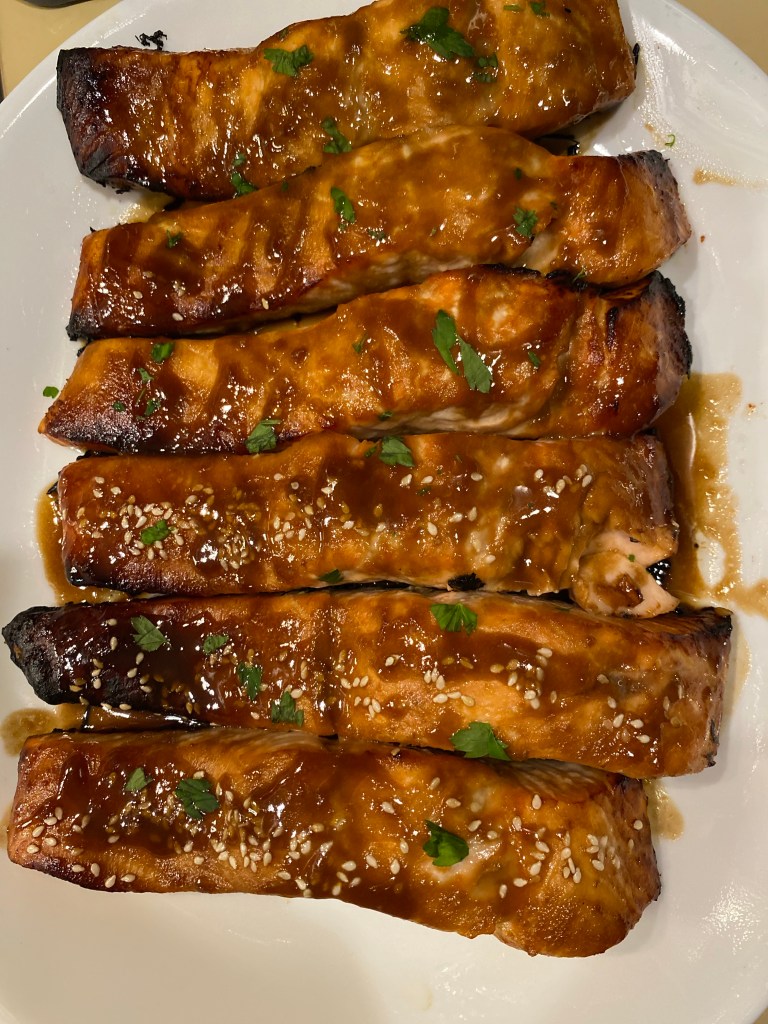
Salmon is something my whole family eats. When you have a couple of picky eaters, it makes meal time a little easier when it’s something everyone likes. This Miso Salmon is savory and sweet, the honey caramelizes in the air fryer as the salmon cooks. It’s perfect with rice or mashed potatoes, and your favorite veggie.
Miso Air Fried Salmon
Miso Salmon for dinner on YouTube ⬆️
Ingredients:
6 Salmon Fillets (mine had the skin on), patted dry with paper towel
2 Tablespoons White Miso Paste
2 Tablespoons Light Soy Sauce
3 Tablespoons Honey
2 Tablespoons Melted Butter
1 Tablespoon Garlic Paste
1 Tablespoon Ginger Paste
1 splash of Toasted Sesame Oil, optional
Fresh Parsley of fresh chopped scallions, to garnish
Toasted Sesame Seeds, to garnish
Miso Air Fried Salmon
Instructions:
Gather all ingredients.
In a medium sized bowl, whisk together Miso, soy sauce, honey, melted butter, garlic paste, ginger paste, and toasted sesame oil until well combined. Reserve about half of the sauce to drizzle on the cooked salmon.
Preheat the sear plate in the air fryer at 400° for 5 minutes (i use the Sear Crisp button to do this). Once preheated, add a piece of parchment paper on top of the preheated sear plate and add each salmon fillet on top of the parchment paper.
Use a silicone brush to add the miso glaze to the top and sides of each piece of salmon. Add sesame seeds to the top of the salmon, if desired.
Plug the temperature probe into the side of the Ninja Foodi Air Fryer. Insert the temperature probe into the thickest part of one of the pieces of salmon.
Select the PRESET button and then select FISH and hit START. The air fryer will cook the salmon until the internal temperature reaches 140°. It will shut off when the salmon is perfectly done.
Plate the salmon on a platter and drizzle with more of the reserved Miso Glaze. Garnish with either fresh parsley or fresh chopped scallions and serve.
Optional Broiler Instructions: Cook glazed Salmon under a preheated broiler for approximately 6 to 8 minutes.
Enjoy!
Please like, share, and follow. Please also Follow my page on Facebook and Subscribe on YouTube. Thank you!
This dip is a great one to make for any family gathering. I made this to watch Sunday football. It is creamy, cheesy, hearty, and delicious. Perfect for watching the game or tailgating beforehand.
Creamy, Cheesy Hot Bean Dip
Creamy, Cheesy Hot Bean Dip on YouTube ⬆️
Ingredients:
1 (8 ounce) package of Cream Cheese, softened
1 cup Sour Cream
2 (16 ounce) cans of Refried Beans
1 cup (8 ounces) Shredded Cheddar Cheese
1 cup (8 ounces) Shredded Monterey Jack Cheese (or Pepper Jack, if you love spicy,)
1/4 cup chopped scallions (approximately 2 large scallions)
1/2 to 1 ounce of Taco Seasoning, add as much as you prefer, to taste. I used about 1/2 a package of Taco Seasoning.
Hot Sauce, to your taste
Topping ideas for the dip: diced tomatoes, sliced scallions, black olives, sliced jalapeños. Additional fresh toppings: Fresh Cilantro, guacamole, avocado, sour cream, Sriracha, or crema.
Creamy, Cheesy Hot Bean Dip
Instructions:
Gather all ingredients.
Preheat the oven to 350°.
Using a handheld mixer, mix together cream cheese and sour cream in a bowl until well combined.
Next, mix in refried beans, 1/2 of the Cheddar cheese, 1/2 of the Monterey Jack cheese, green onions, parsley, taco seasoning, and hot sauce, to taste.
Transfer mixture to a deep dish pie plate or preferred baking dish and sprinkle remaining Cheddar and Monterey Jack over top.
Next, add any additional toppings you would like, such as: diced tomatoes, sliced scallions, black olives, and/or sliced jalapeños before baking.
Bake in a 350° preheated oven until dip is hot and bubbly and cheese is golden brown, approximately 30 minutes.
After baking, you can add some fresh toppings, if you wish. Some suggestions are fresh cilantro, guacamole, avocado, sour cream, sriracha, or crema.
Serve with tortilla chips.
Enjoy!
Please like, share, and follow. Please also Follow my page on Facebook and Subscribe on YouTube. Thank you!
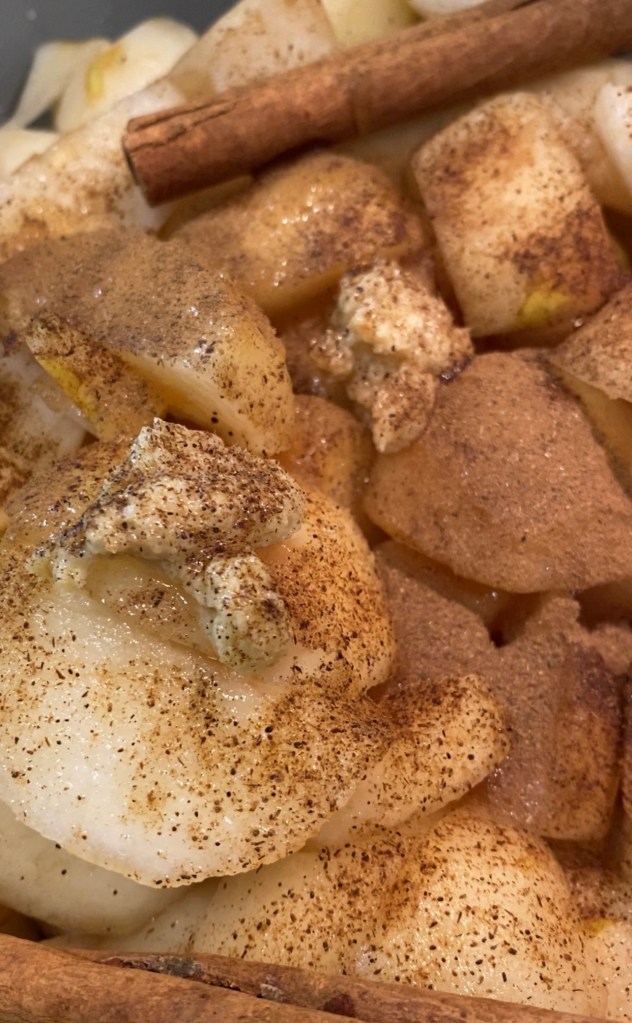
My boys and I picked 3 different varieties of pears at the orchard so I decided to make some delicious pear sauce with them in the slow cooker.
Homemade Pear Sauce on YouTube ⬆️
Ingredients:
10 pounds of Pears, peeled and sliced (I used Sunrise, Gem, and Reddy Robin varieties)
2 Tablespoons of Lemon Juice
3 Tablespoons of Honey
3 Cinnamon Sticks
1 teaspoon Ground Ginger Paste
1/8 teaspoon Ground Cloves
1 Tablespoon Pure Vanilla Extract
Instructions:
Place peeled and chopped pears in the slow cooker insert.
Add all ingredients to the pears.
Set slow cooker on High for 8 hours.
Use a stick blender to blend pears into a smooth pear sauce.
I canned the jars of pear sauce in by first sterilizing the jars, lids, and rings, and then boiling the filled jars covered in a water bath for 10 minutes. Allow to sit, undisturbed for 24 hours. If jars did not seal, store in the refrigerator and use within the week.
Enjoy!
Please like, share, and follow. Please also Follow my page on Facebook and Subscribe on YouTube. Thank you!
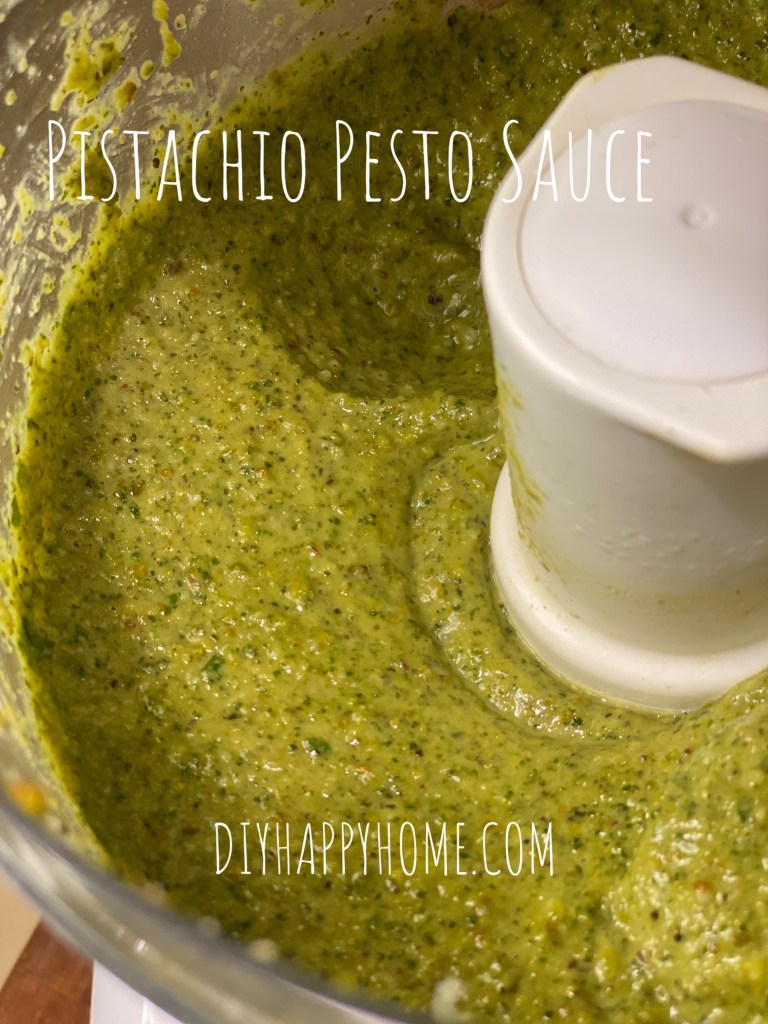
The basil in our garden is growing really well so I clipped it back and decided some fresh pesto would be on the dinner menu. Homemade pesto is so vibrant and the flavors are so fresh, I chose to use pistachios because one of my favorite local restaurants makes pistachio pesto and it is one of my favorite dishes that they serve. This restaurant recreation turned out just as good, if not better!
Pistachio Pesto Sauce
Pistachio Pesto Sauce on YouTube ⬆️
Ingredients:
6 to 8 cloves of garlic (I used 8)
I cup of shelled pistachios, mine were salted, so I did not add salt to the pesto
3 cups of Basil leaves, packed tightly
1 cup of Extra Virgin Olive Oil, plus more to top any leftover pesto, it will help prevent oxidation
1 cup of freshly grated Parmesan Cheese
Freshly Ground Black Pepper, to taste
Water, add to thin the pesto to your desired consistency
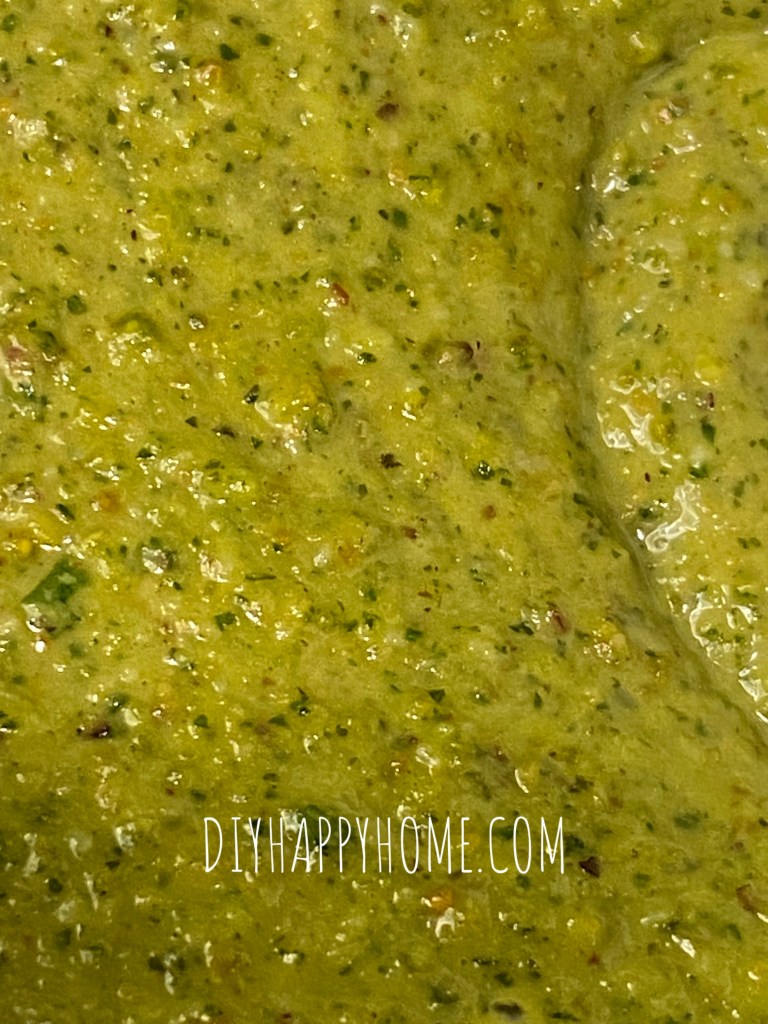
Pistachio Pesto Deliciousness!
Instructions:
In a food processor, add garlic, and pistachios and blend until fine. Next, add basil and cheese and blend into a paste.
Slowly drizzle in the olive oil and blend. Season with black pepper, if desired.
Slowly drizzle in water until the pesto is the desired consistency.
Taste pesto and add any additional seasoning, to your taste.
When storing, add a layer of olive oil on top and store in an air tight container. You can split the pesto and freeze the other half (covered with olive oil) in an air tight container. It freezes well.
Enjoy!
Please like, share, and follow. Please also Follow my page on Facebook and Subscribe on YouTube. Thank you!
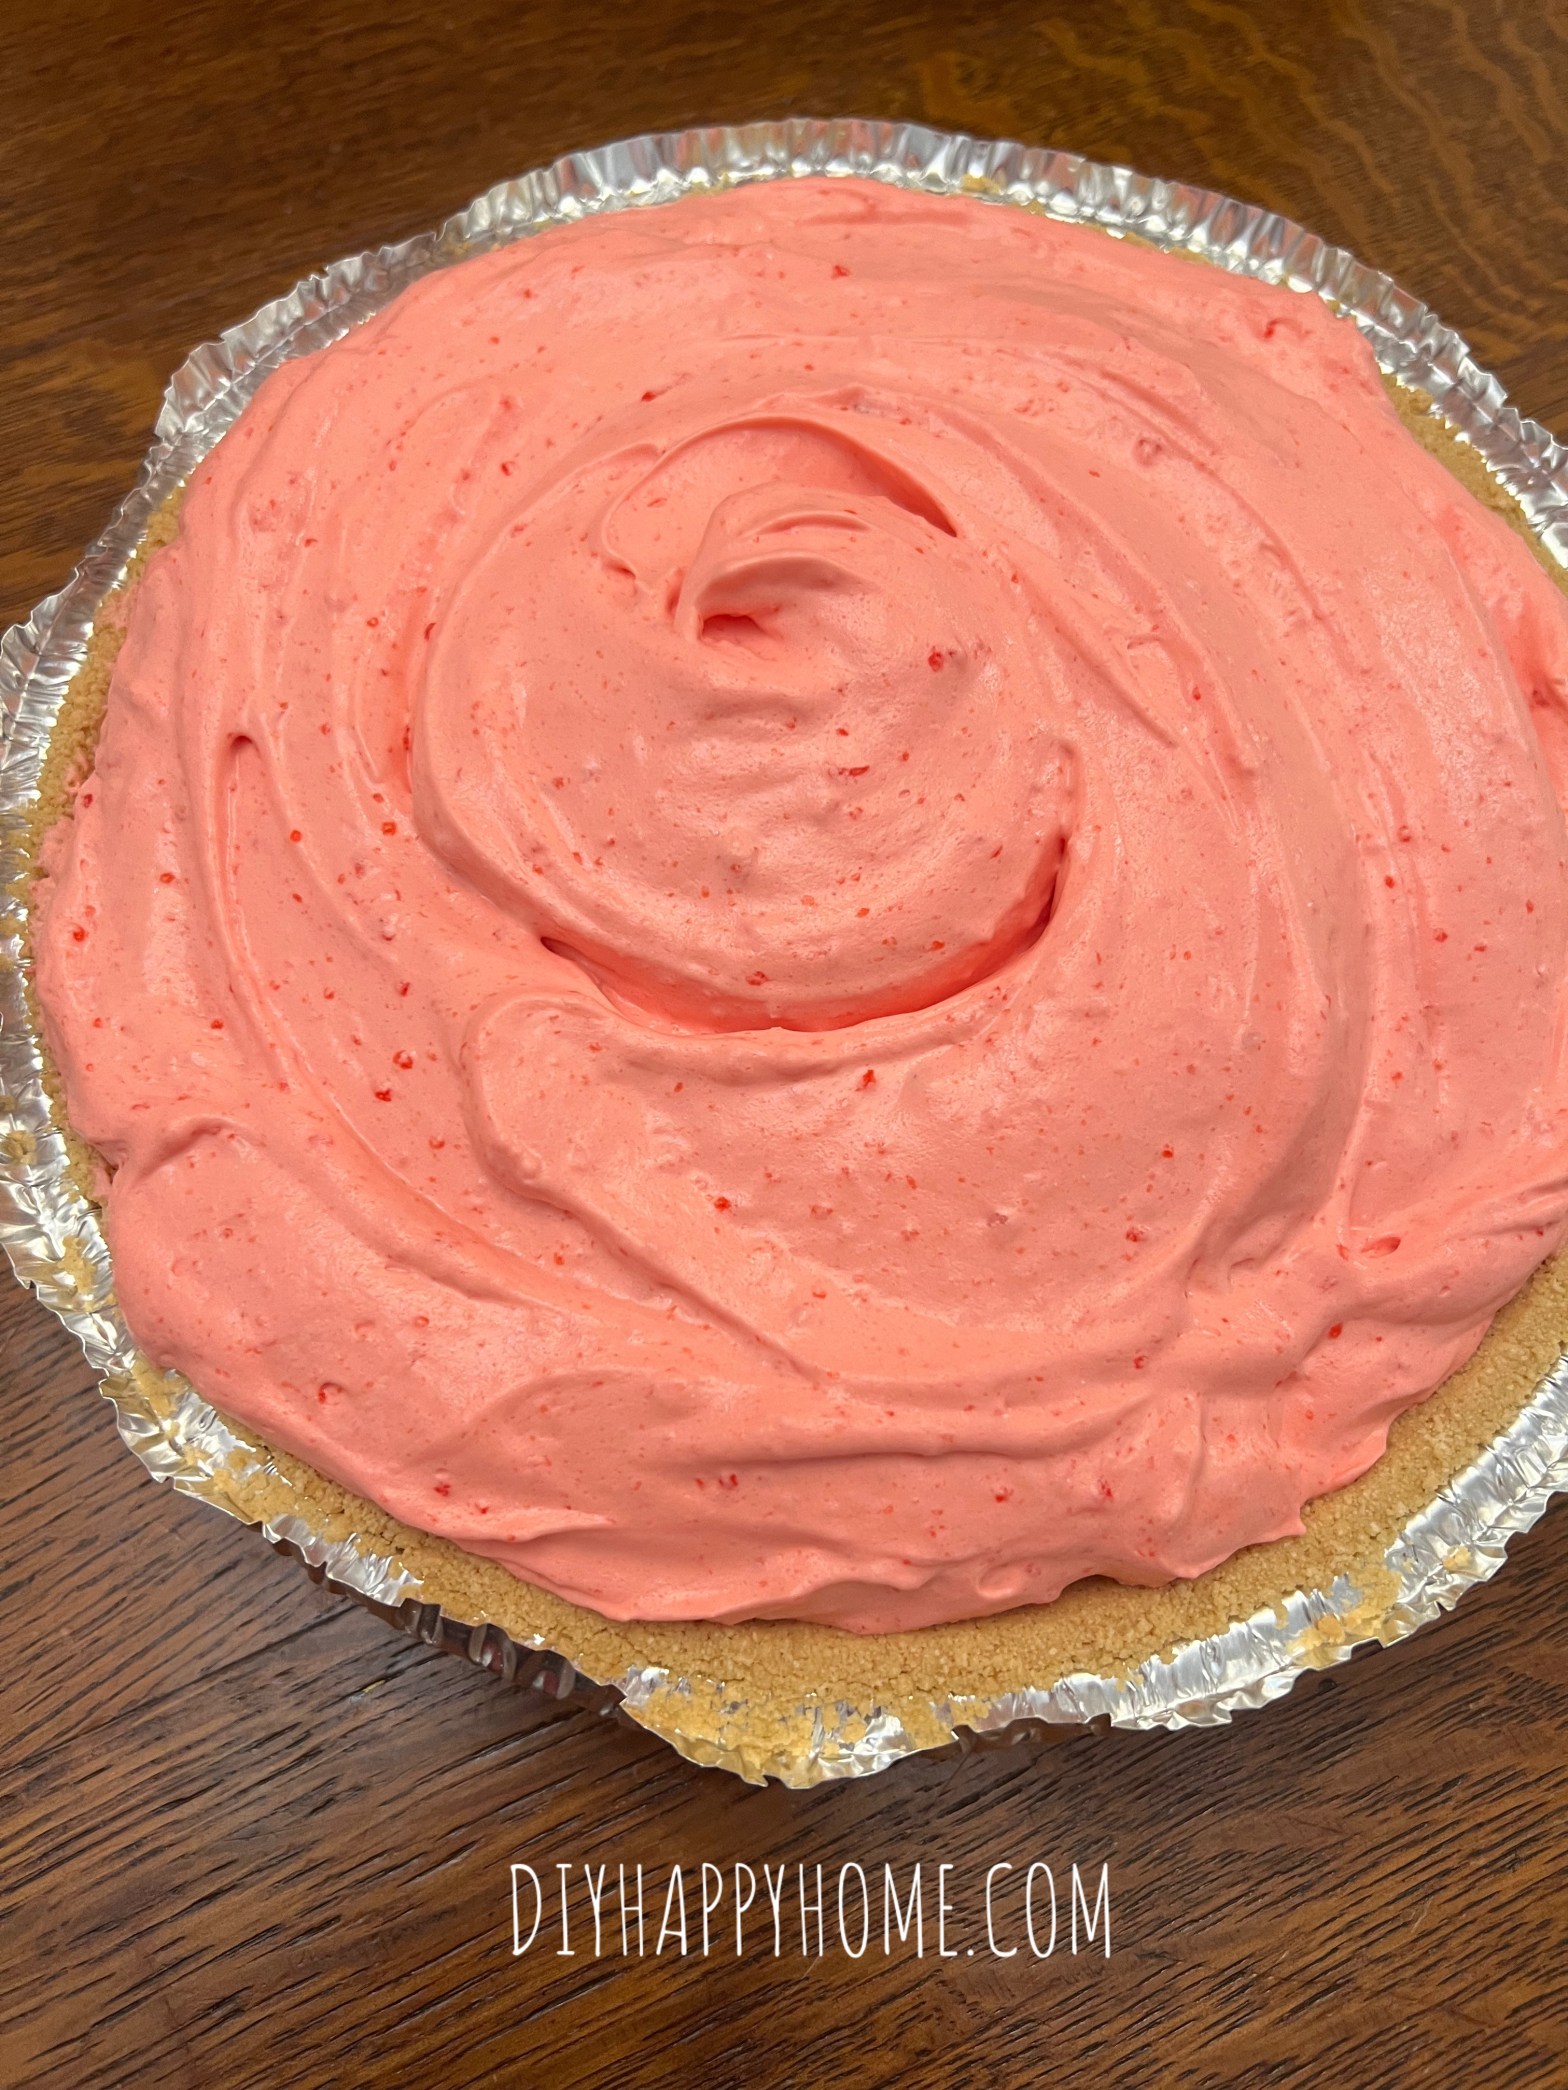
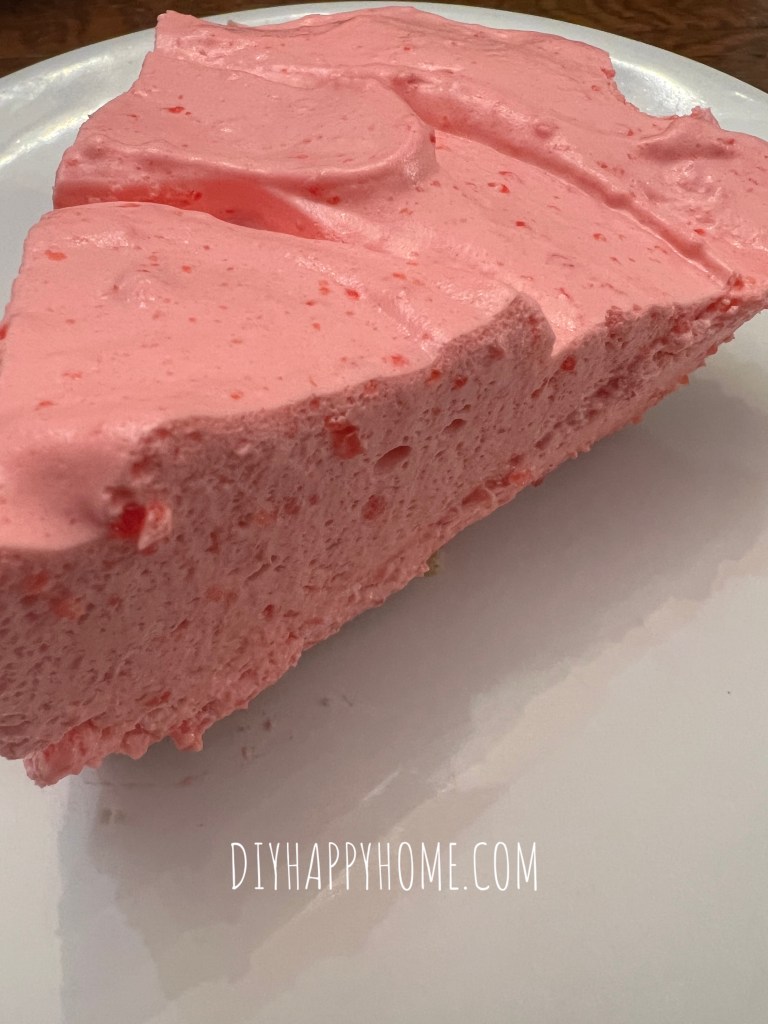
This no bake fruity dessert is super refreshing on a hot summer day.
No Bake Raspberry Lemon Pie
No Bake Raspberry Lemon Pie on YouTube ⬆️
Ingredients:
1 (3 ounce) package of Raspberry Jello
1 cup of boiling water
The Zest of a Lemon
1 Lemon, juiced
1 (8 ounce) brick of Cream Cheese, softened
1/4 cup of Sugar
1 teaspoon of Pure Vanilla Extract
1 (8 ounce) container of Whipped Topping, such as Cool Whip, defrosted (Do not use Extra Creamy for this recipe, it is too thick.)
1 ready made Graham Cracker Crust, (or make your own crust with 2 cups of Graham Cracker Crumbs and 2 Tablespoons of Melted Butter.)
No Bake Raspberry Lemon Pie
Instructions:
Get out Cream Cheese to soften. Remove Cool Whip from the freezer to defrost.
Make the Jello. Add boiling water, lemon zest, and lemon juice to the Raspberry Jello and mix for 2 minutes. Cover and chill in the refrigerator until a jelly like consistency (I accidentally chilled mine longer until set and it was fine.)
Once jello is ready, in a separate bowl, whip together cream cheese, sugar, and vanilla extract until fluffy and smooth.
Add in the Jello mixture. Mix until well combined.
Fold in the defrosted Whipped Topping until combined.
Pour into Graham Cracker Pie Crust. Chill in the refrigerator. Once chilled, cut into slices and serve.
Enjoy!
Please like, share, and follow. Please also Follow my page on Facebook and Subscribe on YouTube. Thank you!
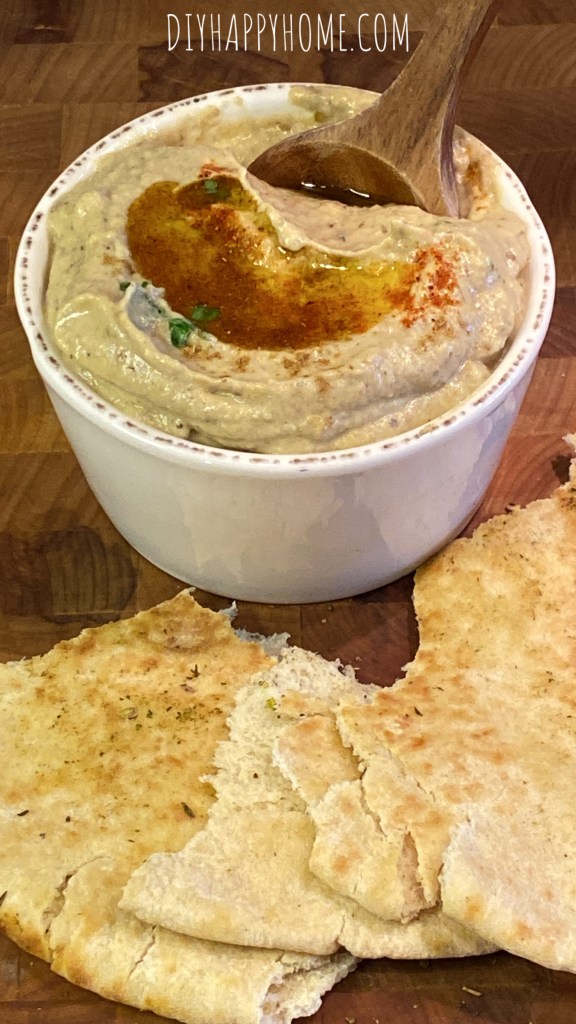
Roasted eggplant, garlic, fresh lemon juice, and creamy tahini give this dip such delicious flavor.
Homemade Eggplant Dip (Baba Ghanoush)
Homemade Eggplant Dip (Baba Ghanoush) on YouTube ⬆️
Ingredients:
1 large eggplant, cut in half
3 Tablespoons of Olive Oil, plus more to garnish
2 heaping teaspoons of Roasted Garlic Paste
3 to 4 heaping Tablespoons of Tahini Paste, use more of you want the dip super creamy
1 large Lemon, juiced
1/2 teaspoon of Cumin
1/4 teaspoon of salt, adjust seasoning to your taste
Fresh ground black pepper, to taste
Pinch of Smoked Paprika
1 Tablespoon of chopped Fresh Parsley, plus a little more to garnish dip
Olive oil, cumin, smoked paprika, and parsley to garnish before serving
Fresh toasted pita, warmed in a frying pan with olive oil and sprinkled with Za’atar seasoning.
Instructions:
Preheat oven to 425°.
Roast eggplant on a parchment lined baking sheet, cut side down, for 40 to 45 minutes, until soft. Let cool.
Scoop out eggplant flesh into a food processor. Discard the eggplant skin.
Add in the olive oil, roasted garlic paste, tahini, lemon juice, salt, pepper, cumin, smoked paprika, and parsley. Pulse until smooth and creamy, and until all the eggplant seeds are pulverized. Taste dip and adjust seasonings to your preferences.
Use a spatula to scoop dip into a serving bowl. Top dip with a swirl of Olive oil. Garnish with a sprinkling of cumin, paprika, and some fresh parsley.
Serve with warmed pita bread, pita chips, or your favorite veggie dippers. It’s also terrific as a sandwich spread.
Enjoy!
Please like, share, and follow. Please also Follow my page on Facebook and Subscribe on YouTube. Thank you!
This lasagna with red sauce, béchamel sauce, ricotta and mascarpone, and sautéed vegetables is so delicious!
Lasagna
Lasagna on YouTube ⬆️
Ingredients:
1 package of no boil Lasagna Noodles
1 jar of your favorite pasta sauce, or use homemade pasta sauce
1 (16 ounce) block of whole milk mozzarella cheese, shredded
1/2 cup grated Grana Padano and/or Locatelli cheese, to top lasagna (I had both, so I used both cheeses.)
For the Vegetable Mixture:
2 Tablespoons of Olive Oil
2 Tablespoons of Butter
1 pint of baby Bella mushrooms, chopped
1 small onion, diced
1 red bell pepper, diced
1 green bell pepper, diced
1 heaping Tablespoon of Roasted Garlic Paste
Garlic powder, onion powder, paprika, salt, and pepper to taste
1 cup of White Wine
For the Ricotta and Mascapone Mixture:
1 (16 ounce) container of whole milk ricotta cheese
1 (8.82 ounce) container of Mascarpone cheese
3 Tablespoons of Basil, fresh torn, or more, if you like Basil
1 Tablespoon Garlic Paste
Salt, pepper, garlic powder, onion powder, and Italian Seasoning, to taste.
You can use an egg to bind the mixture, however, I did not use an egg
For the Béchamel Sauce:
1/4 cup butter
1/3 cup Flour
2 1/4 cups Milk
2 cups No Chicken Broth, optional
Salt and pepper, to taste
Instructions:
In a large nonstick saucepan or skillet on medium high heat, sauté the olive oil, butter, mushrooms, onions, peppers, garlic paste, and seasonings. When veggies are nice and brown, add in the white wine to deglaze the pan. Cook until the wine evaporates. Remove vegetables from pan.
In the same pan, make the béchamel sauce. Melt the butter, remove from heat and add the flour. Whisk in the broth (optional) and milk. Stir throughly. Return to heat and simmer over low heat, stirring constantly. Do not let sauce become too thick. Add in salt and pepper.
In a medium bowl, mix together ricotta and mascarpone cheese. Add in basil, garlic paste, and seasonings to taste. Add in optional egg to bind, if you would like. Mix together until combined.
In a 9 x 13 casserole dish, add a layer of pasta sauce, and a layer of no boil lasagna noodles. Then add a layer of béchamel sauce, a layer of vegetables, and a layer of the ricotta and mascapone cheese mixture, then a layer of shredded mozzarella cheese. Next, add another layer of pasta sauce, and another layer of the lasagna noodles. Repeat the above layering process two more times. At the last layer, top with more pasta sauce and mozzarella cheese. Garnish with fresh grated Grana Padano and Locatelli cheese, and some Italian Seasoning.
Bake lasagna covered at 400° for 30 minutes, then remove the cover and bake until the cheese is brown and bubbly. Let rest at least 20 minutes before slicing.
Enjoy!
Please like, share, and follow. Please also Follow my page on Facebook and Subscribe on YouTube. Thank you!
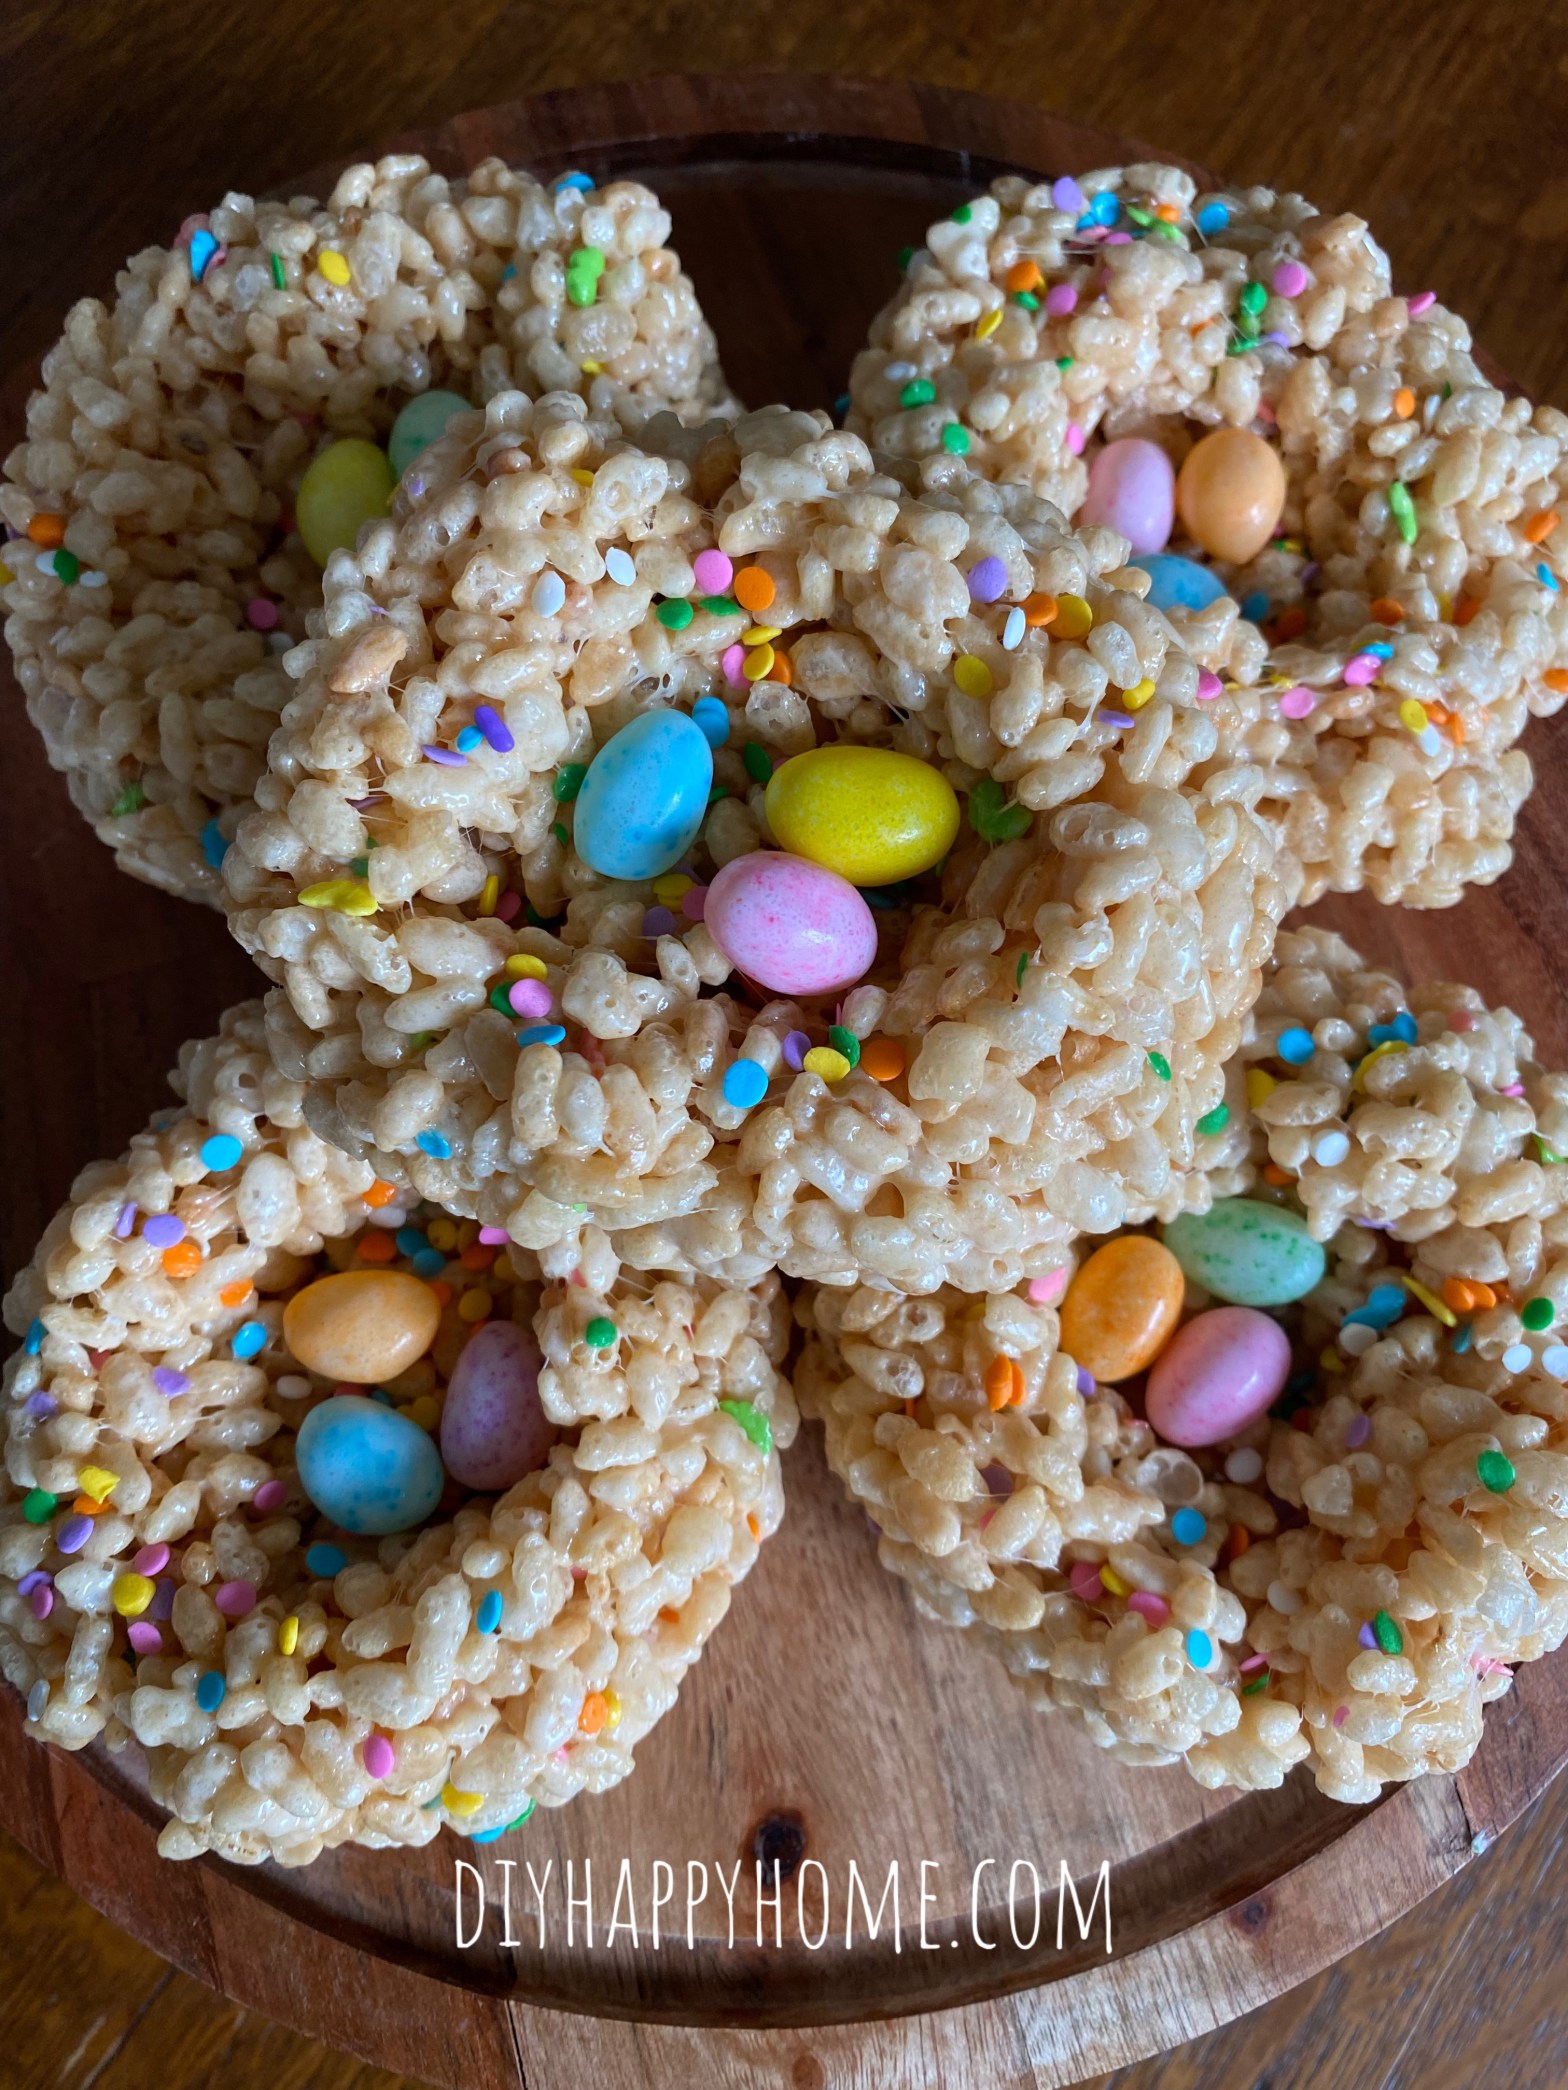
These flavorful and festive Brown Butter Robin’s Egg Nest Rice Krispie Treats are perfect for a dessert buffet, or to wrap in cellophane and ribbon for your guests to take home after dinner.
Brown Butter Robin’s Egg Nest Rice Krispie Treats
Brown Butter Robin’s Egg Nest Rice Krispie Treats on YouTube ⬆️
Ingredients:
6 cups of Rice Krispies cereal
5 Tablespoons of butter
1 (10 ounce) package of marshmallows
Sprinkles of choice, optional
Jelly Beans, Cadbury Mini Eggs, Mini chocolate eggs, or Marshmallow Peeps to place inside of the Rice Krispie Treats Nests
Instructions:
In a large nonstick saucepan or skillet on medium low heat, slowly toast the 6 cups of Rice Krispie cereal.
Once golden and toasted, remove the cereal from the pan and add the butter on medium low heat. Let butter foam, stiring constantly, until the milk solids start to slightly brown and have a nutty scent. Turn off the heat and add the marshmallows, stirring constantly until they are melted into the brown butter.
Slowly stir in the 6 cups of toasted Rice Krispie cereal. Stir in the optional sprinkles, as much as you would like.
Spray a bowl and spoon the Rice Krispie mixture into the bowl to create the nest. Spray the bottom of a small condiment cup or small ramekin to make the bird’s nest impression into the nest; a place where the jelly beans or candies will go.
Add some more sprinkles to the top of the nest, if you like.
Let the nests cool before adding candies to the center.
Enjoy!
Please like, share, and follow. Please also Follow my page on Facebook and Subscribe on YouTube. Thank you!