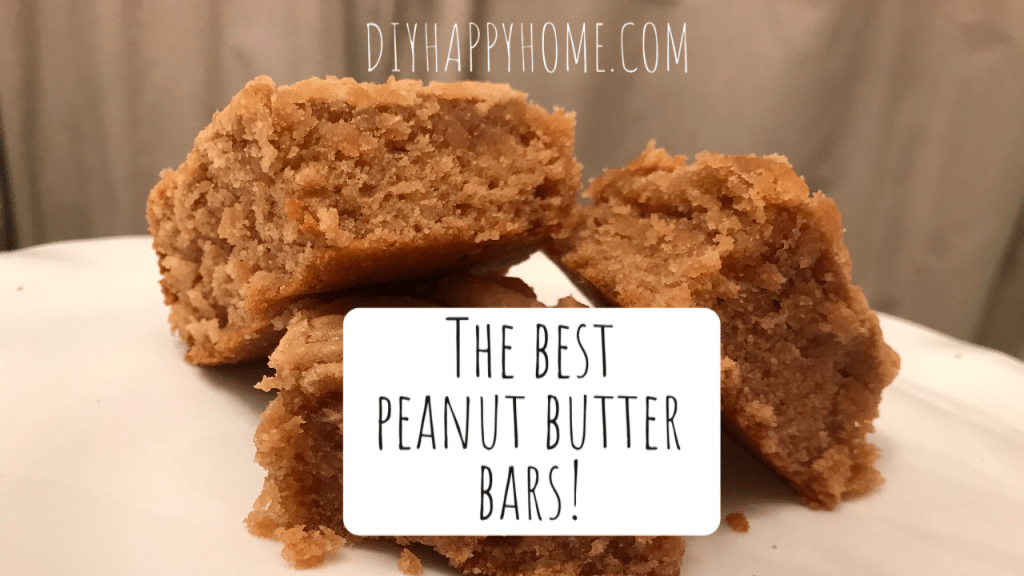
Preheat oven to 350 degrees. Butter and add parchment to an 8 x 8 pan. Mix together softened butter, peanut butter, sugar, brown sugar, vanilla extract, and eggs, until lighter in color and well blended.
Add in dry ingredients, flour, baking powder, and salt. Do not over mix.
Bake for approximately 30 minutes, or until a toothpick in the center of the bars comes out clean.
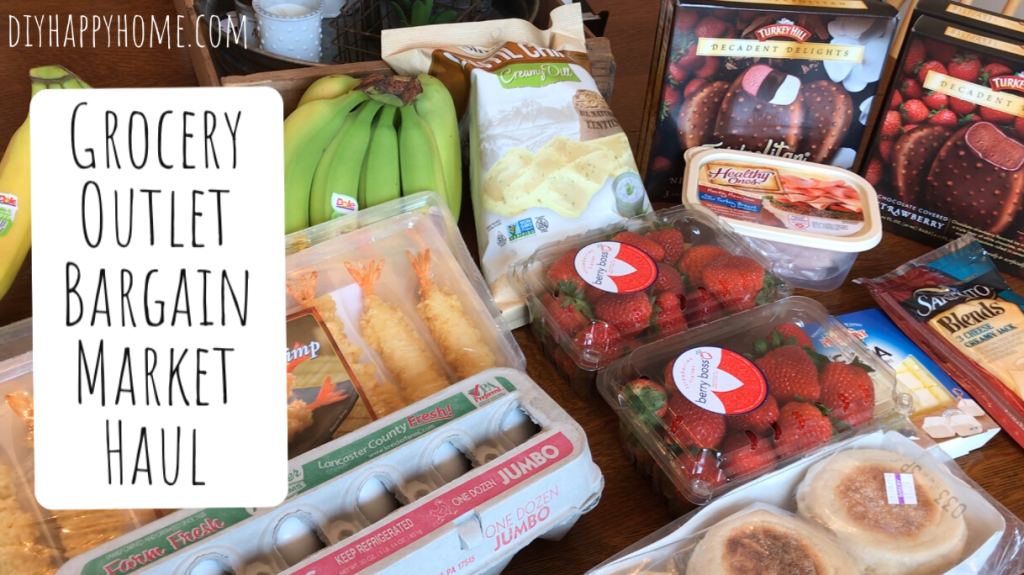
Check out all the awesome grocery deals I bought at The Grocery Outlet!
The Grocery Outlet Bargain Market is one of my favorite places to shop for discount groceries. You never know what you can find there for much cheaper than the larger grocery store chains!
See my YouTube video that shows my grocery store haul, including some of my favorites like Don Peppino pizza sauce, Persil Laundry Detergent, and Galbani String cheese!
Join me as I explore my new IPSY Glam Plus Subscription Box for January 2020!
IPSY Glam Bag Plus Reveal January 2020, Plus Add Ons!
My birthday was in December and I have been curious about the IPSY Beauty subscription boxes that I keep seeing online. I decided to buy myself one as a birthday present to me, from me, ha ha!
Watch me open the box and check out the products that came with the $25.00 IPSY Glam Bag Plus subscription. I also added on some additional beauty products that they offered.
IPSY has 3 differently priced subscriptions. I went with the $25.00 one called IPSY Glam Bag Plus*. They also have a $12.00 subscription, and a $50.00 subscription as well.
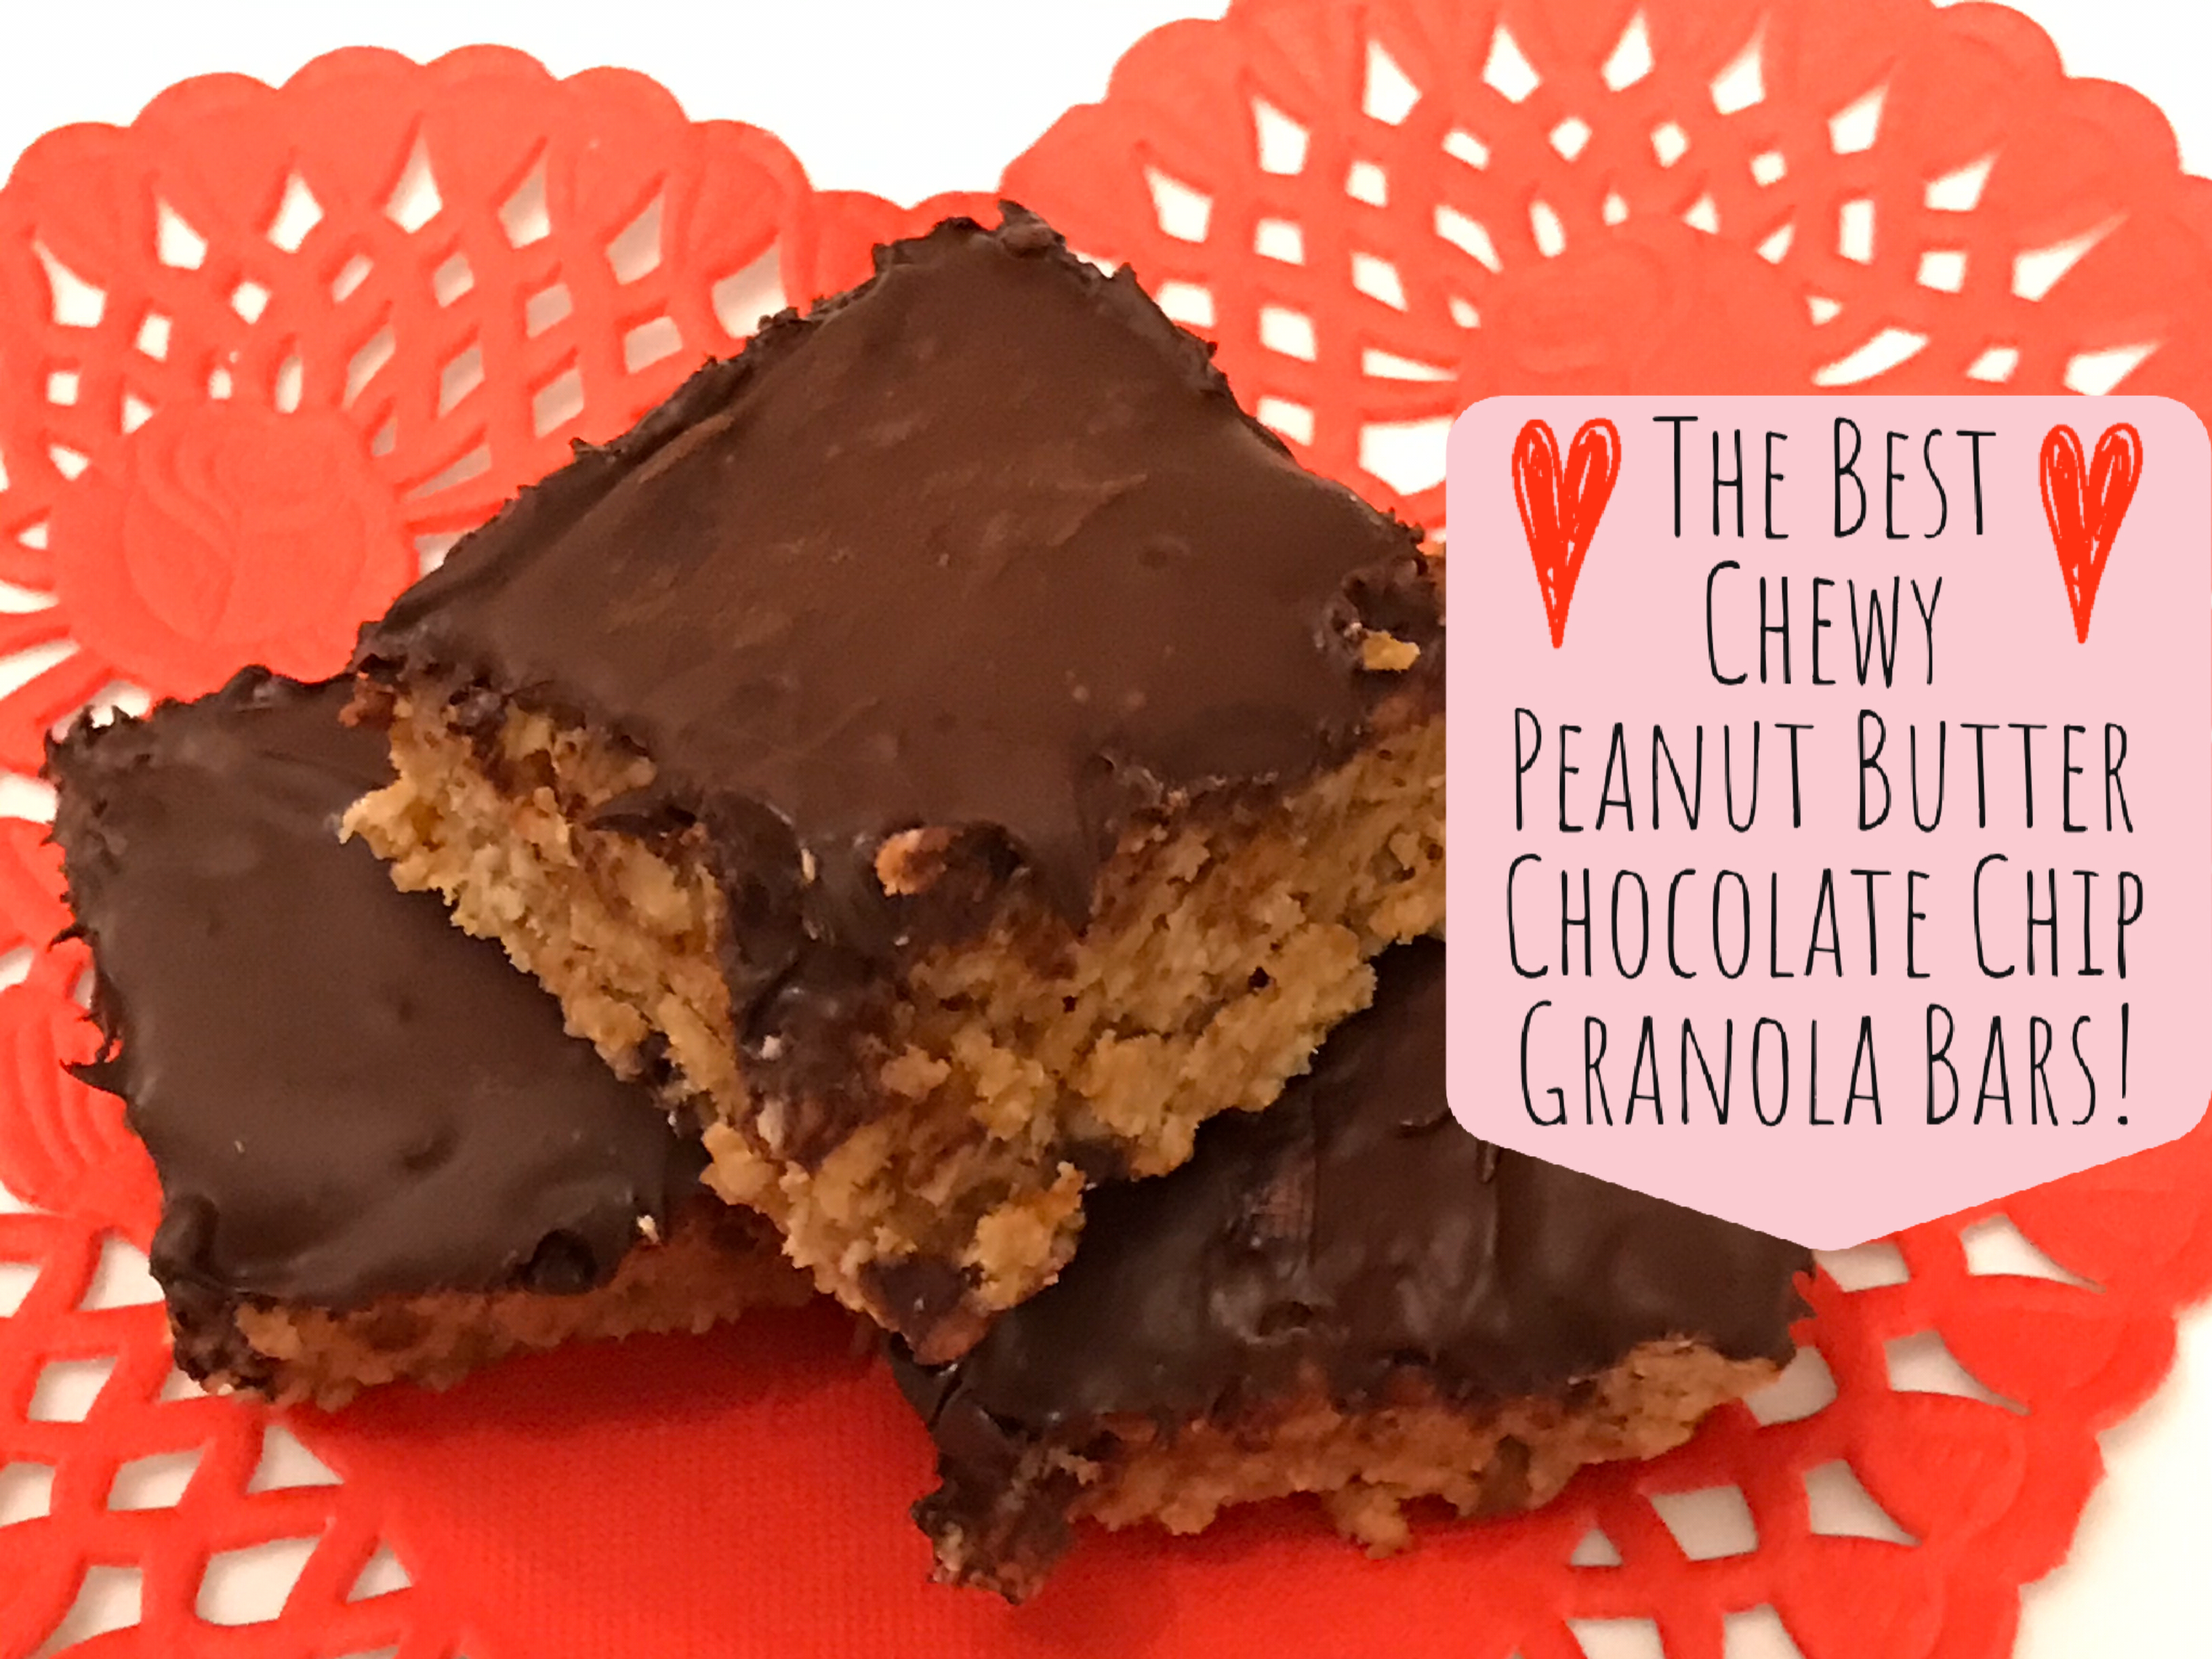
Try these easy, wholesome, yummy homemade chewy granola bars for a satisfying snack or a delicious breakfast!
The Best Chewy Peanut Butter Chocolate Chip Granola Bars! Sooooo yummy! 😋😋😋
These chewy, peanut buttery, gluten free homemade granola bars are much more satisfying than the pre wrapped store bought ones! I have purchased the store bought ones in the past for my kids and these bars are much more filling, contain Whole Foods, no preservatives, and are much more delicious. Plus, they are easy to whip up and bake up in 12 – 15 minutes. Ditch those store bought ones and make these, they taste soooo much better!
These bars can be customized to what your tastes are. You can use any nut butter that you like. If you are allergic, try Sun Butter. Here are some different mix in ideas:
Overripe bananas, mash with a fork and blend in
Nuts (peanuts or almonds would be so good!)
Seeds (sunflower, flax, chia, sesame, and more!)
Protein powder (reduce oats or it may be too dry)
Coconut
Dried cranberries, raisins, apricots, blueberries, banana chips, cherries, strawberries, chopped dates, chopped figs, or any other type of dried fruits, or citrus zest
Various fruity, sweet, and crunchy cereals mixed in.
Different decadent chocolates or candies. Dark chocolate chips, milk chocolate, semi-sweet, white, peanut butter chips, toffee bits, caramel bits, mini chocolate chips, mint chips, butterscotch, Chocolate coated candies, chocolate coated sunflower seeds, the list goes on and on!
Mini marshmallows, plain or fruity
Sesame stick pieces or pretzel pieces
Ingredients:
3 cups gluten-free old-fashioned rolled oats
Pinch of salt
3/4 cup peanut butter (or any nut butter you prefer)
1/3 cup maple syrup (or honey, or agave, I used a mix of half maple syrup and half Monk Fruit Maple Syrup)
A splash of pure vanilla extract
2 Large Eggs
1/2 cup chocolate chips (I used Bakers semi-sweet chocolate chips), plus an additional 1/2 cup of chips to sprinkle on after baking, if you prefer
Any additional add ins that you prefer, see above for yummy ideas!
Instructions:
Preheat oven to 350° F.
Combine all wet ingredients in the bowl, then mix in oats, salt, and chocolate chips (or other add ins you choose).
Transfer to a parchment lined pan (I used a brownie pan 9 x 9 size.).
Bake for 12 – 15 minutes.
Sprinkle with the reserved 1/2 cup of chocolate chips when hot out of the oven. Once the chips are melted, spread the chocolate over the granola bars.
Let cool, pull parchment out of pan and slice in squares or rectangles.
Enjoy!
Store in an airtight container.
I hope you enjoy these granola bars! Please let me know what your favorite mix in ingredients would be! Next time I make these I am adding in some pretzel pieces.