
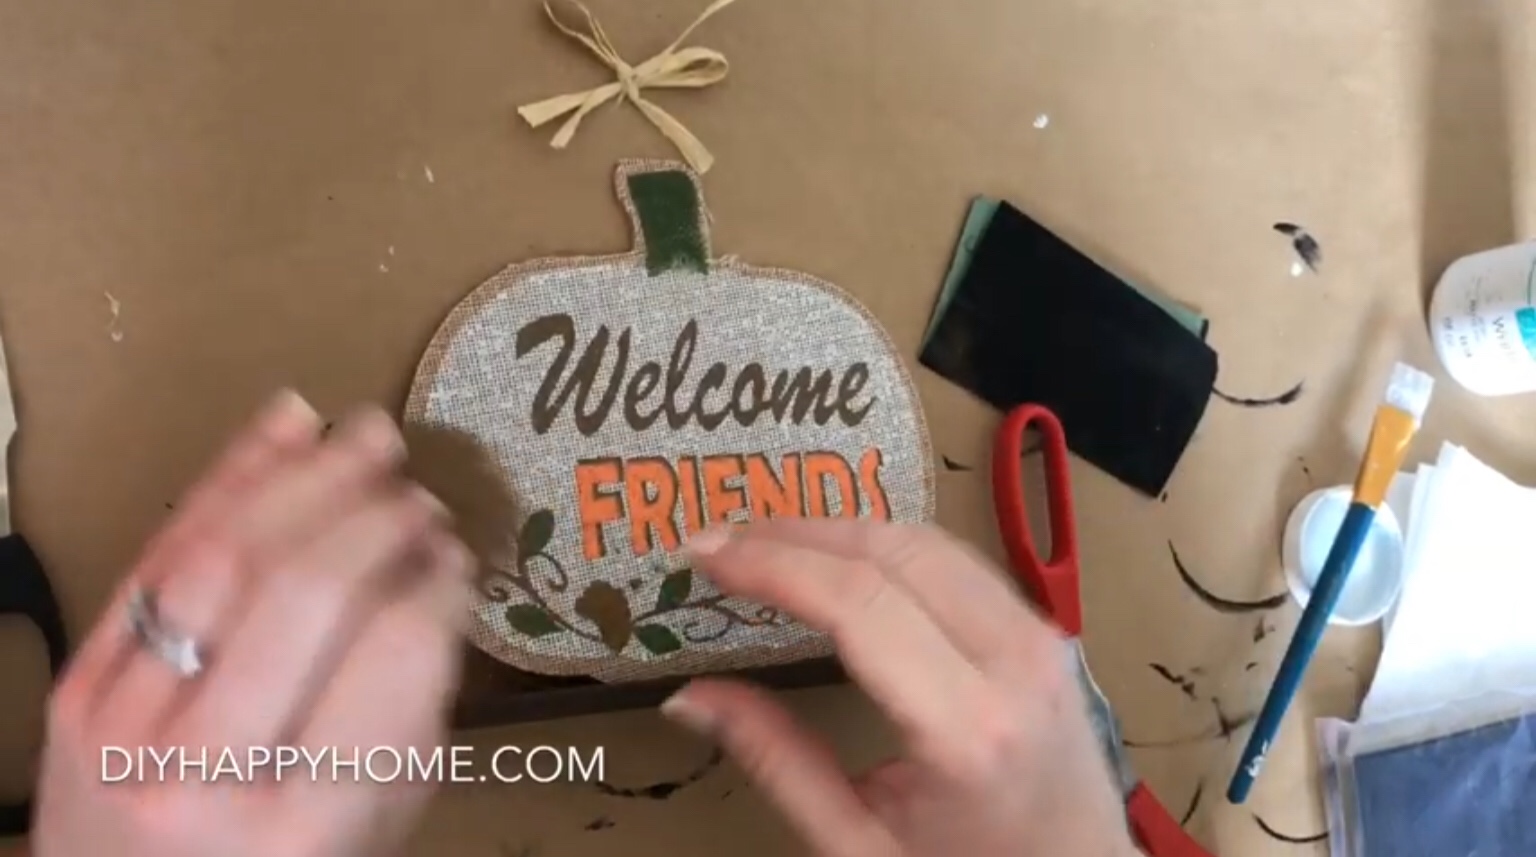
First, I removed the sunflower and raffia bow from the front of the pumpkin.
Next, I sanded the front of the pumpkin using sand paper also bought at the Dollar Tree.

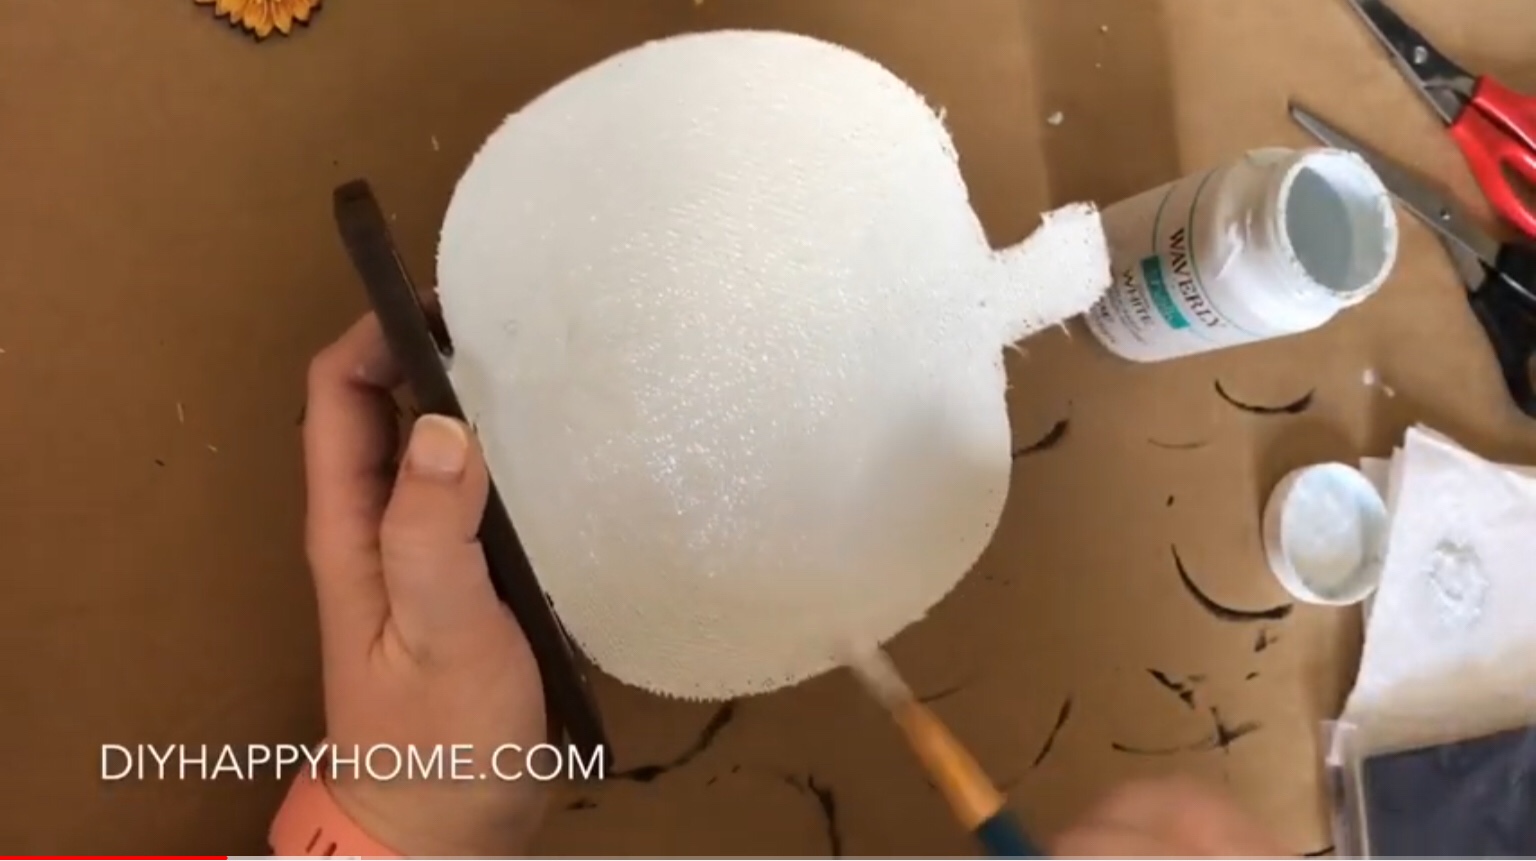
I then painted the front of the pumpkin with Waverly white chalk paint.

Once the paint dried, I drew faint pencil lines on the pumpkin to mimic the grooves of a pumpkin.

Then I painted the pencil lines in with brown Folk Art Wax.


Then, I antiqued the pumpkin by using a fairly dry brush with the wax on it and brushed it over the pumpkin. Then I quickly wiped it off with a damp paper towel.
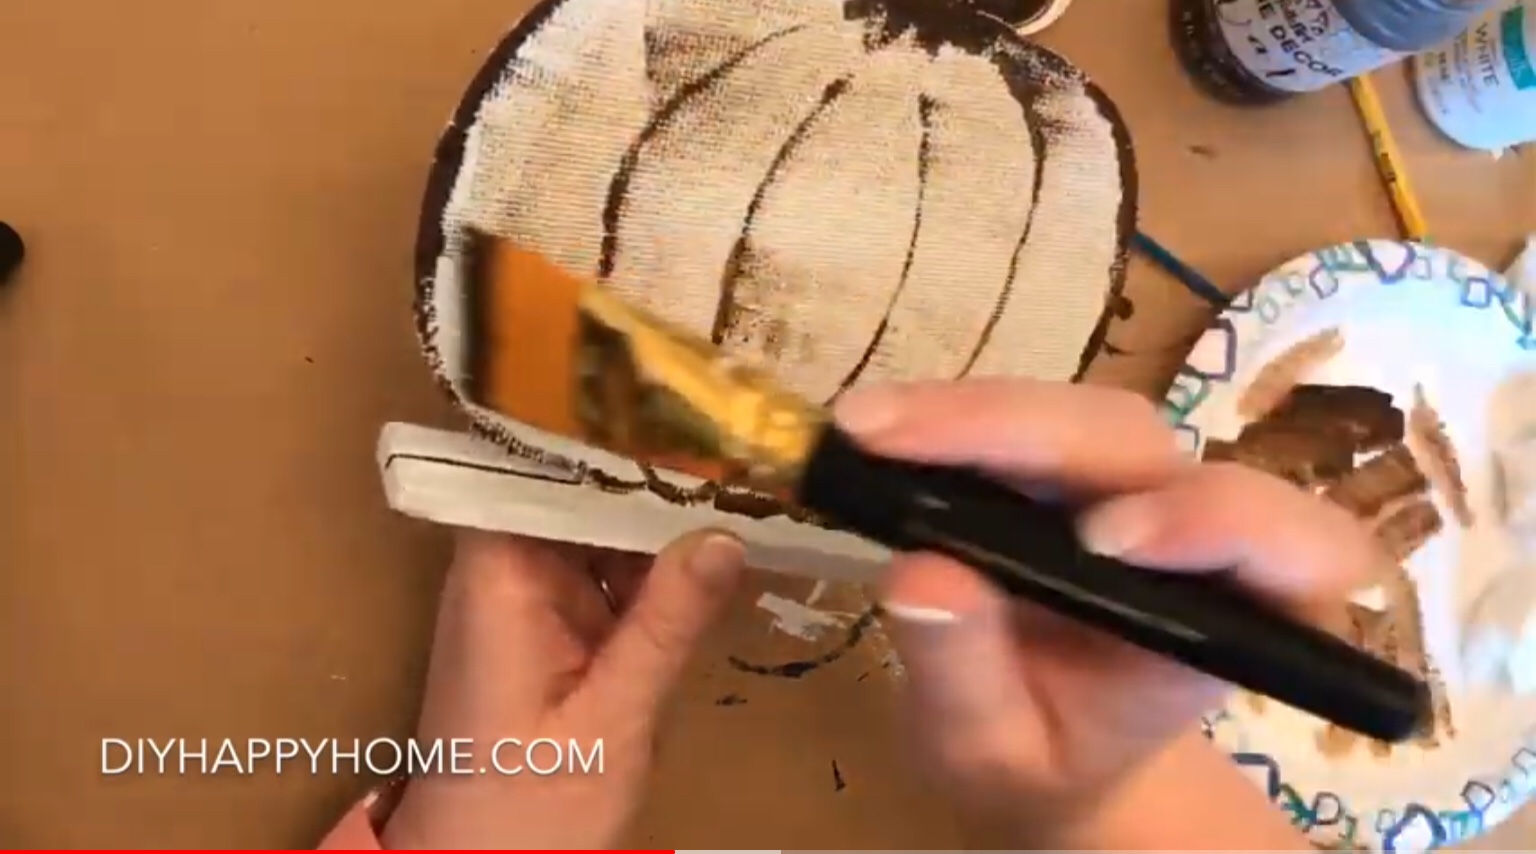

I decided a lot of the grooves I had painted on the pumpkin got too faded when I antiqued it, so I quickly painted the lines again. Live and learn, LOL!

You could still see the Friends part that the previous pumpkin had, so I decided to use burlap ribbon that I purchased at The Dollar Tree to cover it.


I made a stencil on the Cricut that reads, “Hey there, Pumpkin”. I didn’t have stencil sheets, or card stock, so I used the back of one of my daughter’s old workbooks to create the stencil.

One key to stenciling is to try to keep the brush sort of dry with paint. I use a paper plate to dap the brush on before I paint the stencil. A round stencil brush helps too, which I don’t have, ha ha. I painted the burlap ribbon with Apple Barrel Black Paint.


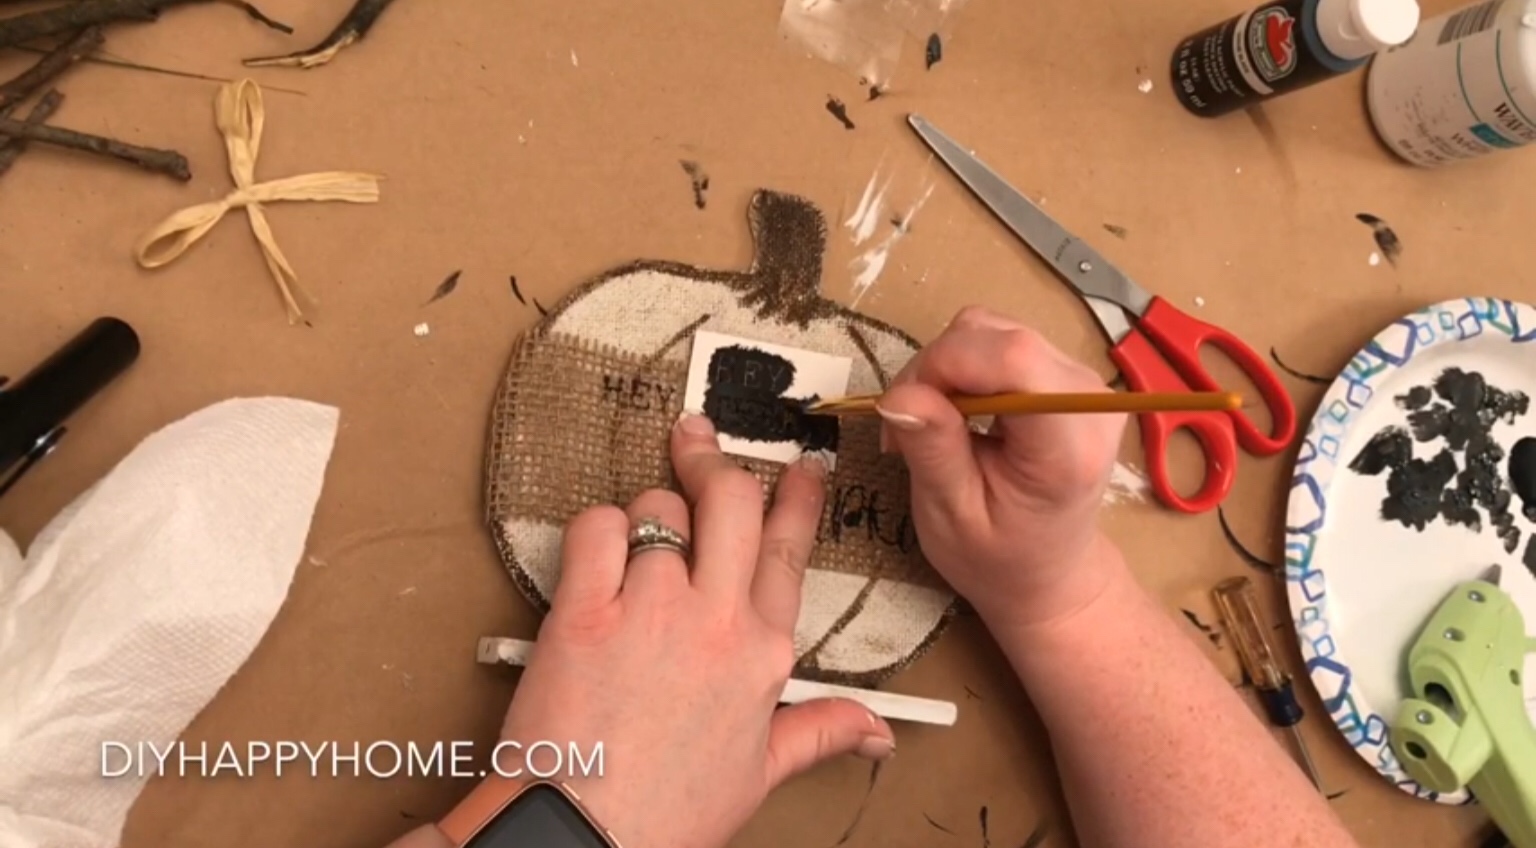
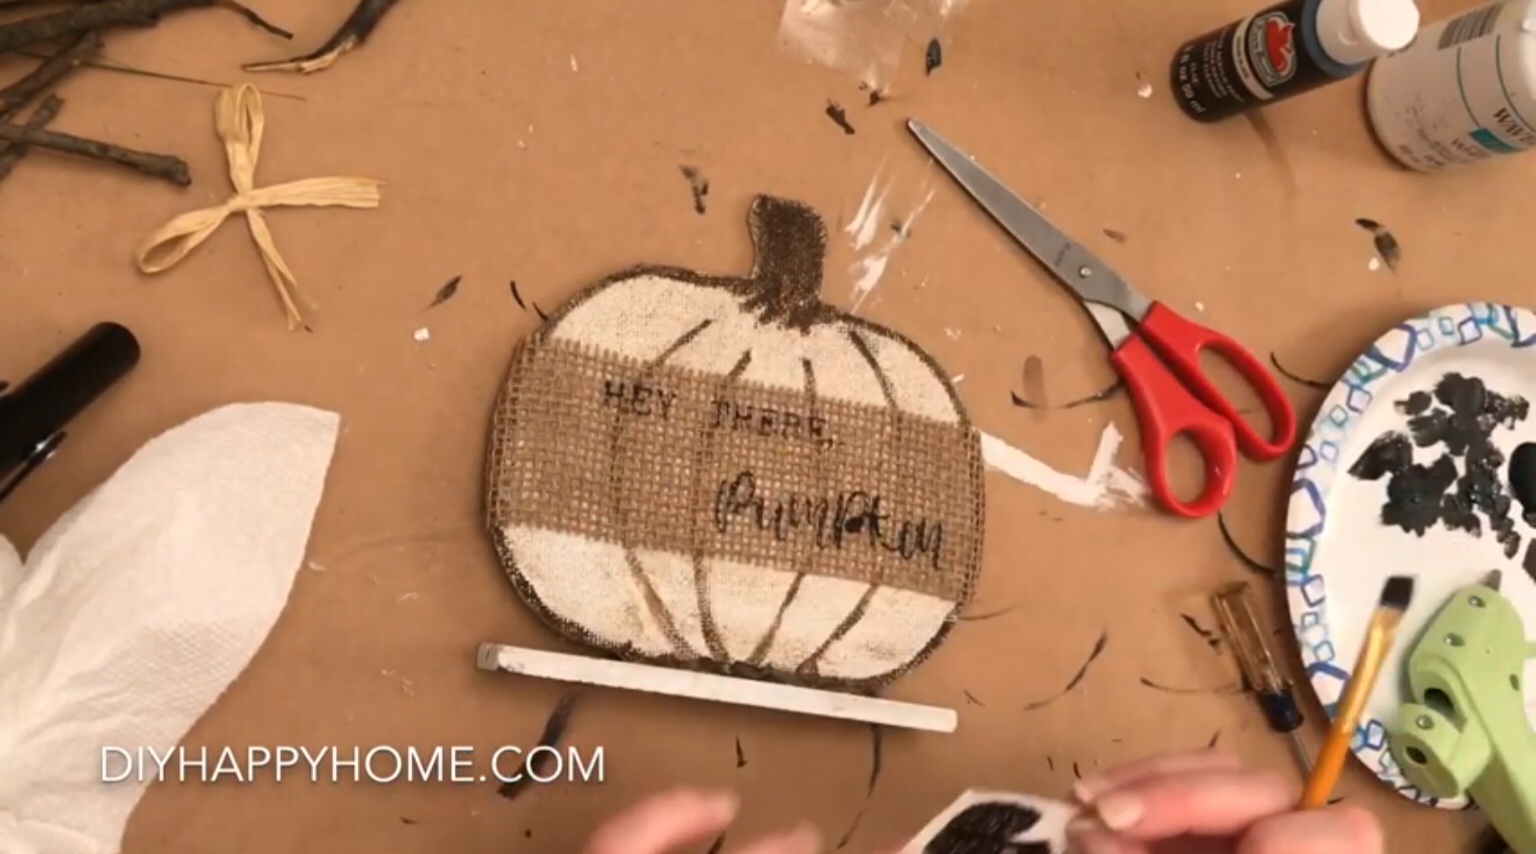
Then I used a black sharpie to fill in any spots that didn’t have the writing. It helped to fill in any bald spots underneath the burlap.

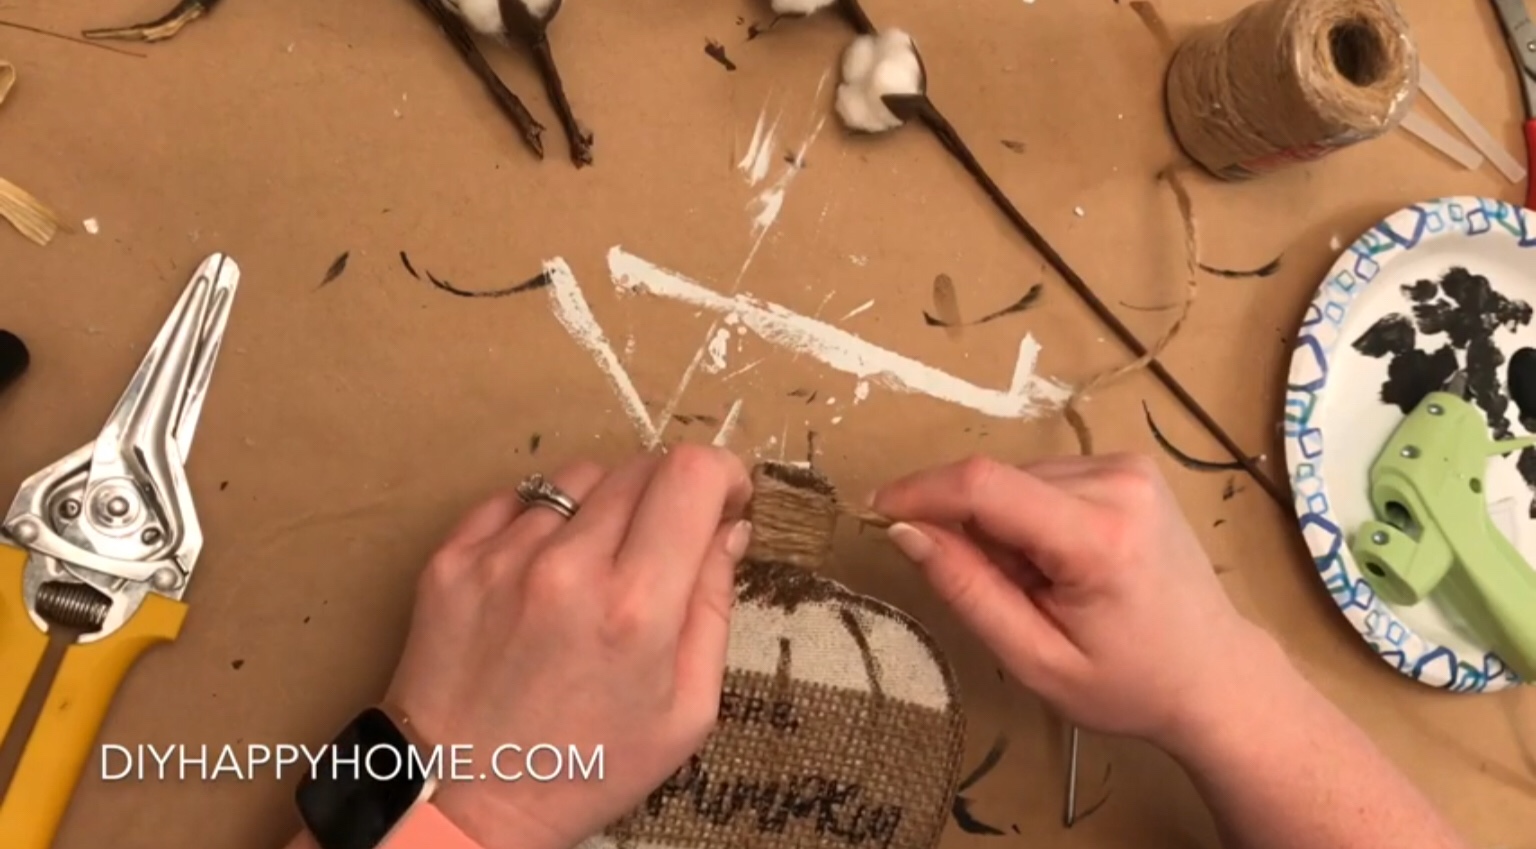
Next, I wound some garden twine around the pumpkin stem, and secured it with some hot glue.
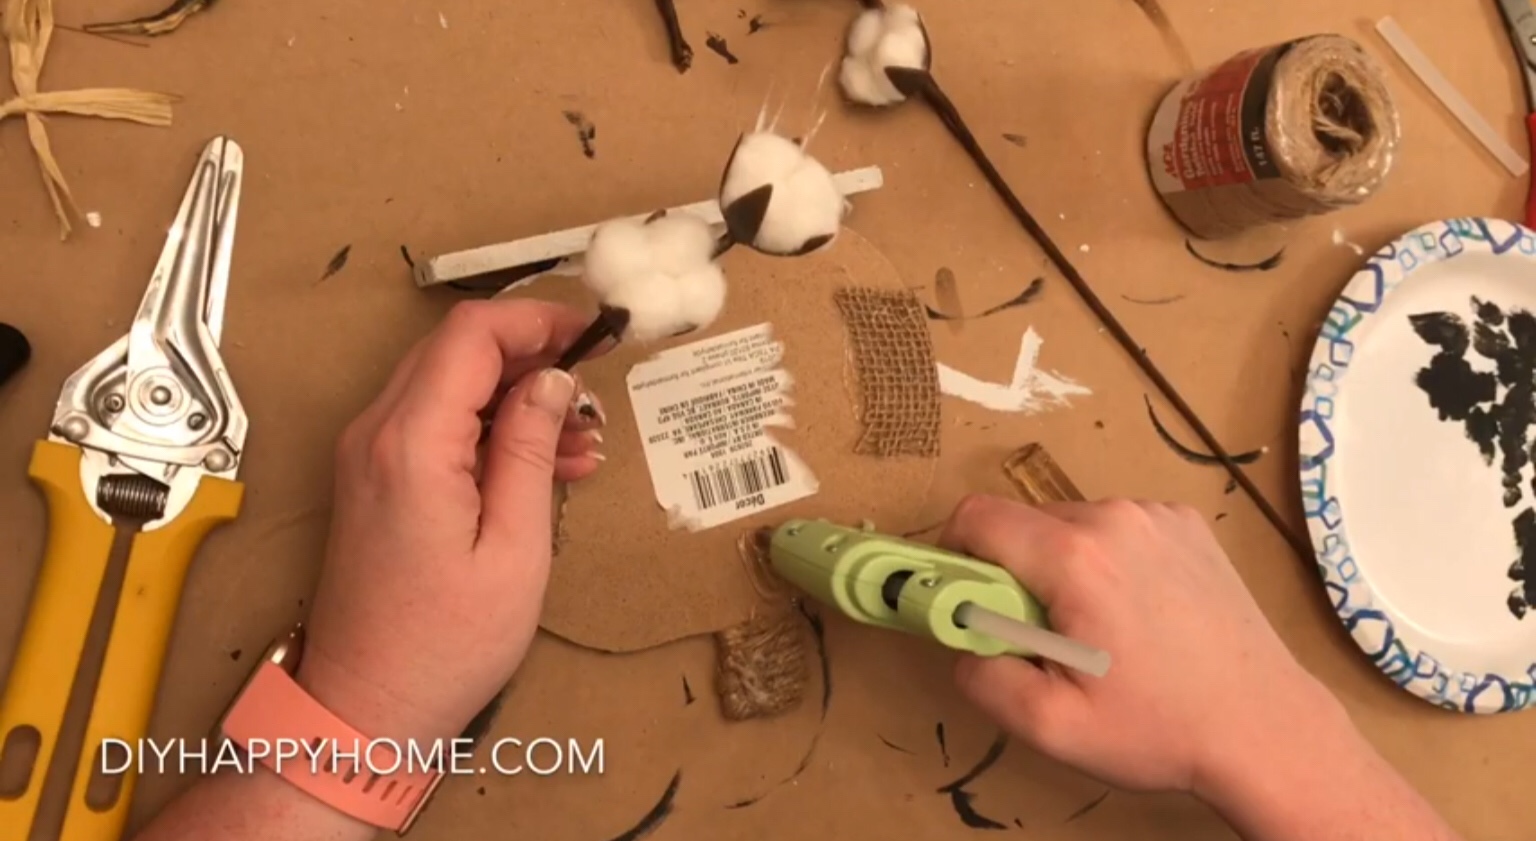
Then I added a piece of cotton stem, that I also purchased at The Dollar Tree, to the top of the pumpkin. I secured it using some hot glue.

And here is the finished pumpkin. I think it turned out awesome! The cost was about $3 to make, minus the cost of paint and garden twine. It has a nice, rustic farmhouse decor look. I hope you like it too! What do you think? Do you like the before or after better? Please let me know in the comments. Thanks for joining me! Please follow my blog, and Subscribe to my YouTube Channel, DIY Happy Home, to see my upcoming future home projects.

Please check out my step-by-step how-to video on YouTube below:
Until next time!
Carla XOXO
