I purchased this wood pumpkin from The Dollar Tree and planned to redesign it once I got it home.

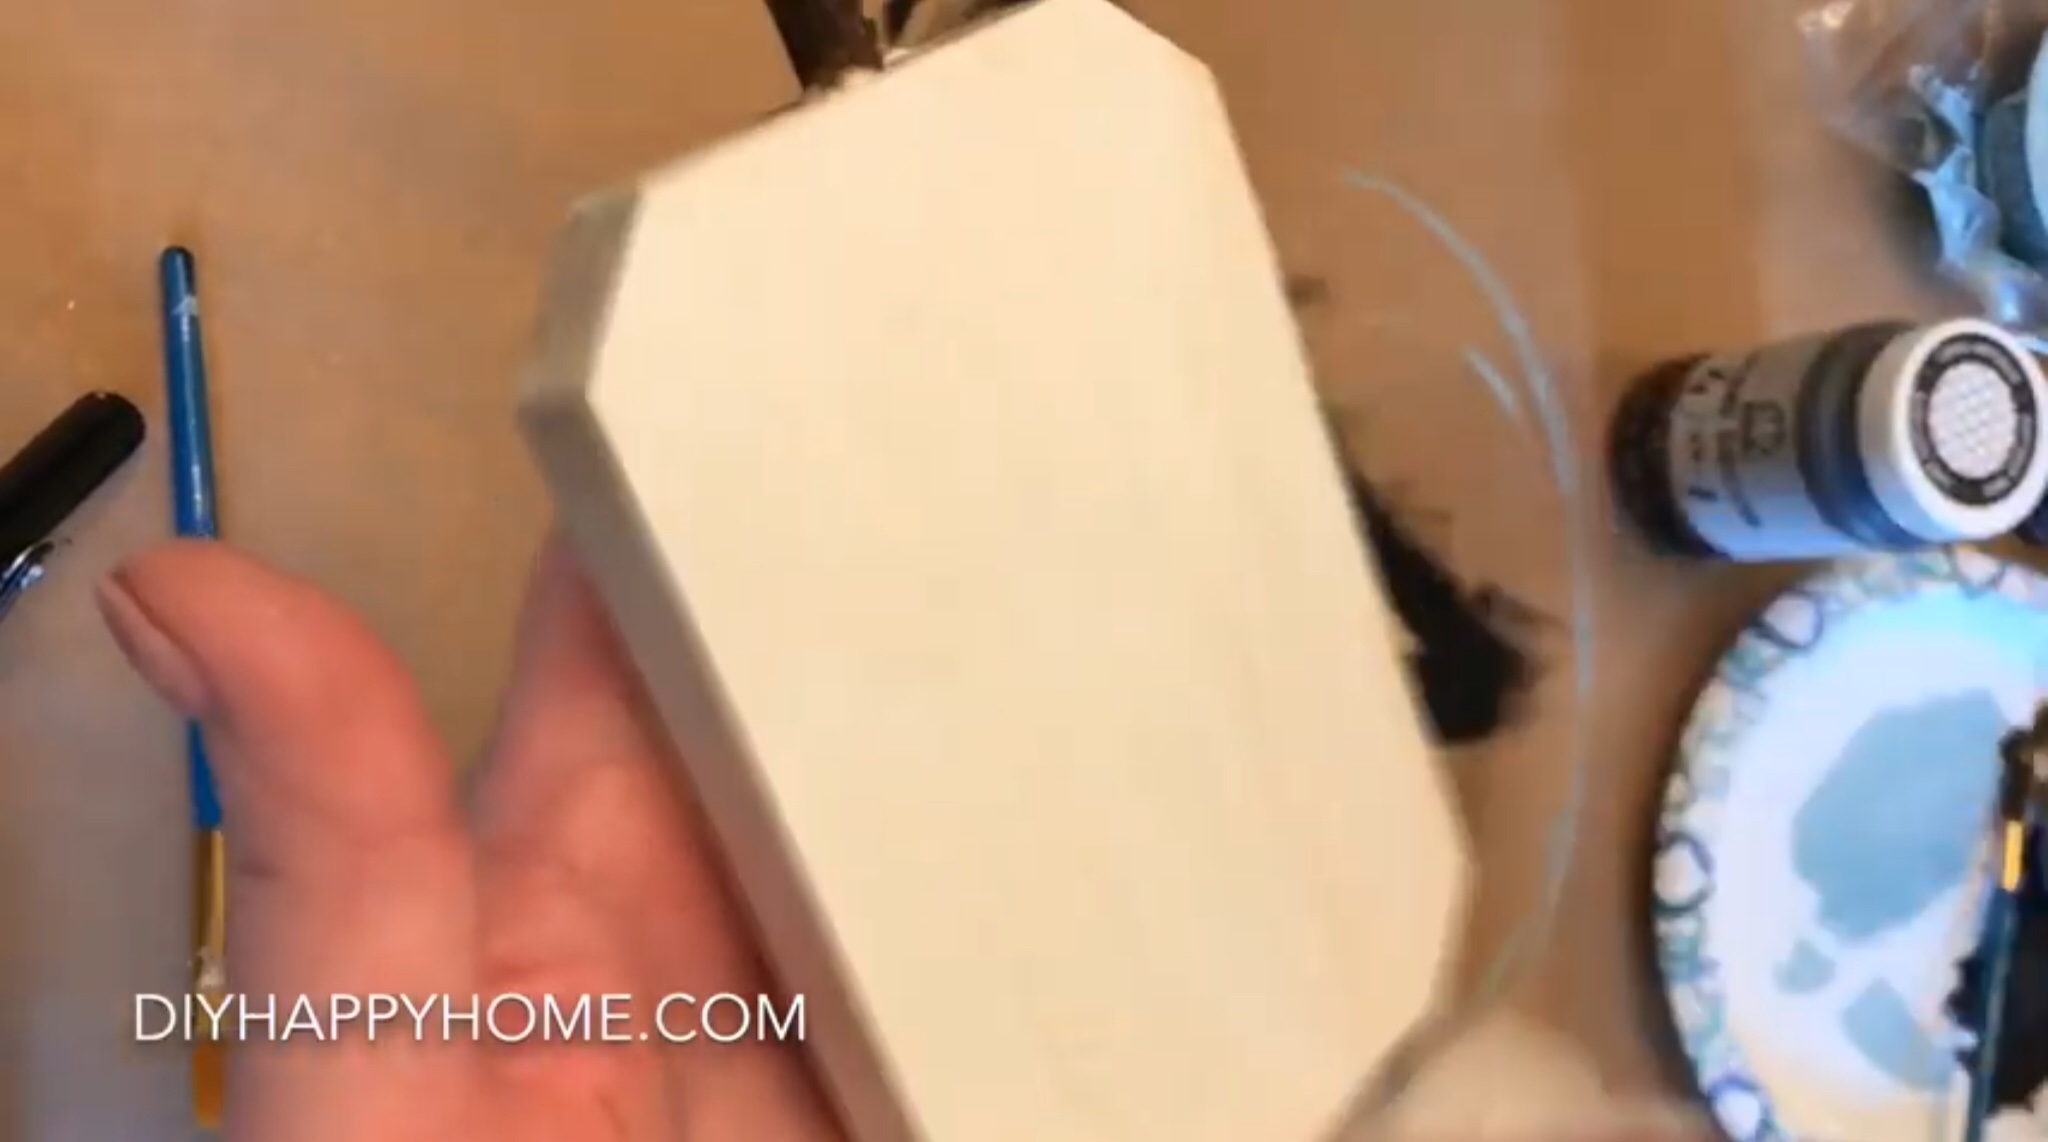
First, I removed the raffia bow and any dried hot glue around it. Then, I lightly sanded the front. Next, I painted two coats of Waverly White Chalk Paint.

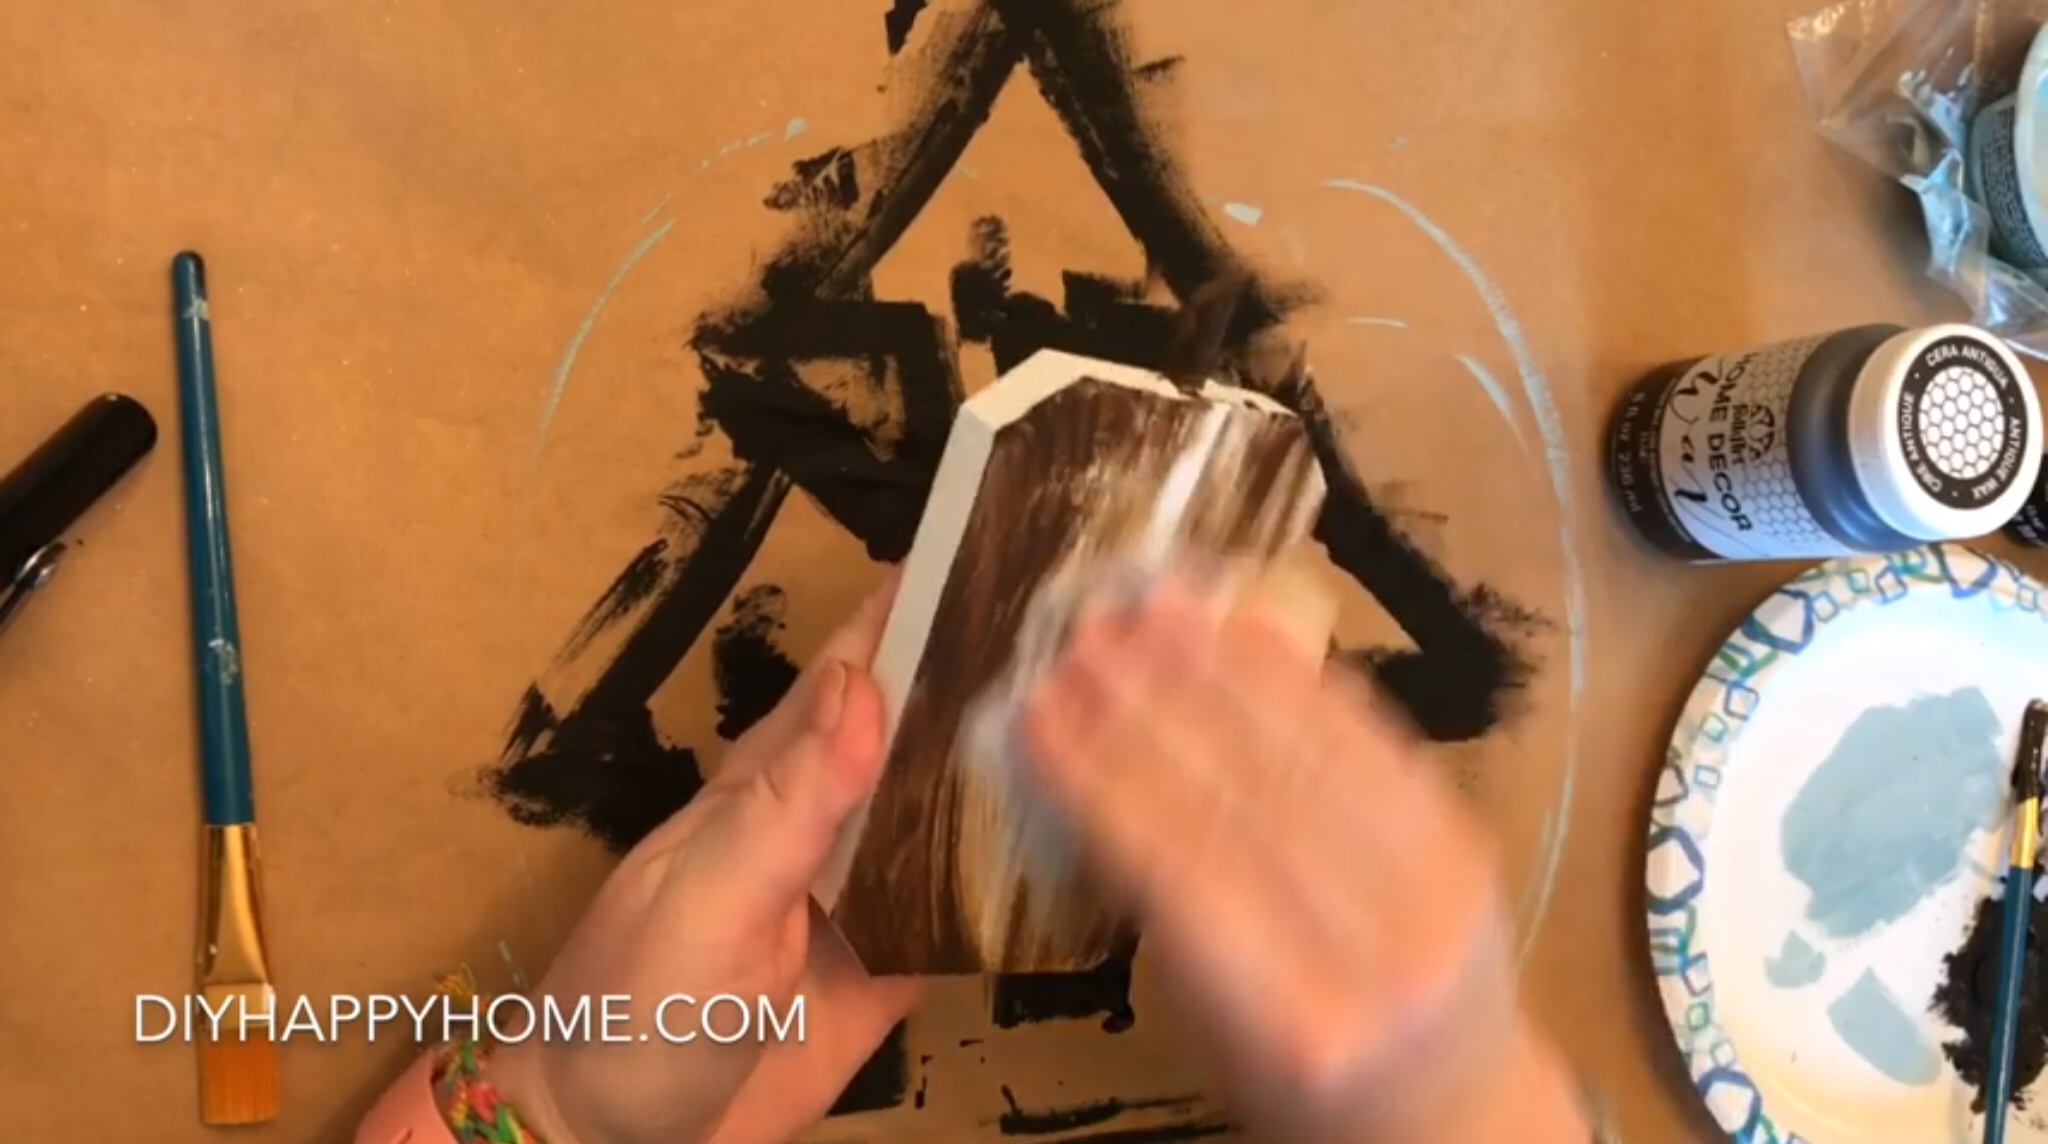
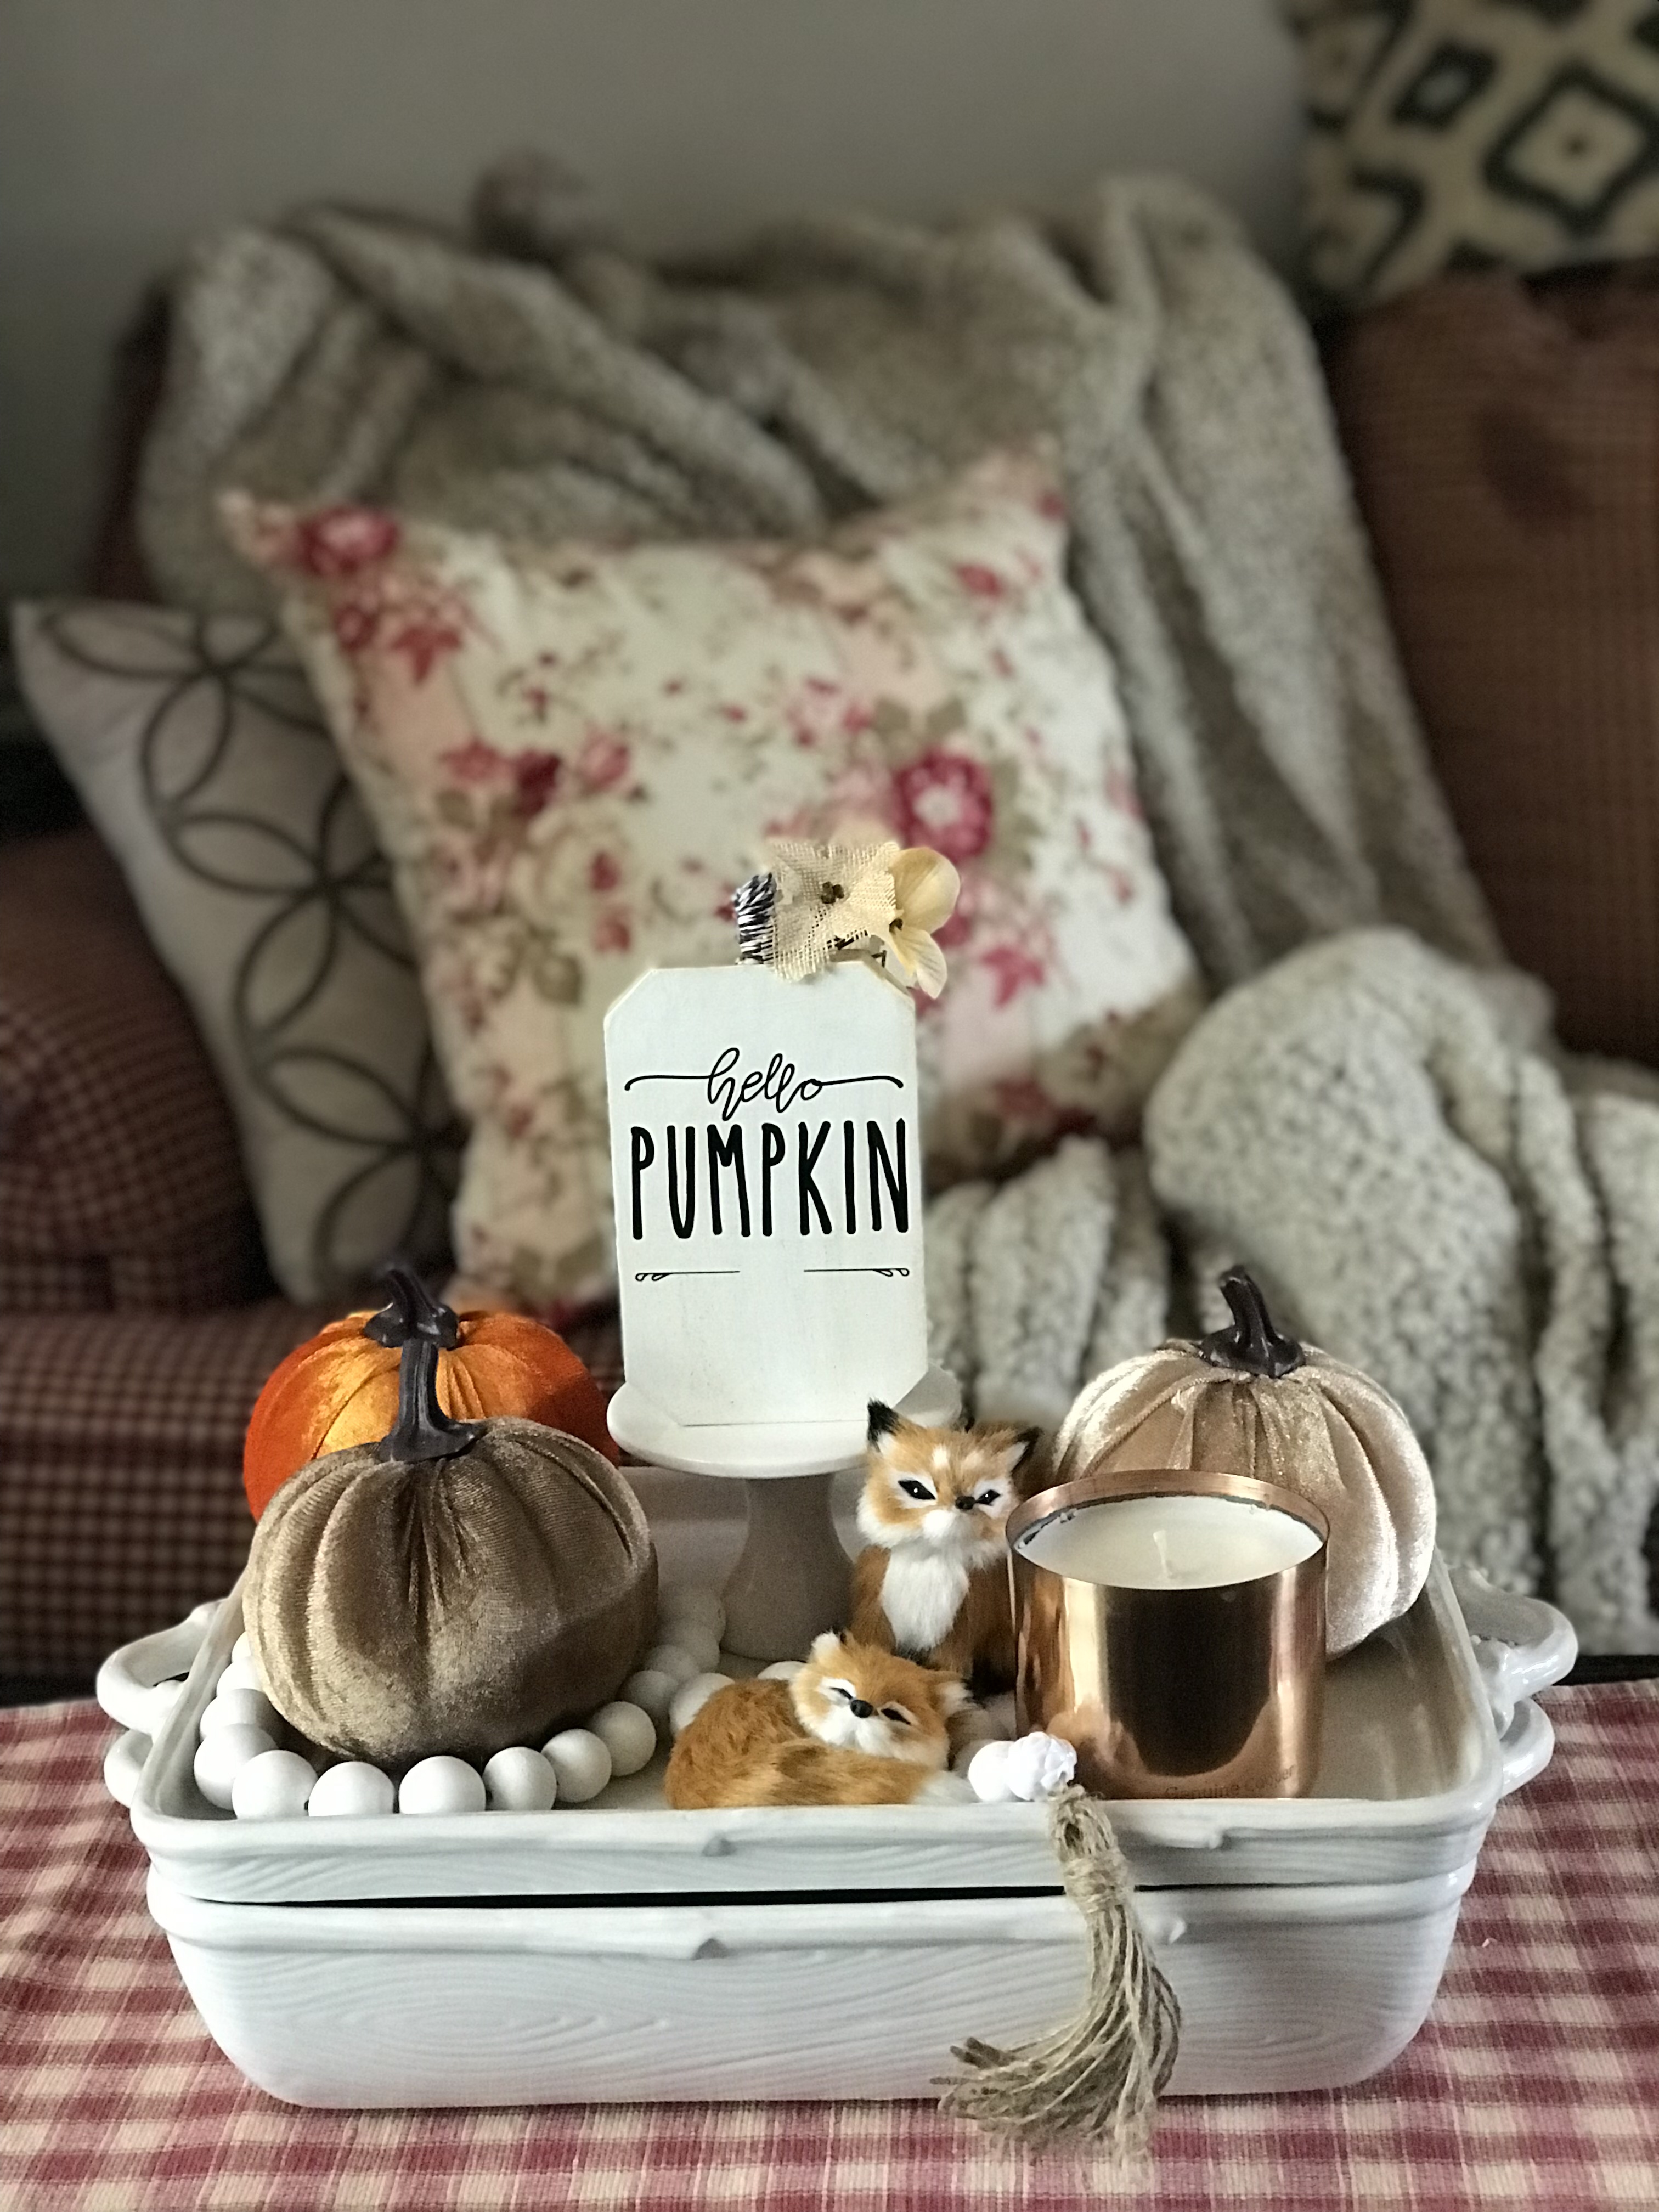
I wanted an antique look, so I used brown Folk Art Wax to give the pumpkin an aged look.


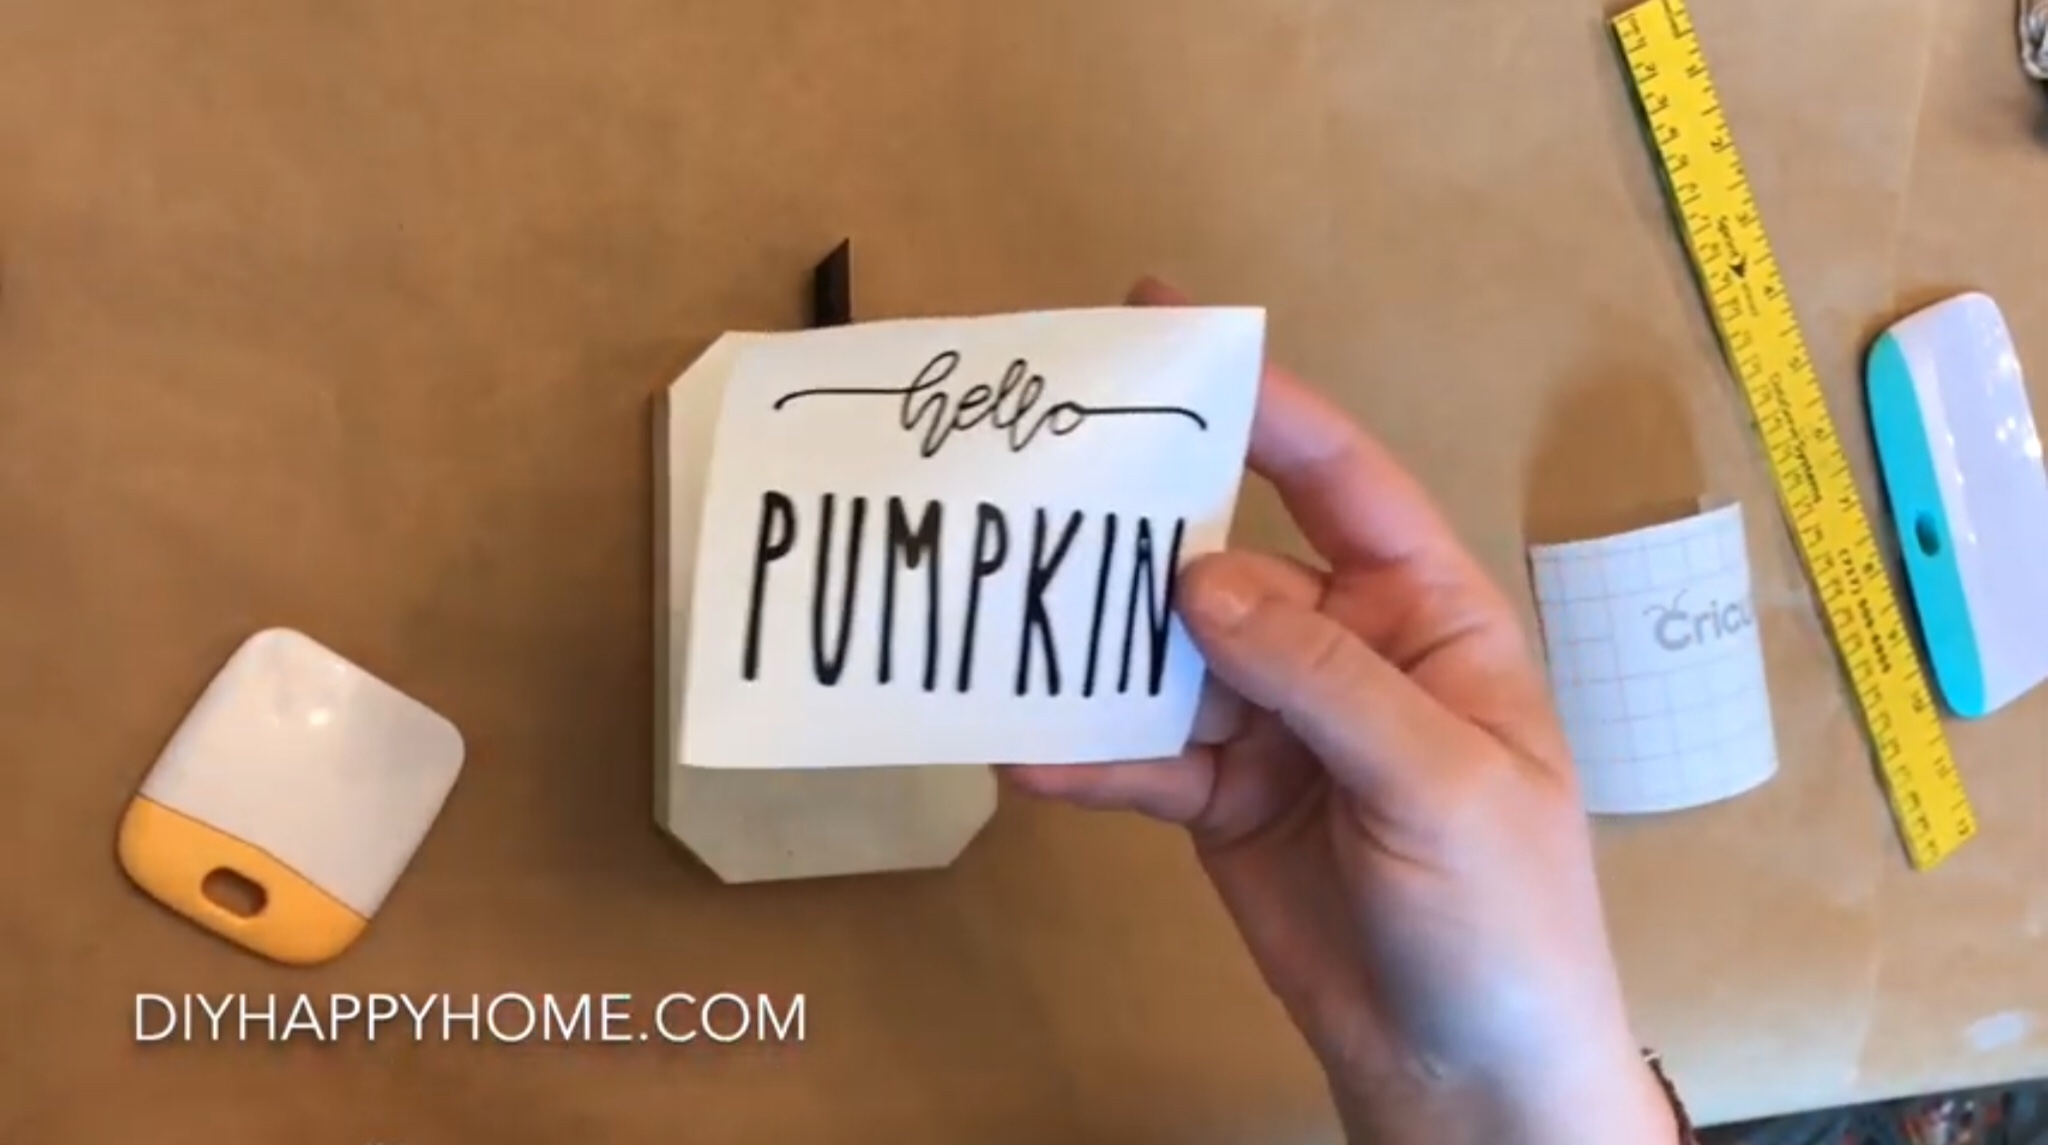
I made a vinyl transfer that reads “Hello Pumpkin” on the Cricut. Once the pumpkin dried, I carefully transferred the vinyl to the pumpkin.

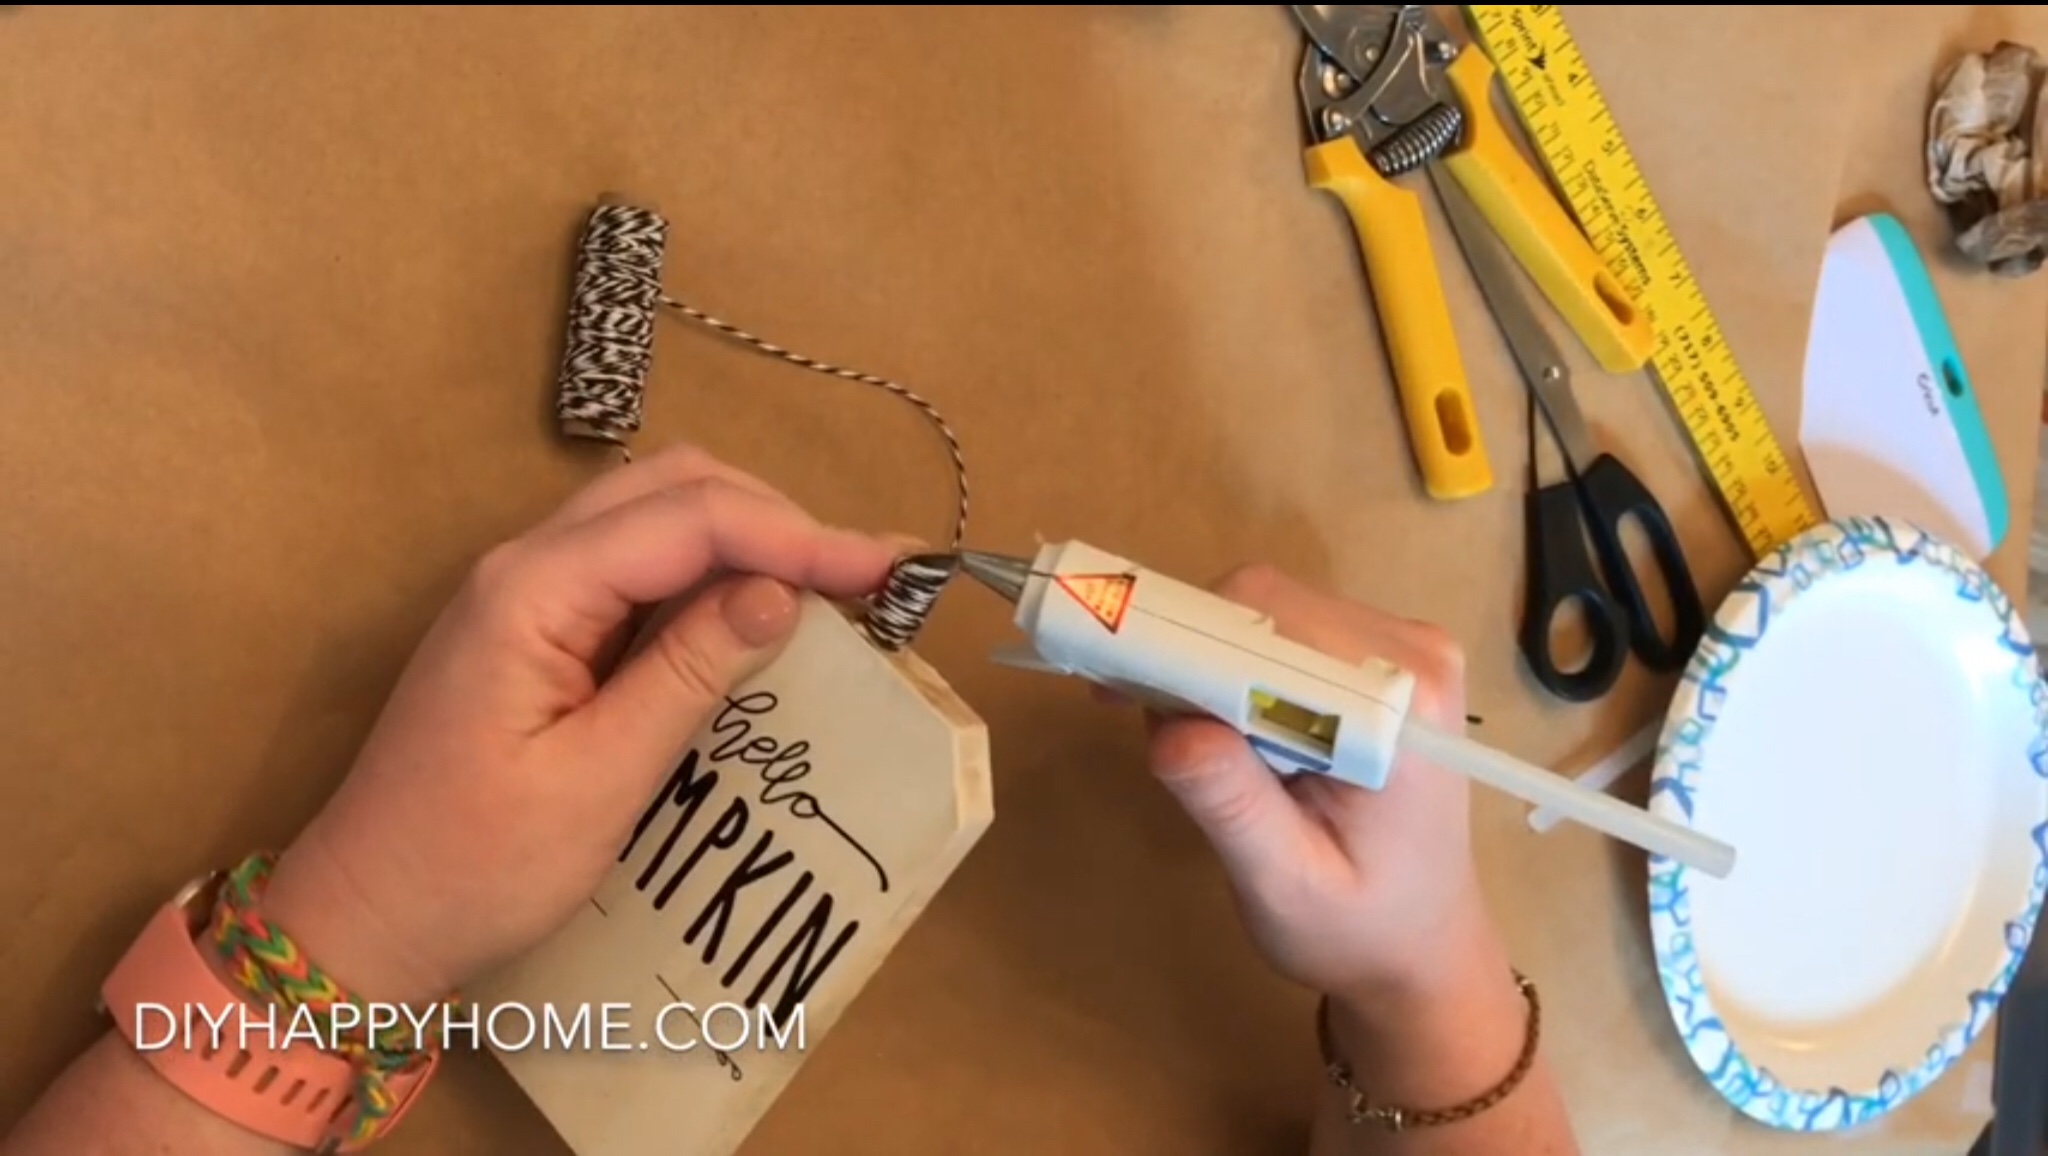
Next, I added black and white bakers twine that I also purchased at The Dollar Tree to the stem of the pumpkin and secured it with hot glue.
I added some burlap florals from the Dollar Tree next to the stem of the pumpkin. I secured them with hot glue to the back of the pumpkin by attaching a patch of burlap ribbon to keep the flowers in place.

The pumpkin turned out great! I like the combination of the fonts used, they are festive and easy to read.

Let me know in the comments what text you would put on your Pumpkin Redesign and what color you would use!
Please comment, like, and share. Please follow for some fun future projects!
Here’s my how-to video. Please Subscribe to my YouTube Channel for some fun upcoming projects!
Until next time!
Carla XOXO
