Create a metallic, rustic looking Jack O’Lantern using some items from the Dollar Tree!
I have been wanting a vintage gas can Jack O’Lantern for quite some time now. I was at an antique store the other day and there was a red vintage gas can. I asked what the price was and it was $40, which I could not afford. So, I decided I would try to replicate a miniature version of one. Plus, my mini version will not smell like gasoline, LOL!

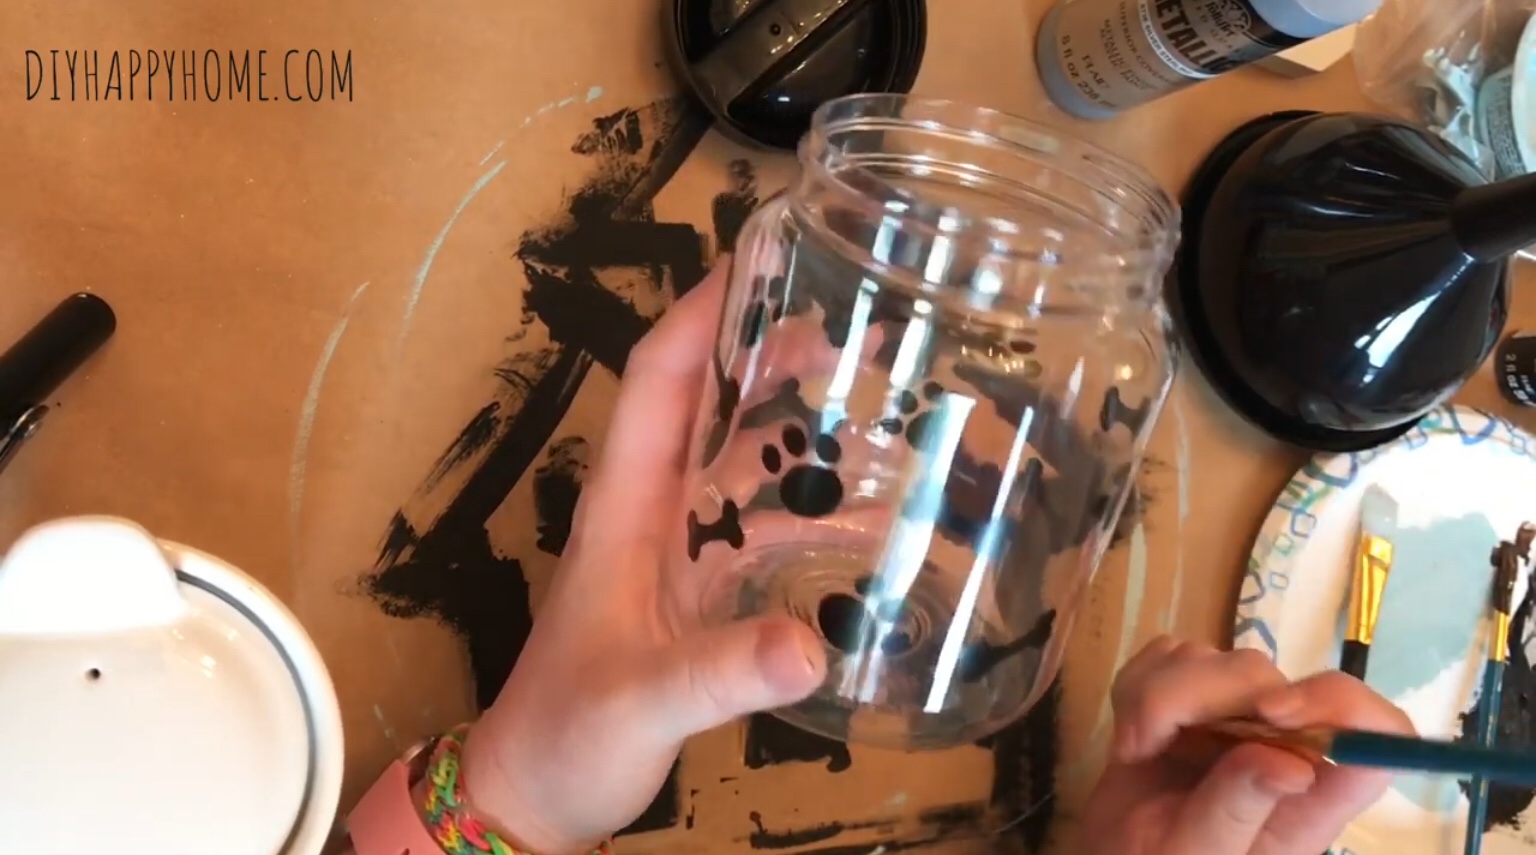
I went hunting around the Dollar Tree to see what I could use for my own “gas can” Jack O’Lantern. I found a pet treat jar and a pack of 3 plastic funnels and I was ready to craft!

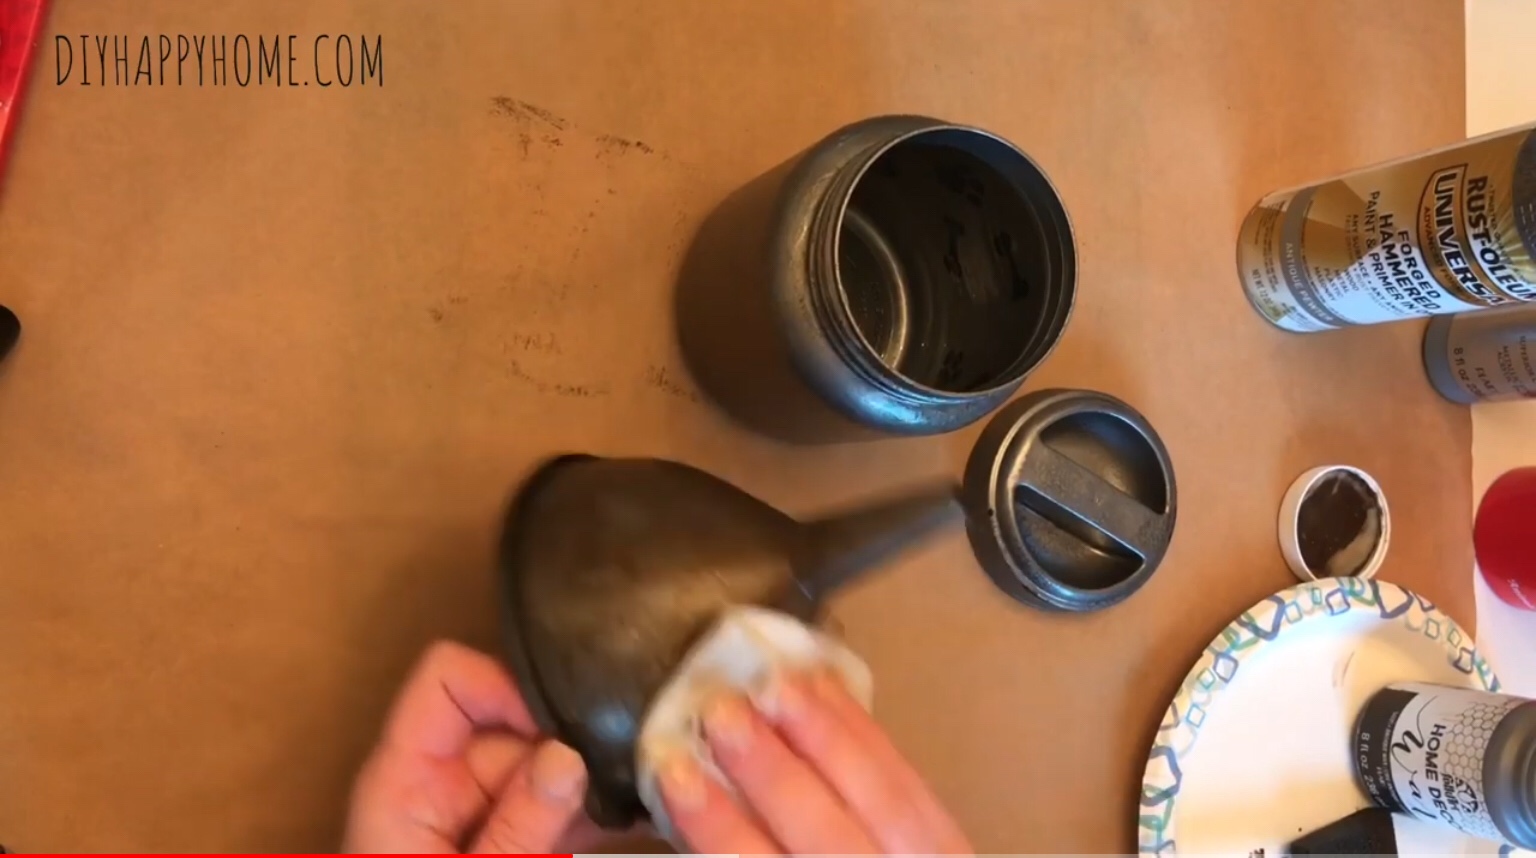
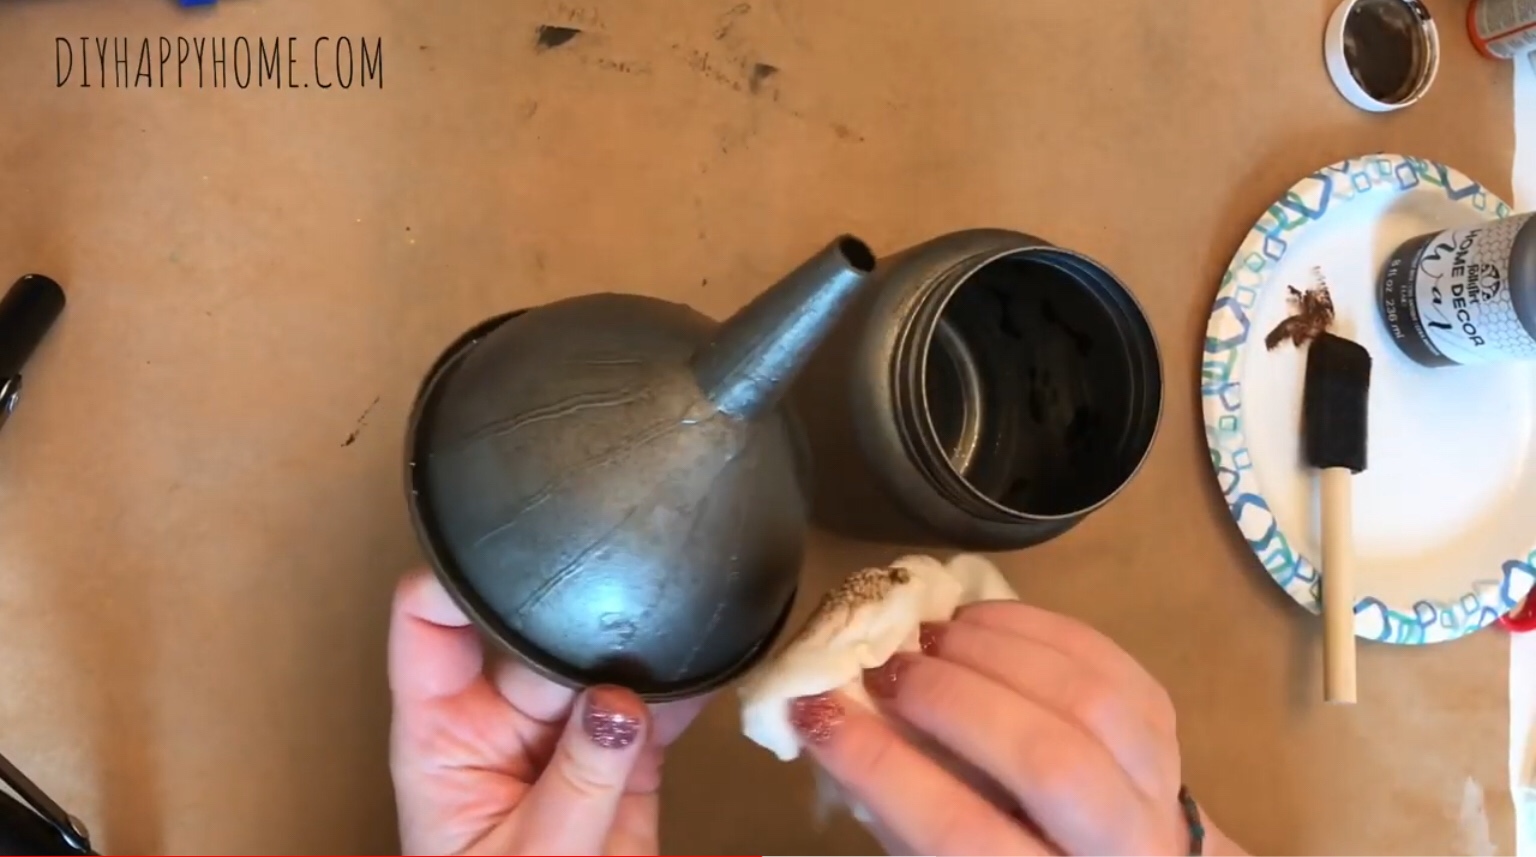
I knew I wanted a metal look, so I first started to hand paint the pet treat jar. Then I decided spray paint would be so much easier! I used Rustoleum’s Universal Forged Hammered Antique Pewter spray paint to paint the pet treat jar, lid, and funnel. I love this paint, it’s amazing!

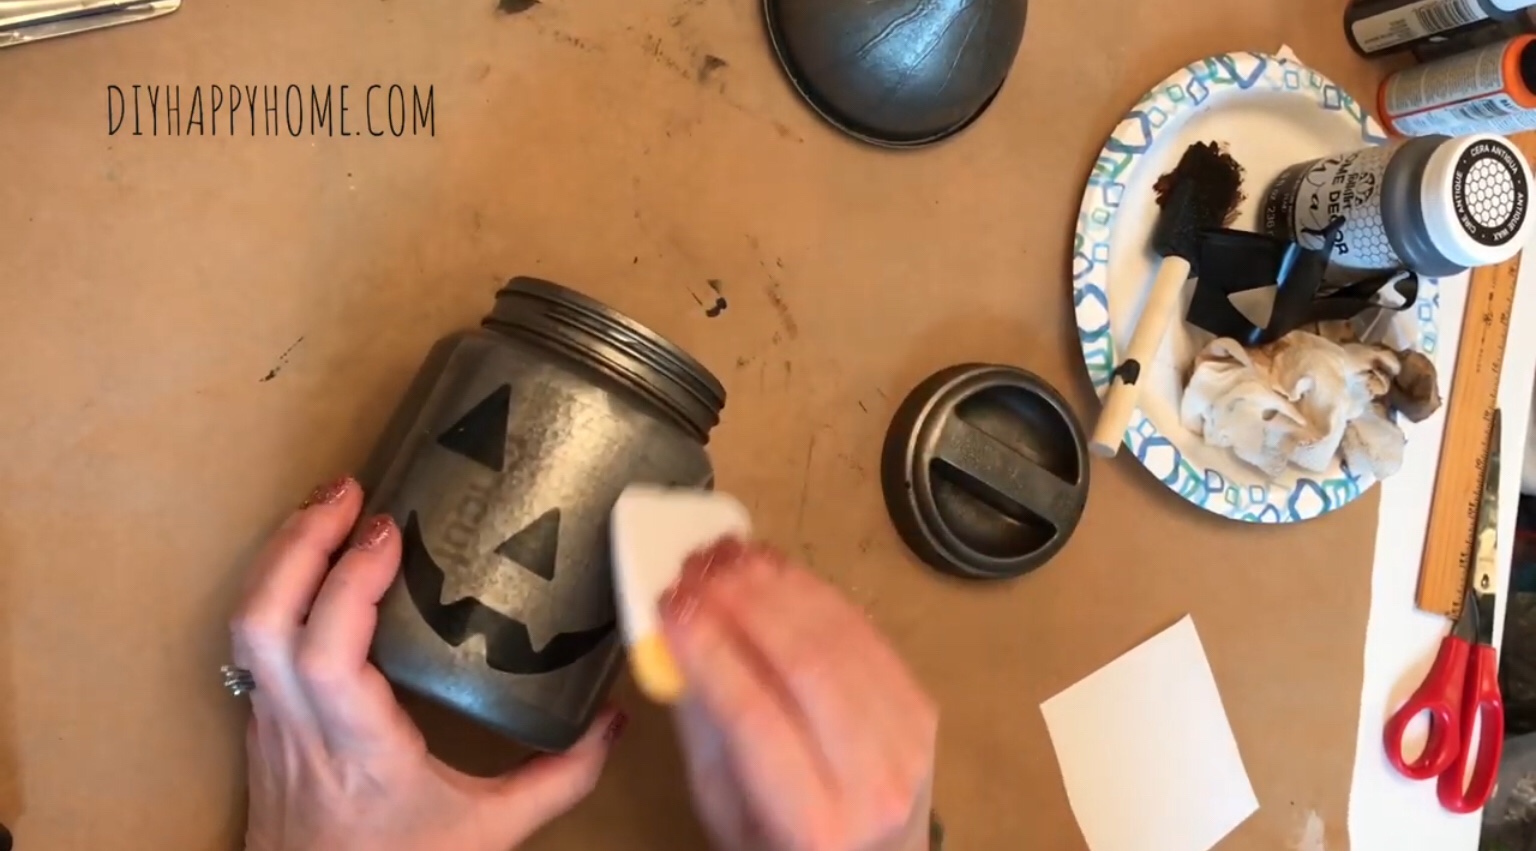
Next, I antiqued all three pieces using Folk Art Home Decor Wax in brown. I brushed the wax on, and then I used a damp paper towel to dab some of the wax off. Does this remind you of a karate kid reference? Wax on! Wax off! Daniel son! Ha ha, I digress. 😂

Then, I decided to add some texture to the funnel so it would appear to be real metal. I took my Elmers glue and I added Elmers glue stripes up and down the funnel. Then I let it dry. Once it was dry, I spray painted it again. If you were going to make this project, I suggest you just add the Elmers glue to the plastic funnel from the get go. I did not do this because I didn’t think of it when I originally started. 😂😂😂 Then, just spray paint the funnel once the Elmer’s Glue is dry. Once my spray paint was dry, I antiqued the funnel again using the Folk Art Home Decor Wax. Then, I set them out to dry.


While my jack-o’-lantern pieces were drying, I designed my jack-o’-lantern face in Cricut design space. I cut the face out using matte black Cricut vinyl. I then transferred it to my transfer paper.
Once all of the jack-o’-lantern pieces were dry, I transferred my vinyl jack-o’-lantern face to the jack-o’-lantern. I did not glue the funnel to the top of mine, but you can if you choose to. I think it turned out really cute. And I do like the fact that it is small and easier to display rather than a super huge gas can.


I hope you enjoyed this project, I certainly did. It was pretty easy to make, and I love the results! It would be a really cute addition to anyone’s home decor. If you are going to be displaying outside, I would spray it with a clear sealant. Please let me know in the comments what color you would make your jack-o’-lantern. I think a burnt orange would be cool as well, perhaps with a metal base and you lightly dry brush on some burnt orange paint.

Here is my how to video. Please also feel free to Like, Comment, Follow, and Share. And I would really love for you to please subscribe to my YouTube channel to see my future fun projects!
Until next time,
Carla XOXO
