Create a beautiful heirloom pumpkin arrangement using items from the Dollar Tree!
I purchased this pumpkin sign from The Dollar Tree with plans to transform it into something different. I wanted it to work with some of my heirloom pumpkin and farmhouse style decor. So I sought out to recreate it using some pretty colored paints, small pumpkins, a white plastic wrapped wire basket, and some faux greenery. Most of the items were purchased at The Dollar Tree.

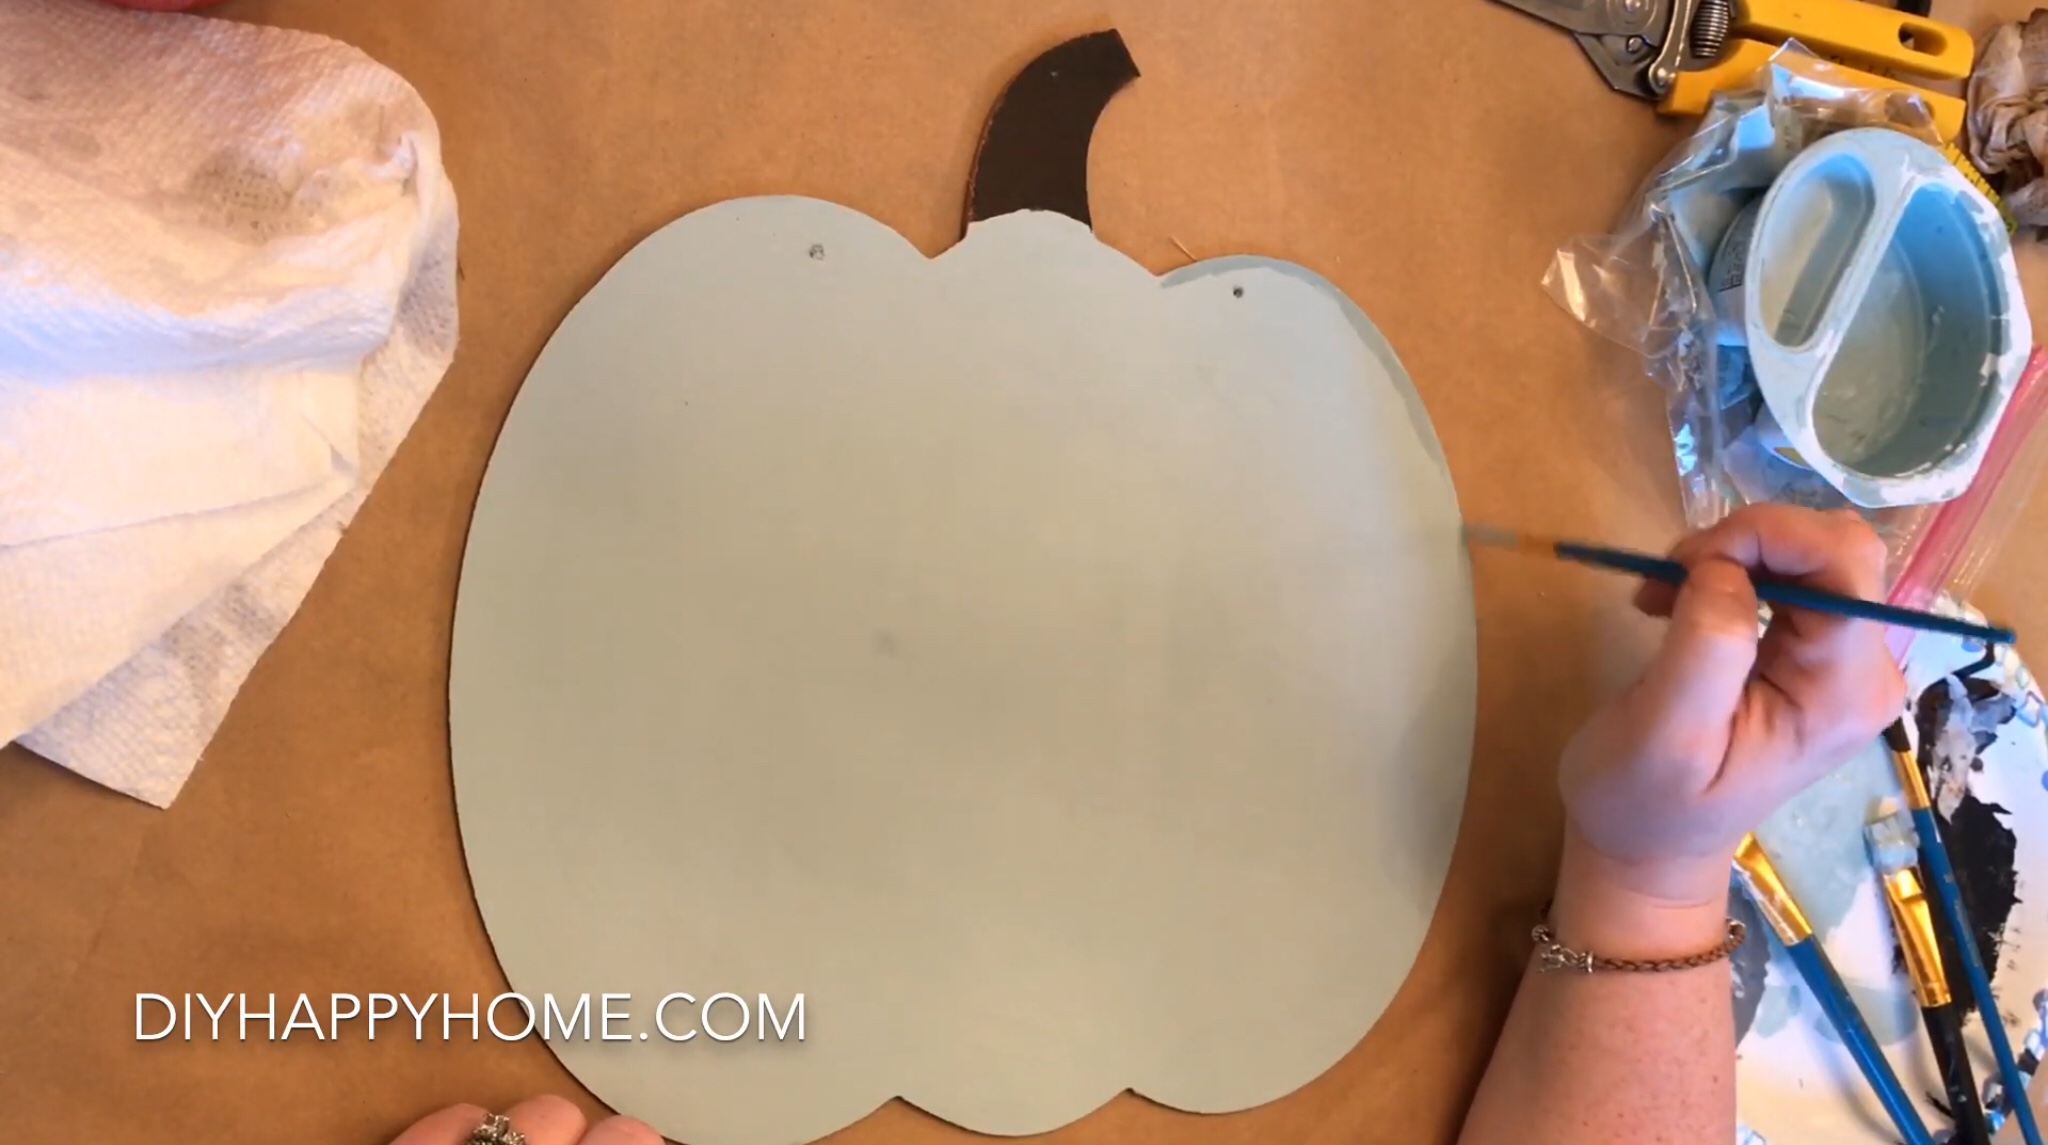
First, I removed the jute hanger, the metal leaf, and the raffia bow. Then, I lightly sanded the front of the pumpkin. Next, I began to paint the pumpkin. I mixed my own paint, using Apple barrel cobalt blue, two drops of Apple barrel yellow, and then I mixed in Waverley white chalk paint.

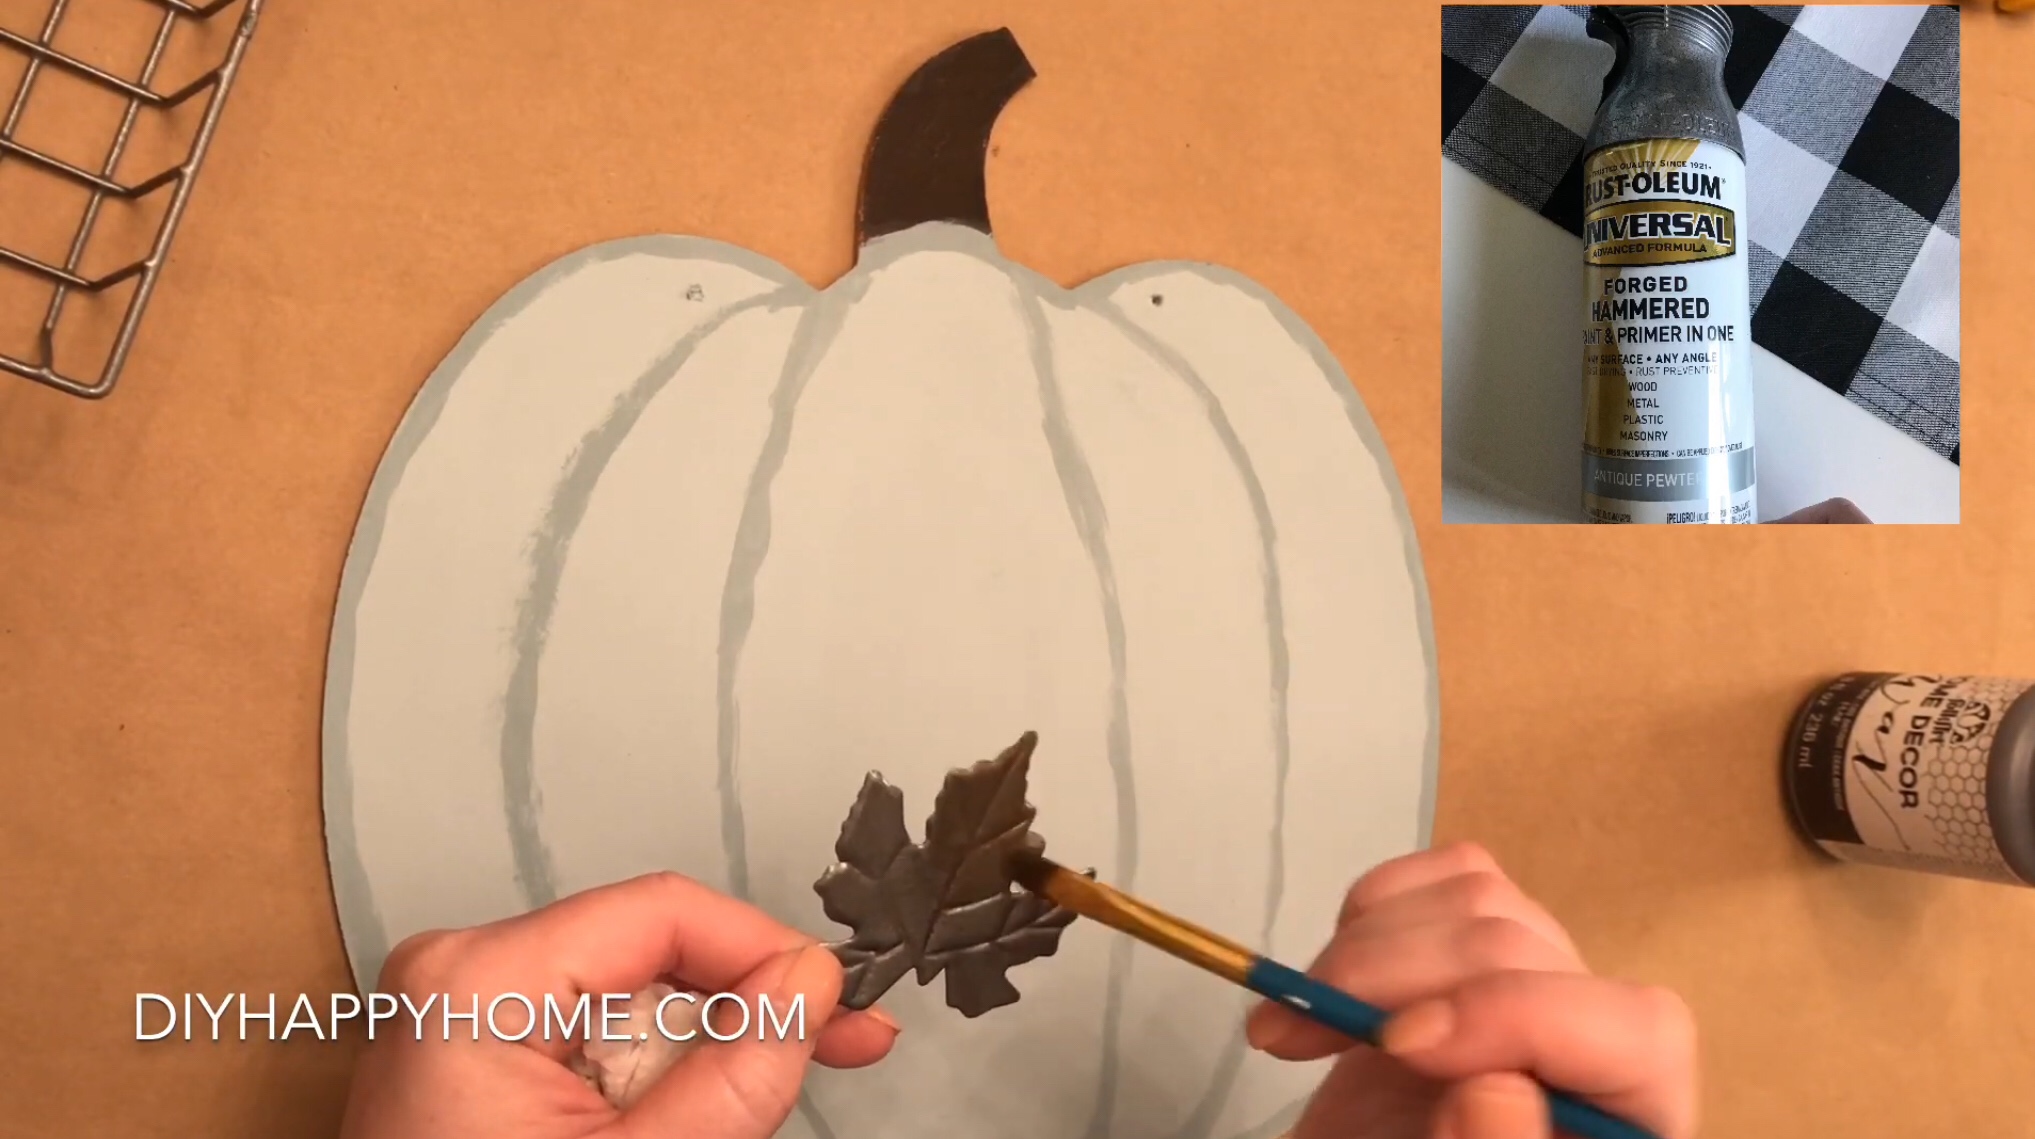
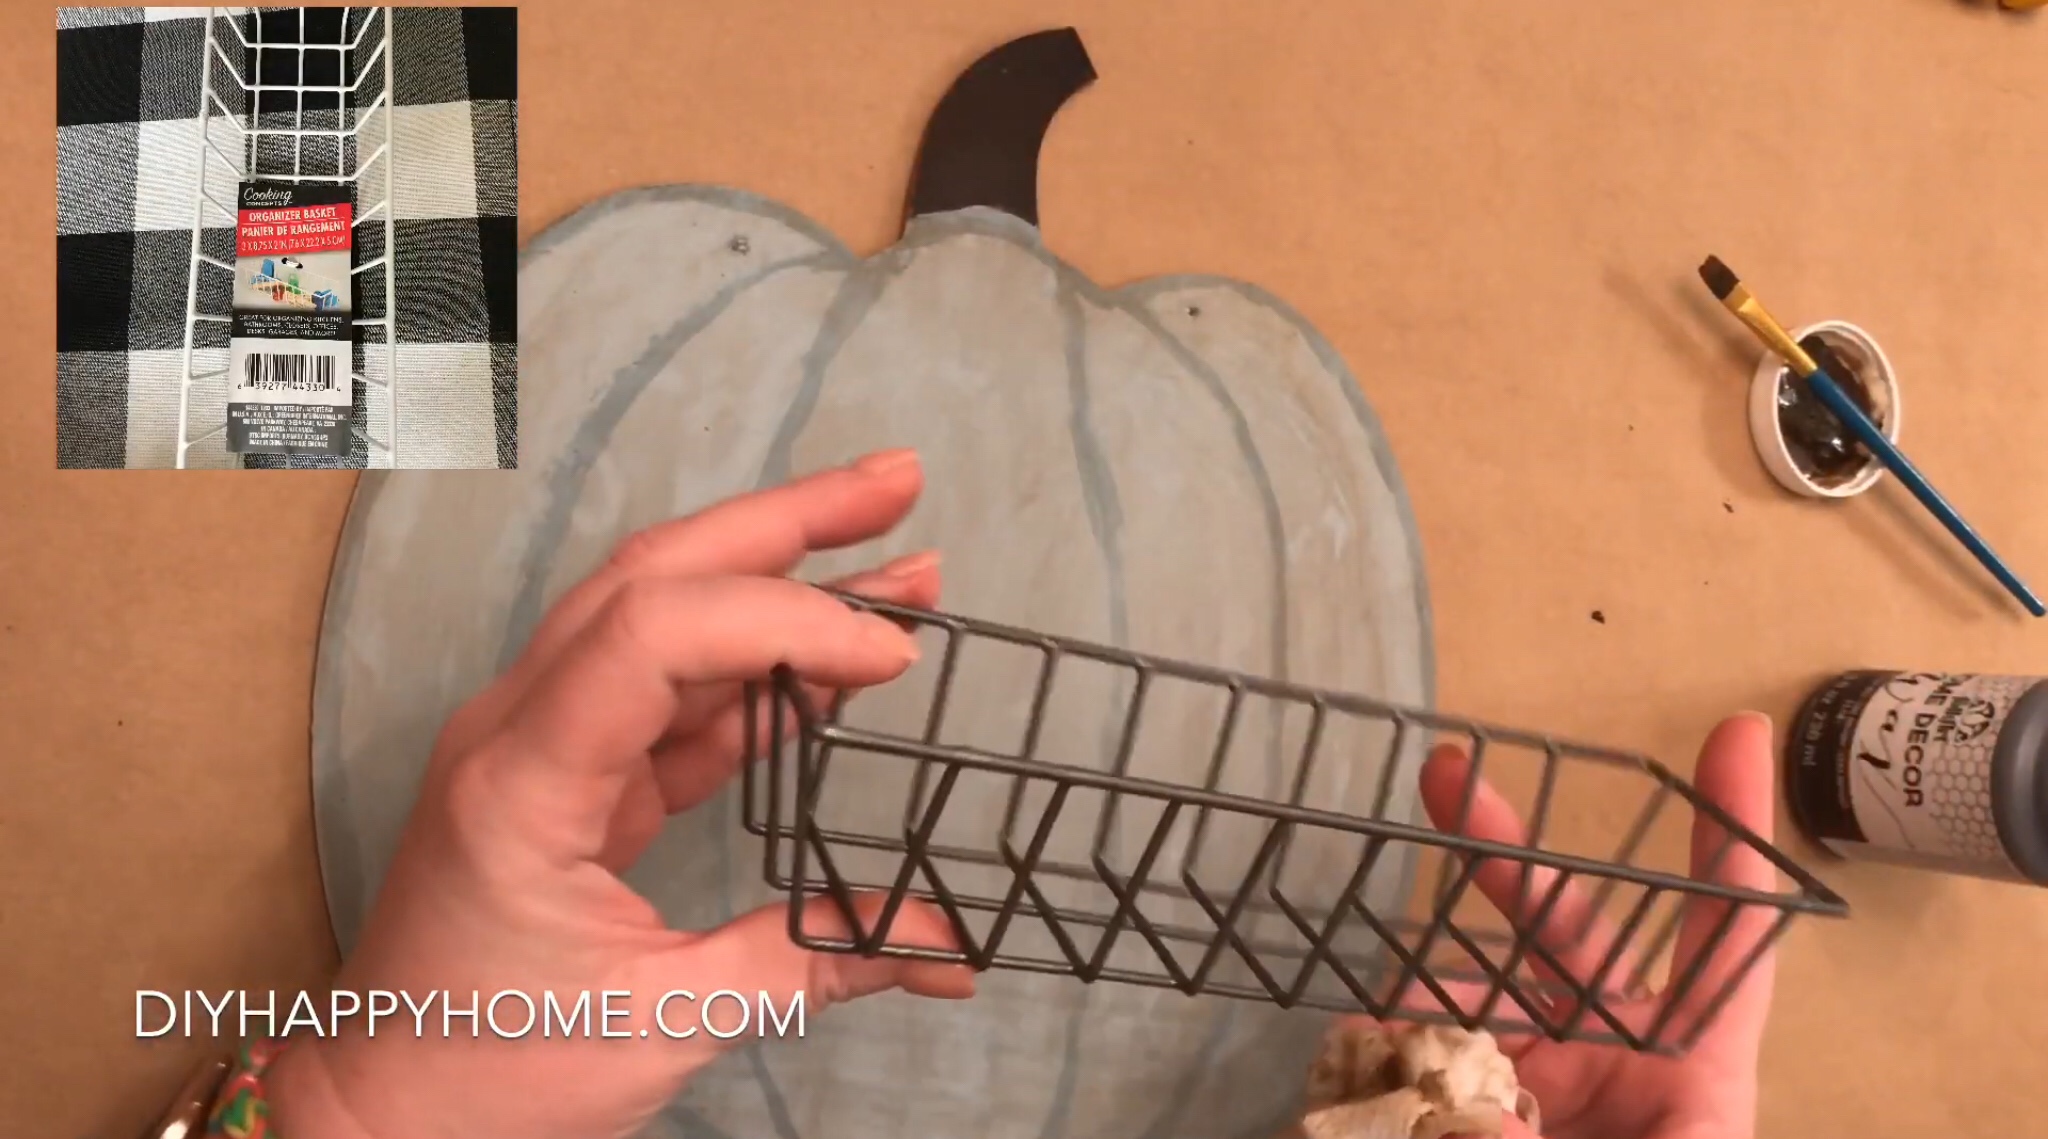
Next, I began to mimic the grooves a real pumpkin has by painting lines onto the pumpkin. I used a shade darker paint here, again using the same paint colors to mix it. Then, I spray painted both a metal leaf, and a white plastic coated wire basket (also purchased from The Dollar Tree) in antique pewter. See the can of spray paint in the image below.
Next, I am antiqued the pumpkin using Folk Art Home Decor Wax in brown. Then I wiped it off with a damp paper towel.
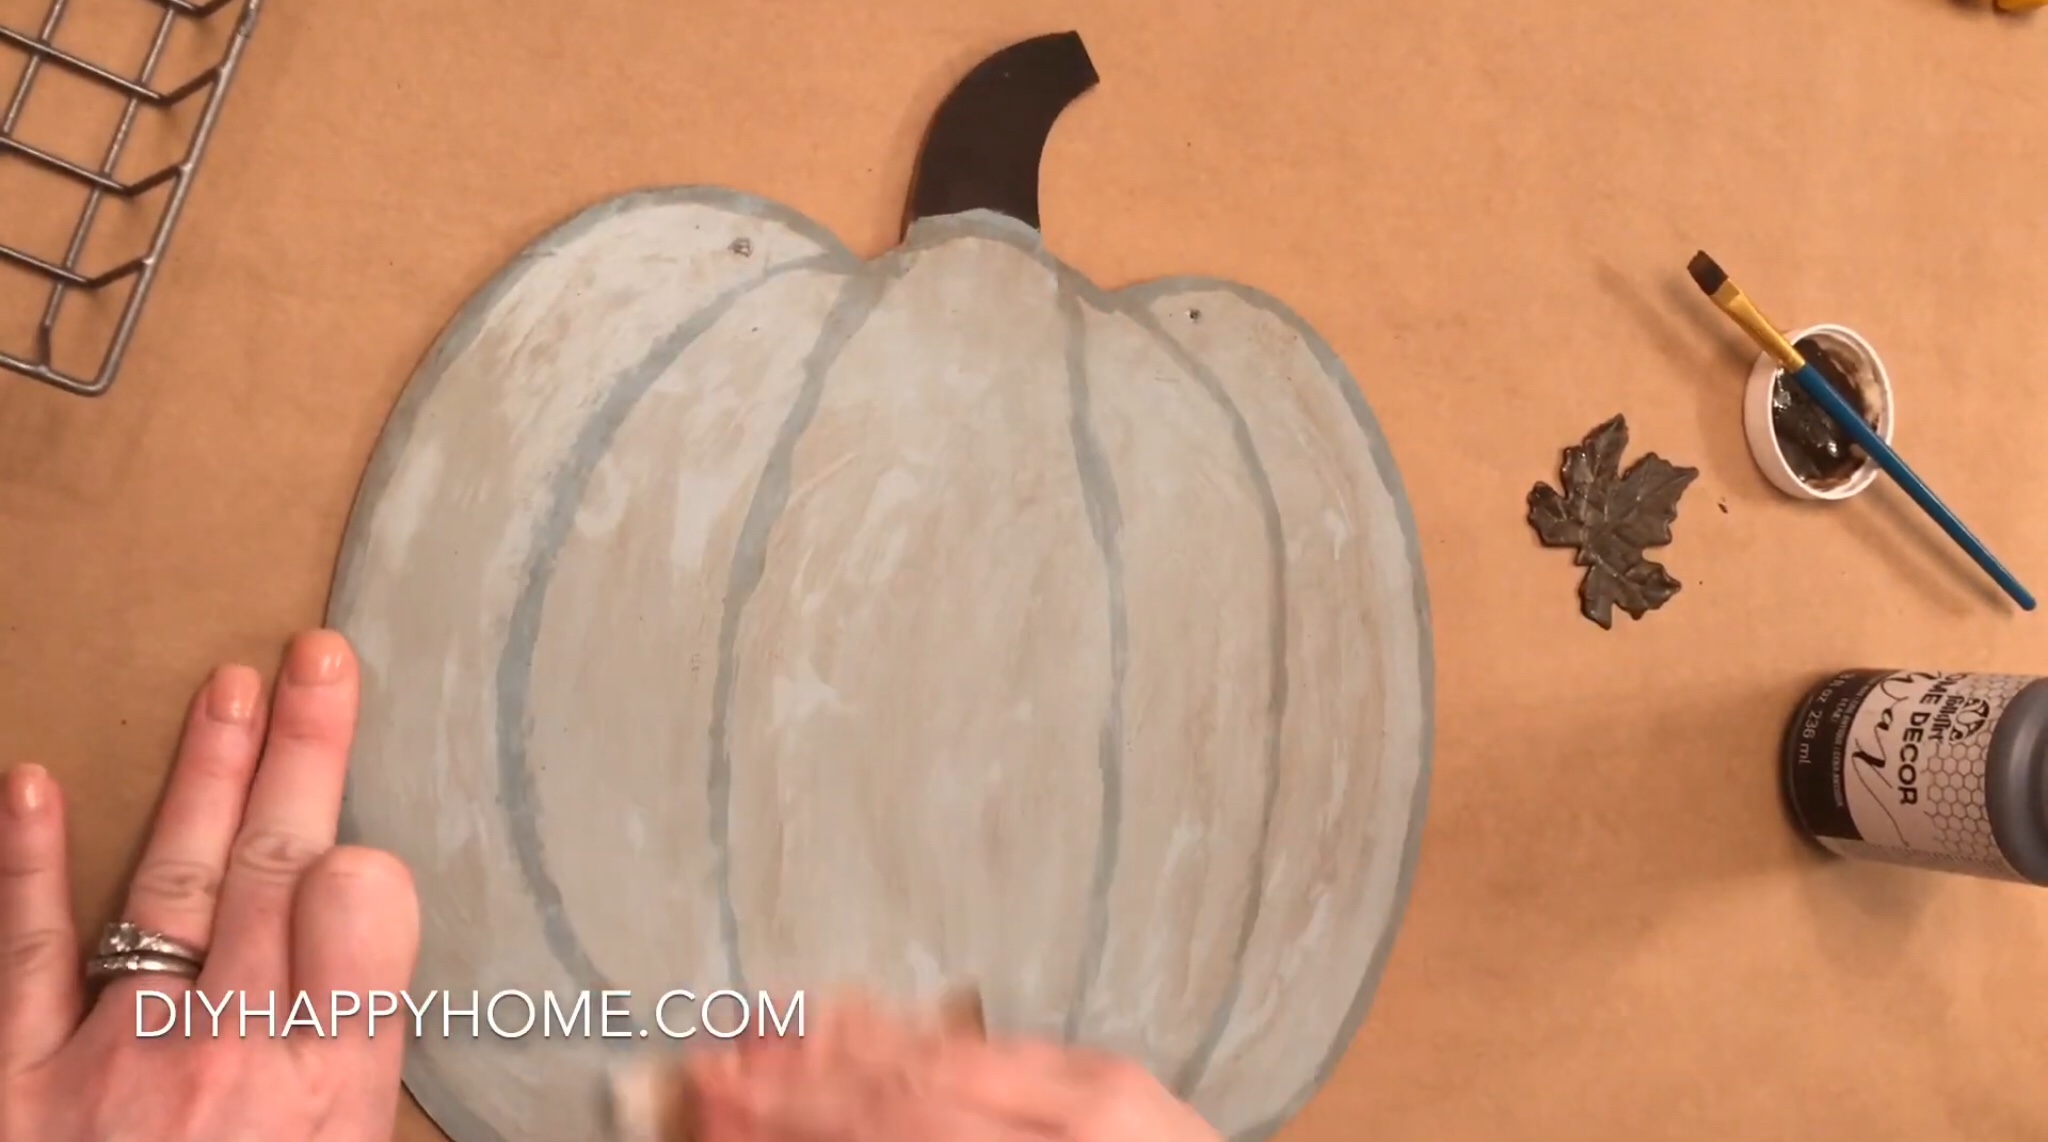
I also antiqued the painted wire basket (also bought at The Dollar Tree) with the Folk Art Home Decor Wax.
Next, I dry brushed the pumpkin with Waverly white chalk paint.
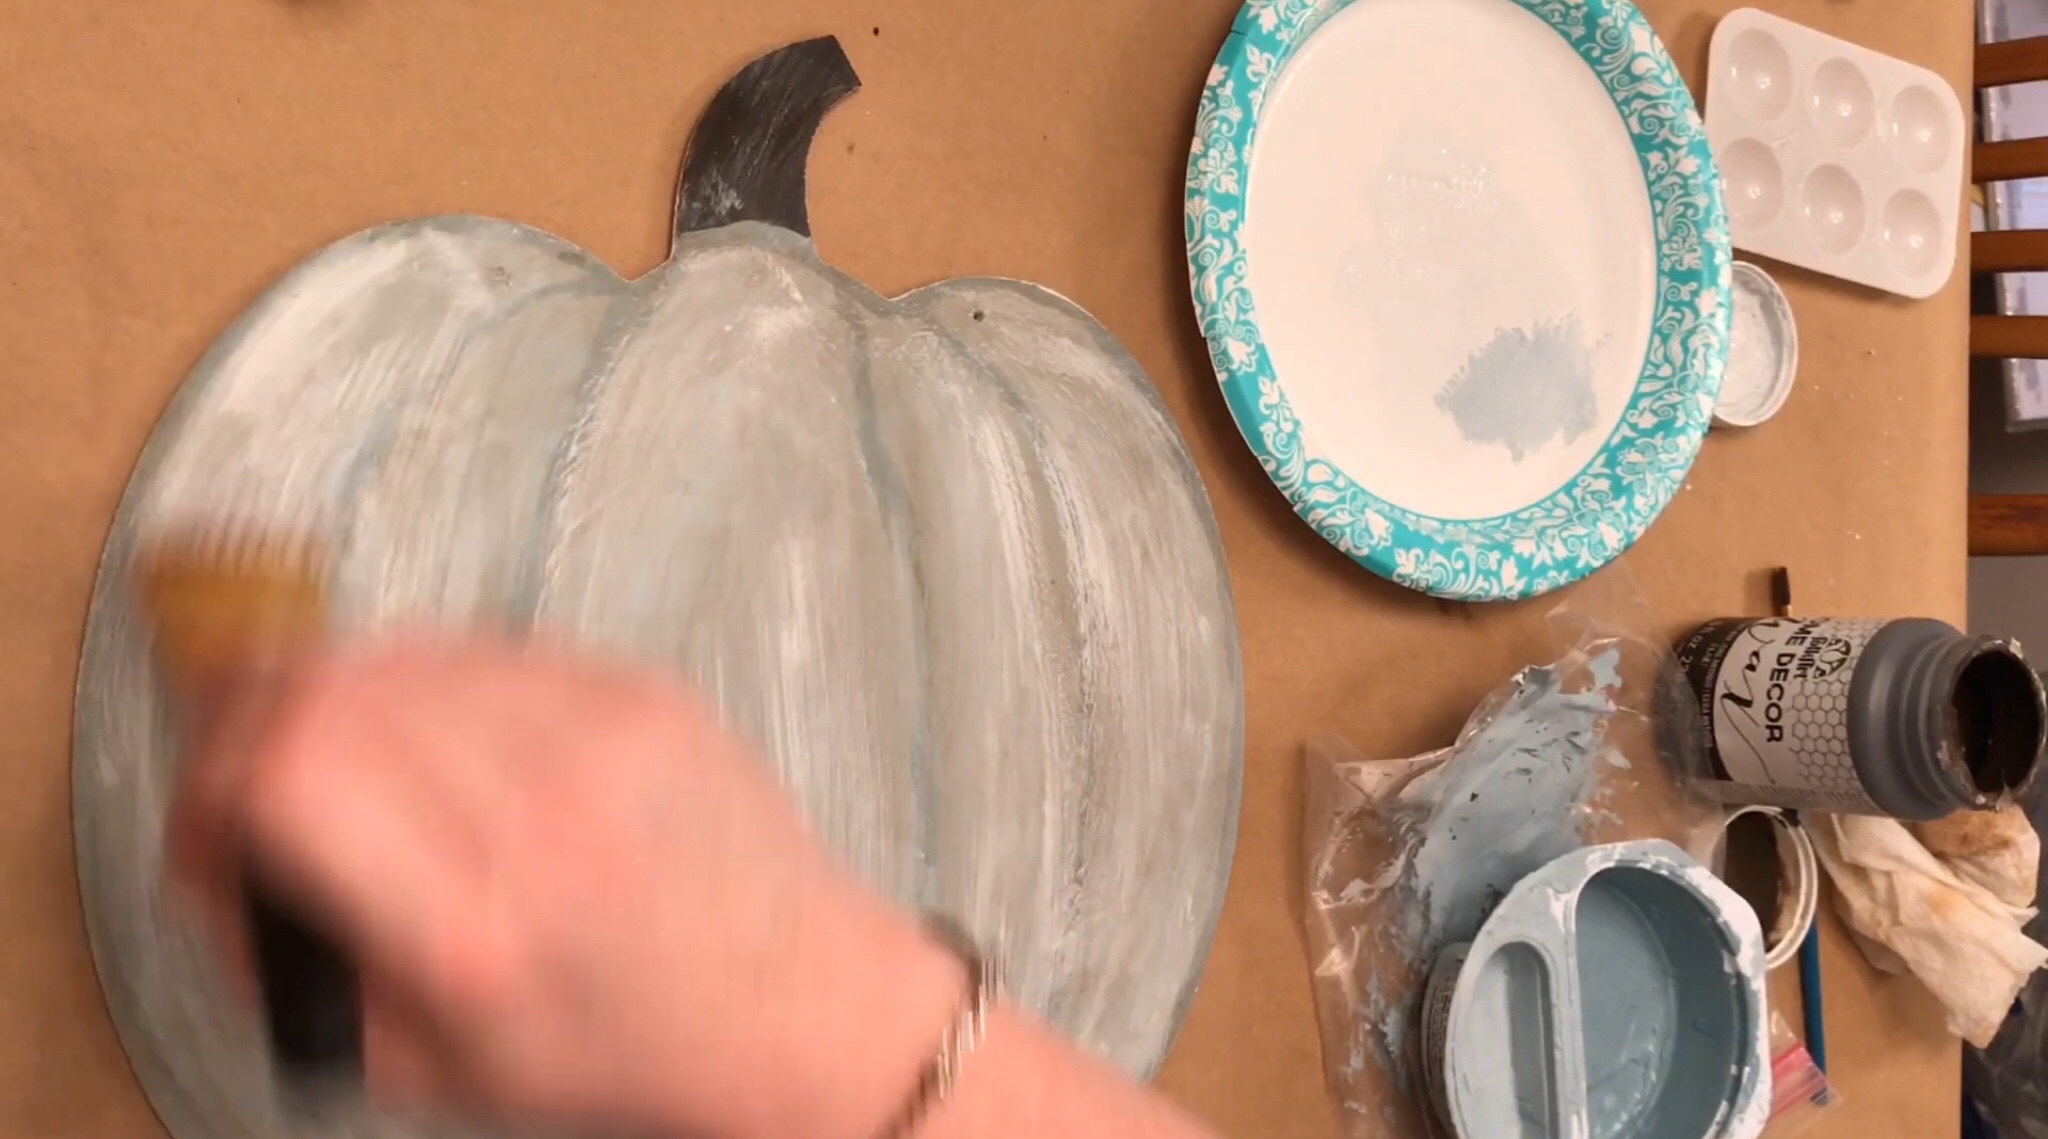
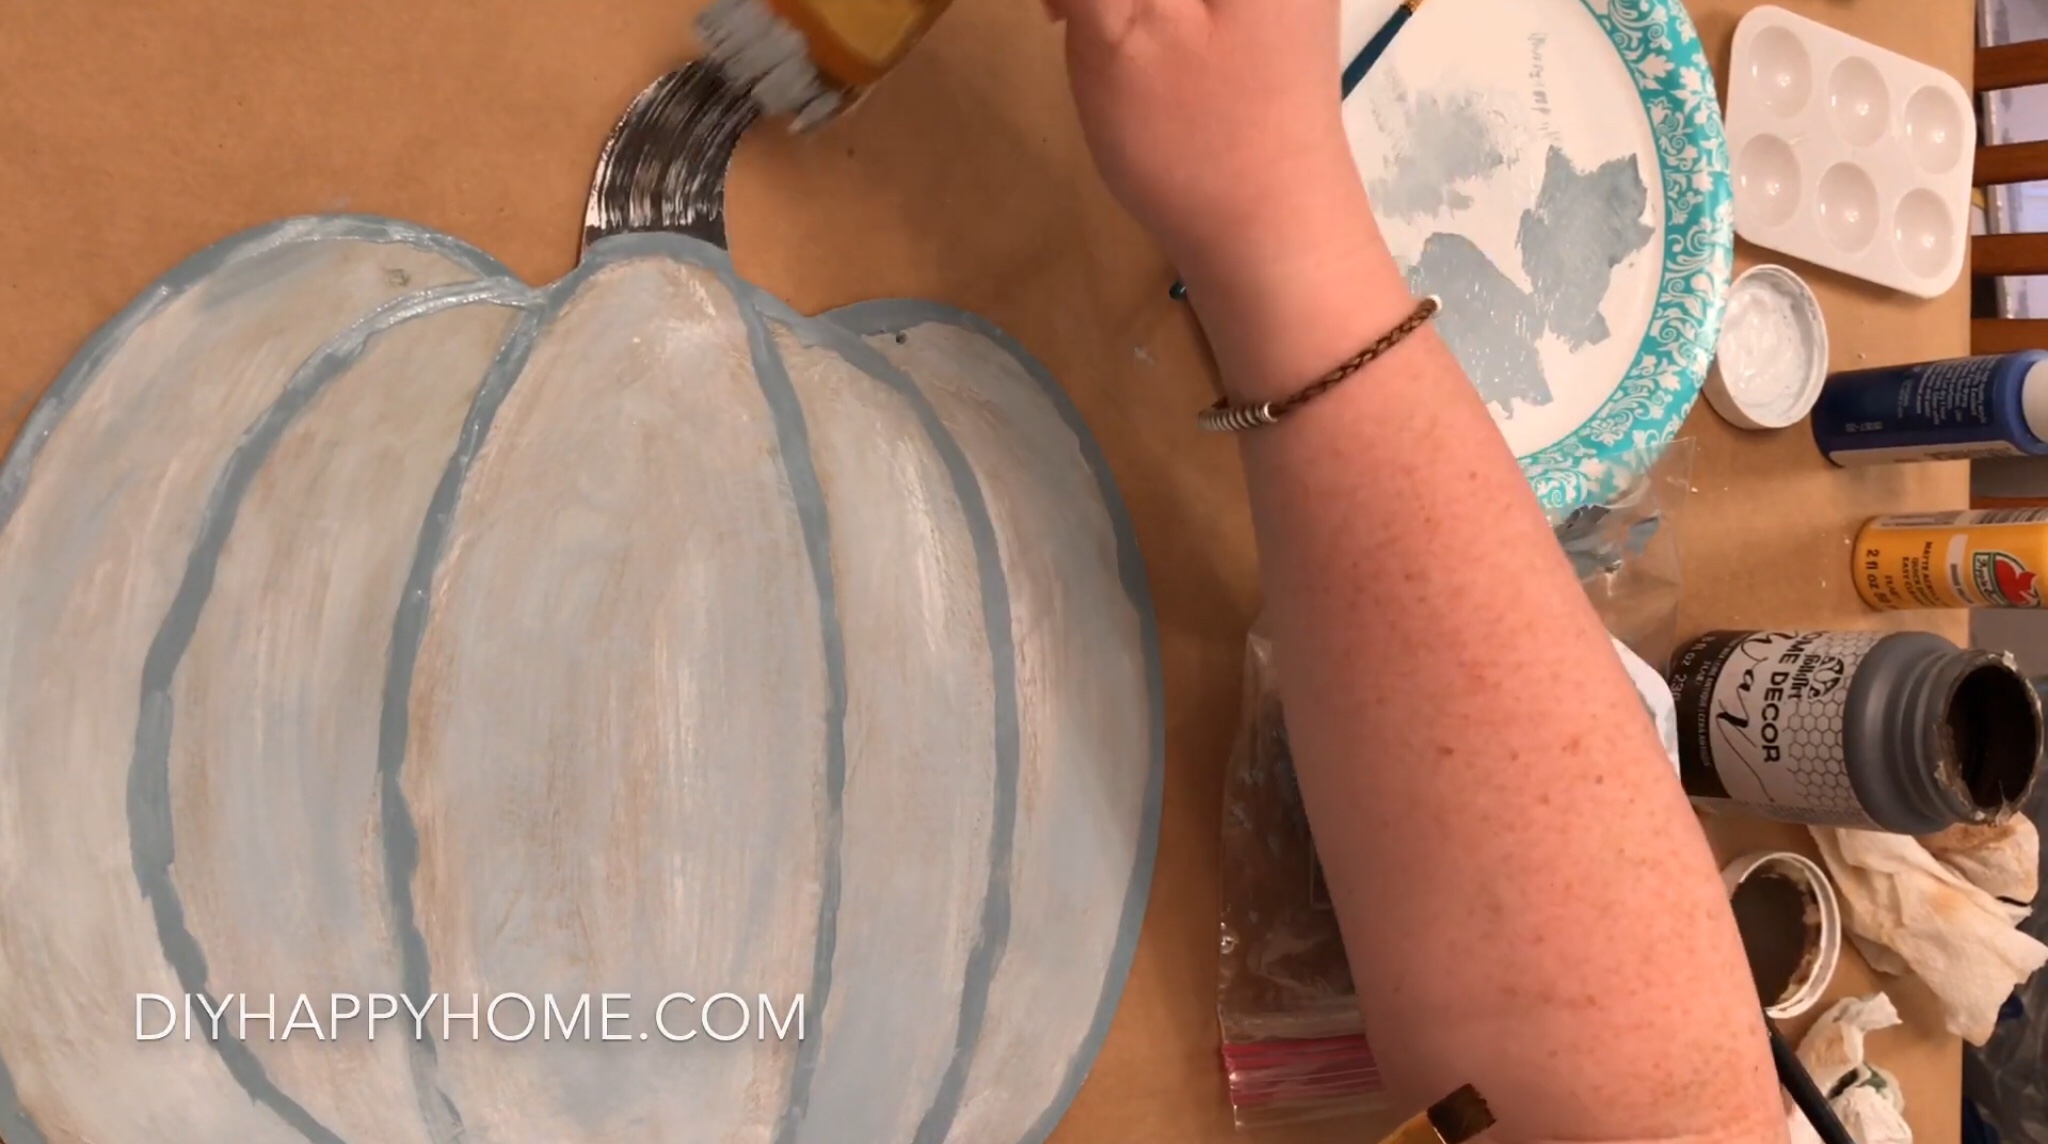
I also dry brushed some of the aqua “cement” colored paint on top of the Waverly white chalk paint, leaving some of the white still showing through.

Then, I outlined the pumpkin lines in a darker aqua “cement” colored paint.
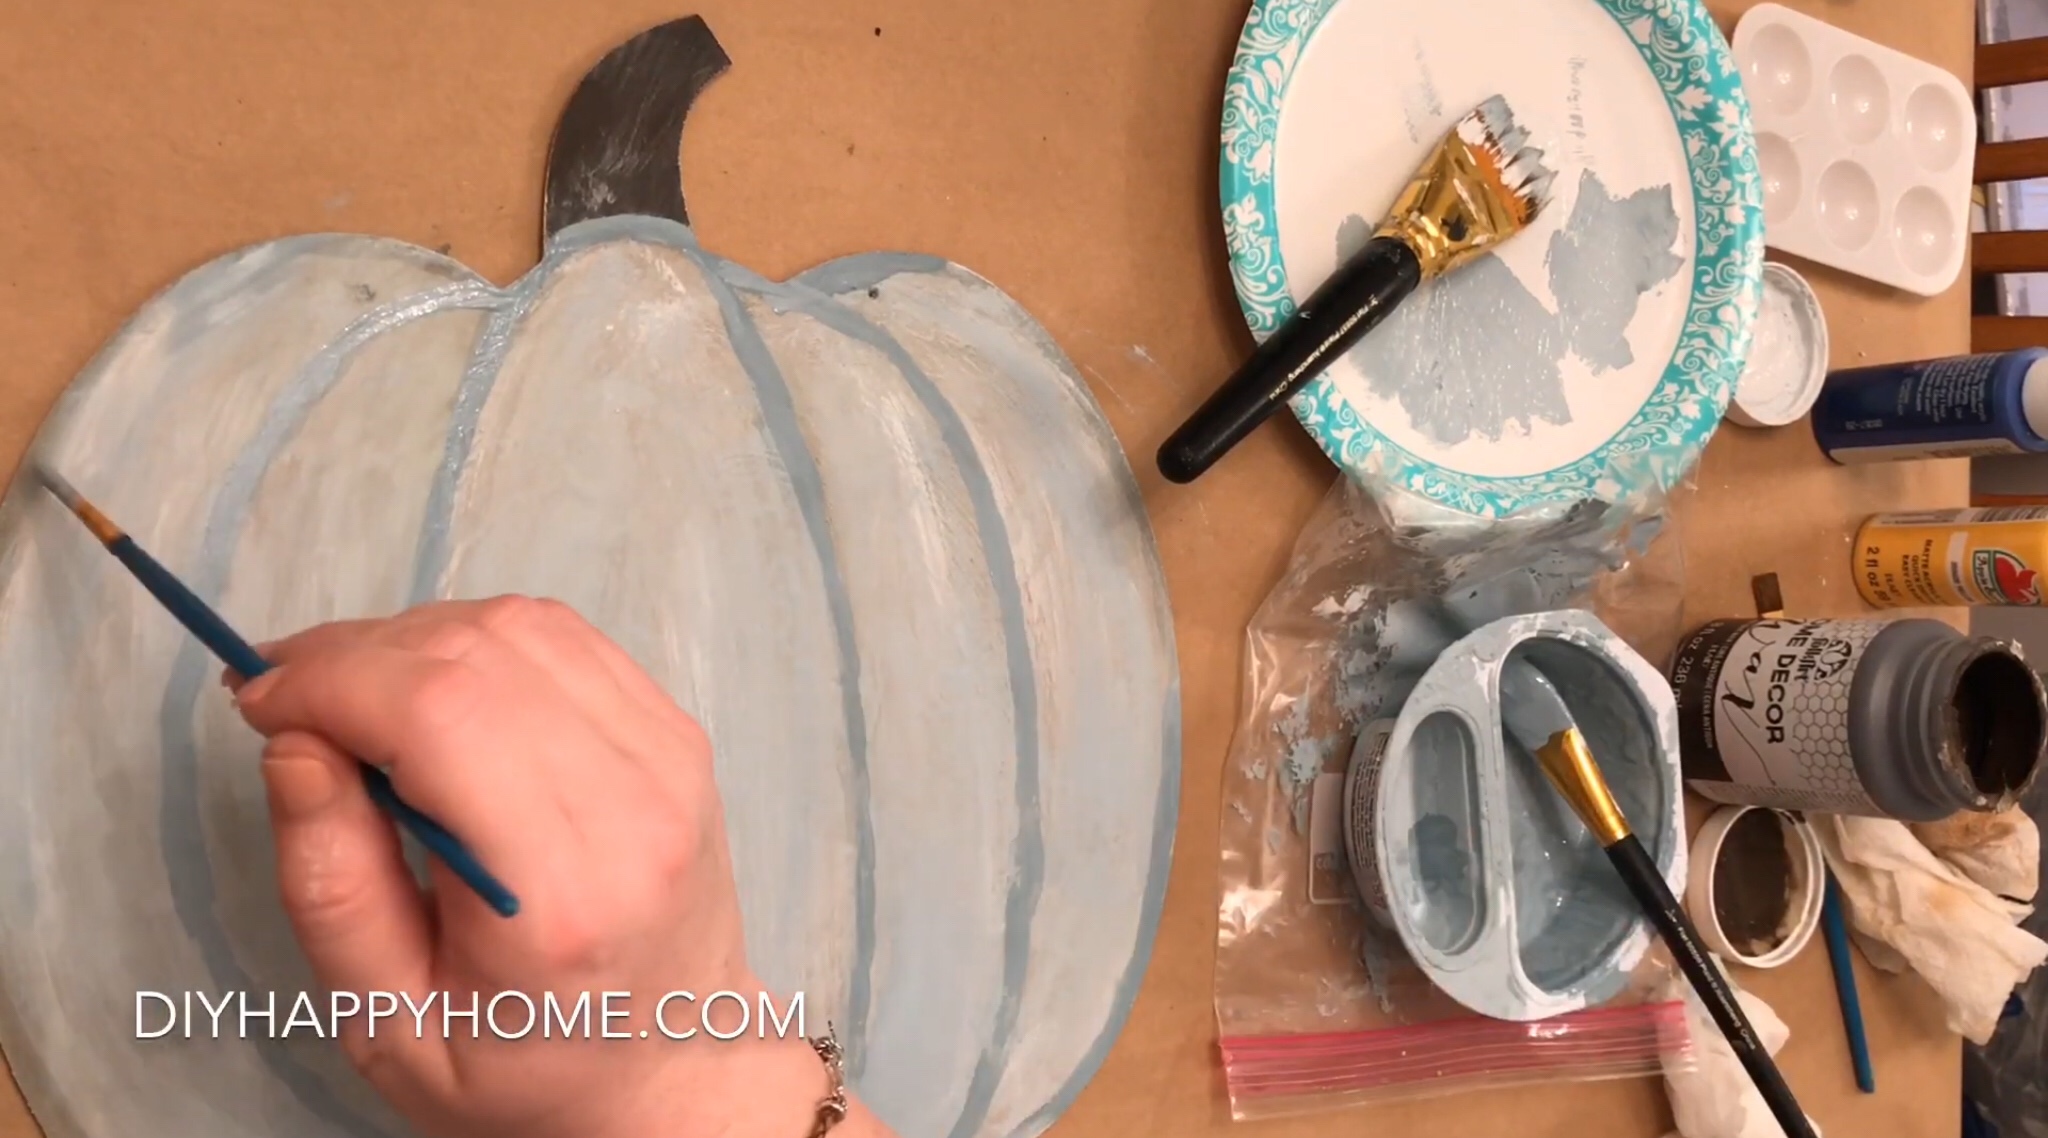
I lightly painted some texture onto the stem of a pumpkin.
Next, I used a printable image from sincerelysarad.com. Thank you Sarah! I used some of the font from this printable to hand letter my pumpkin.

I attached the wire basket to the pumpkin by drilling two holes on either side of the basket. I used jute twine to tie the basket to the pumpkin.

I attached the metal leaf to the front of the wire basket using superglue.

On the back of the printable, I used my pencil to scribble on the font that I want to transfer to the pumpkin.

I used a mechanical pencil to trace over the lettering, which transfers the font to the pumpkin.


I then traced over the pencil lettering with an ultrafine black Sharpie marker.

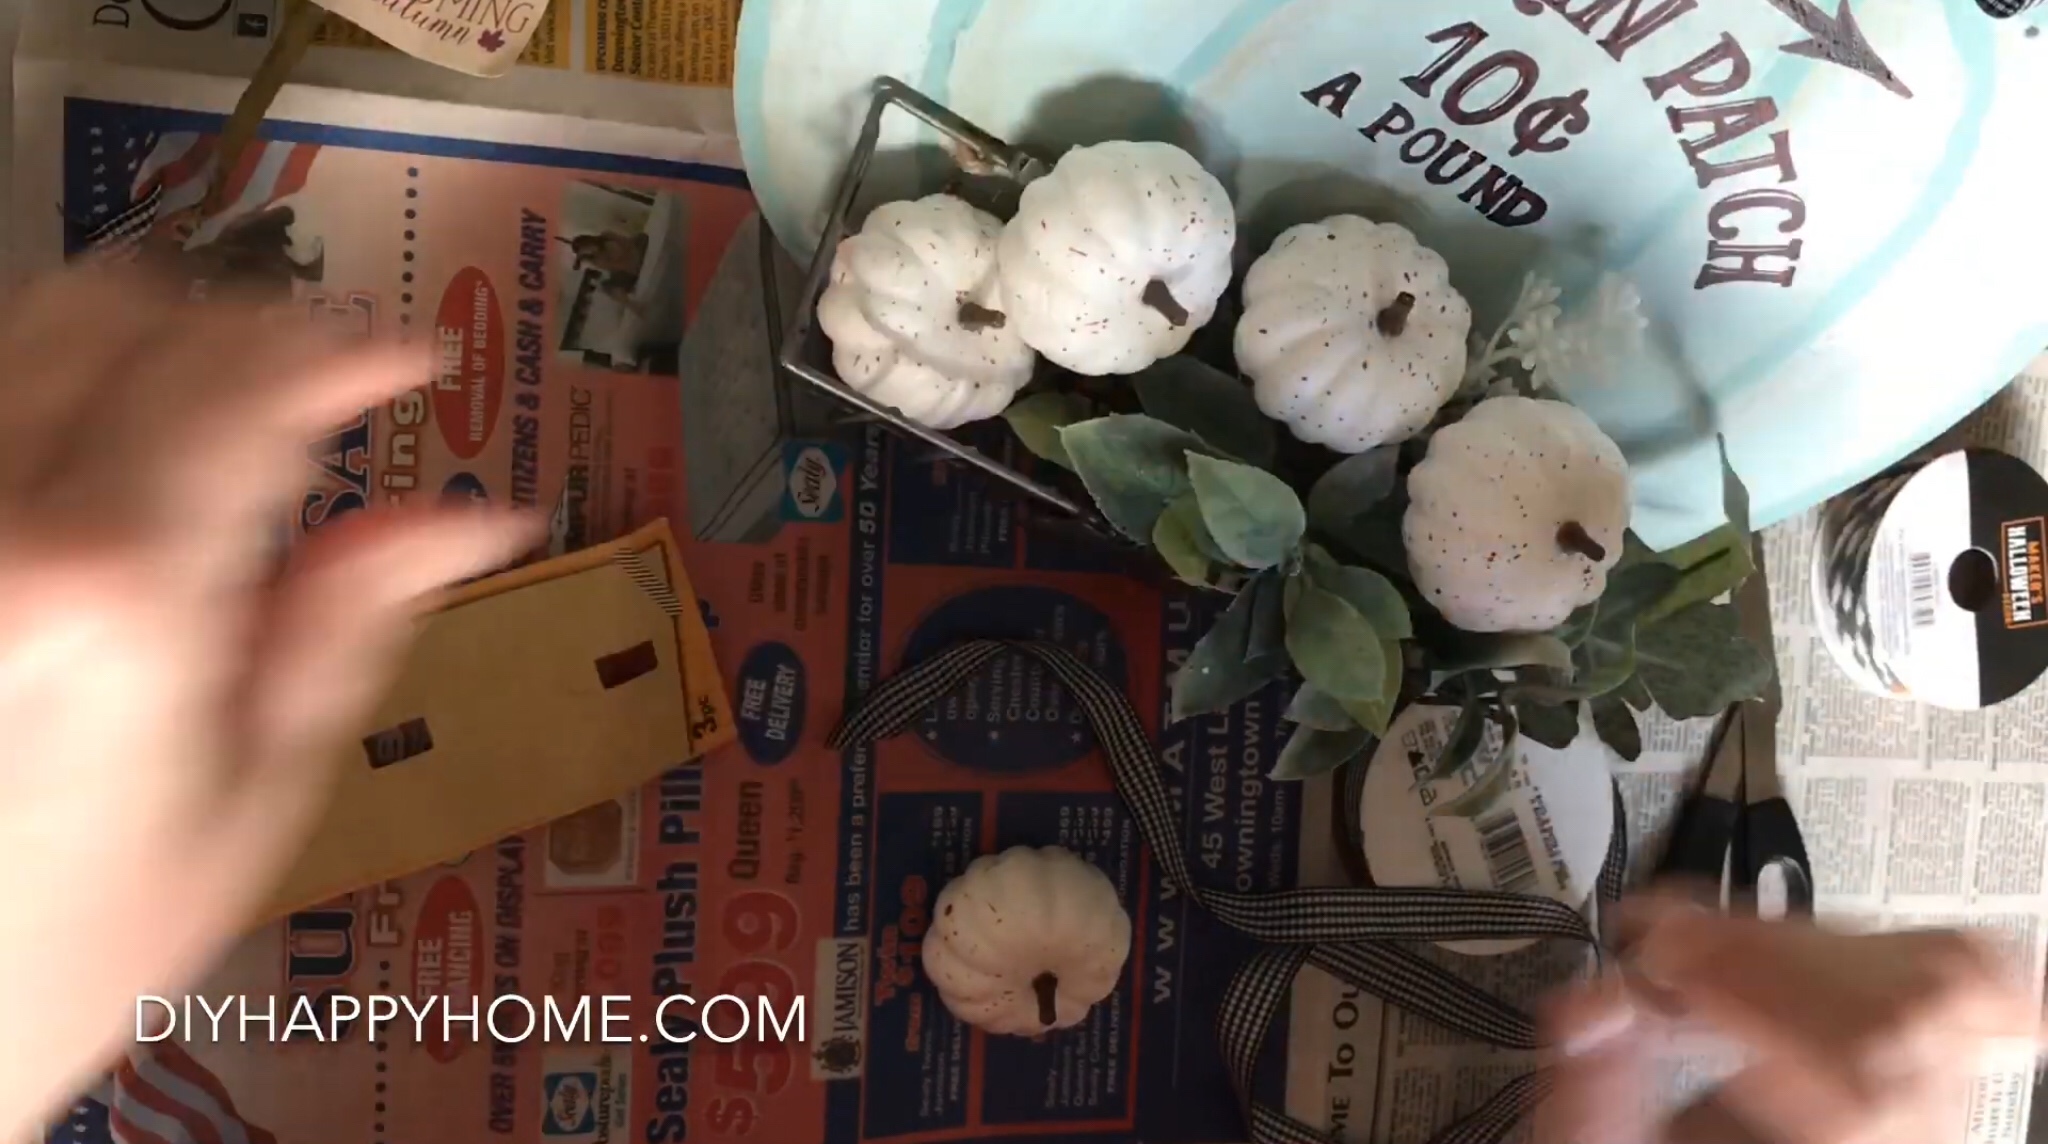
I purchased these white mini clip pumpkins at The Dollar Tree to use inside the basket.
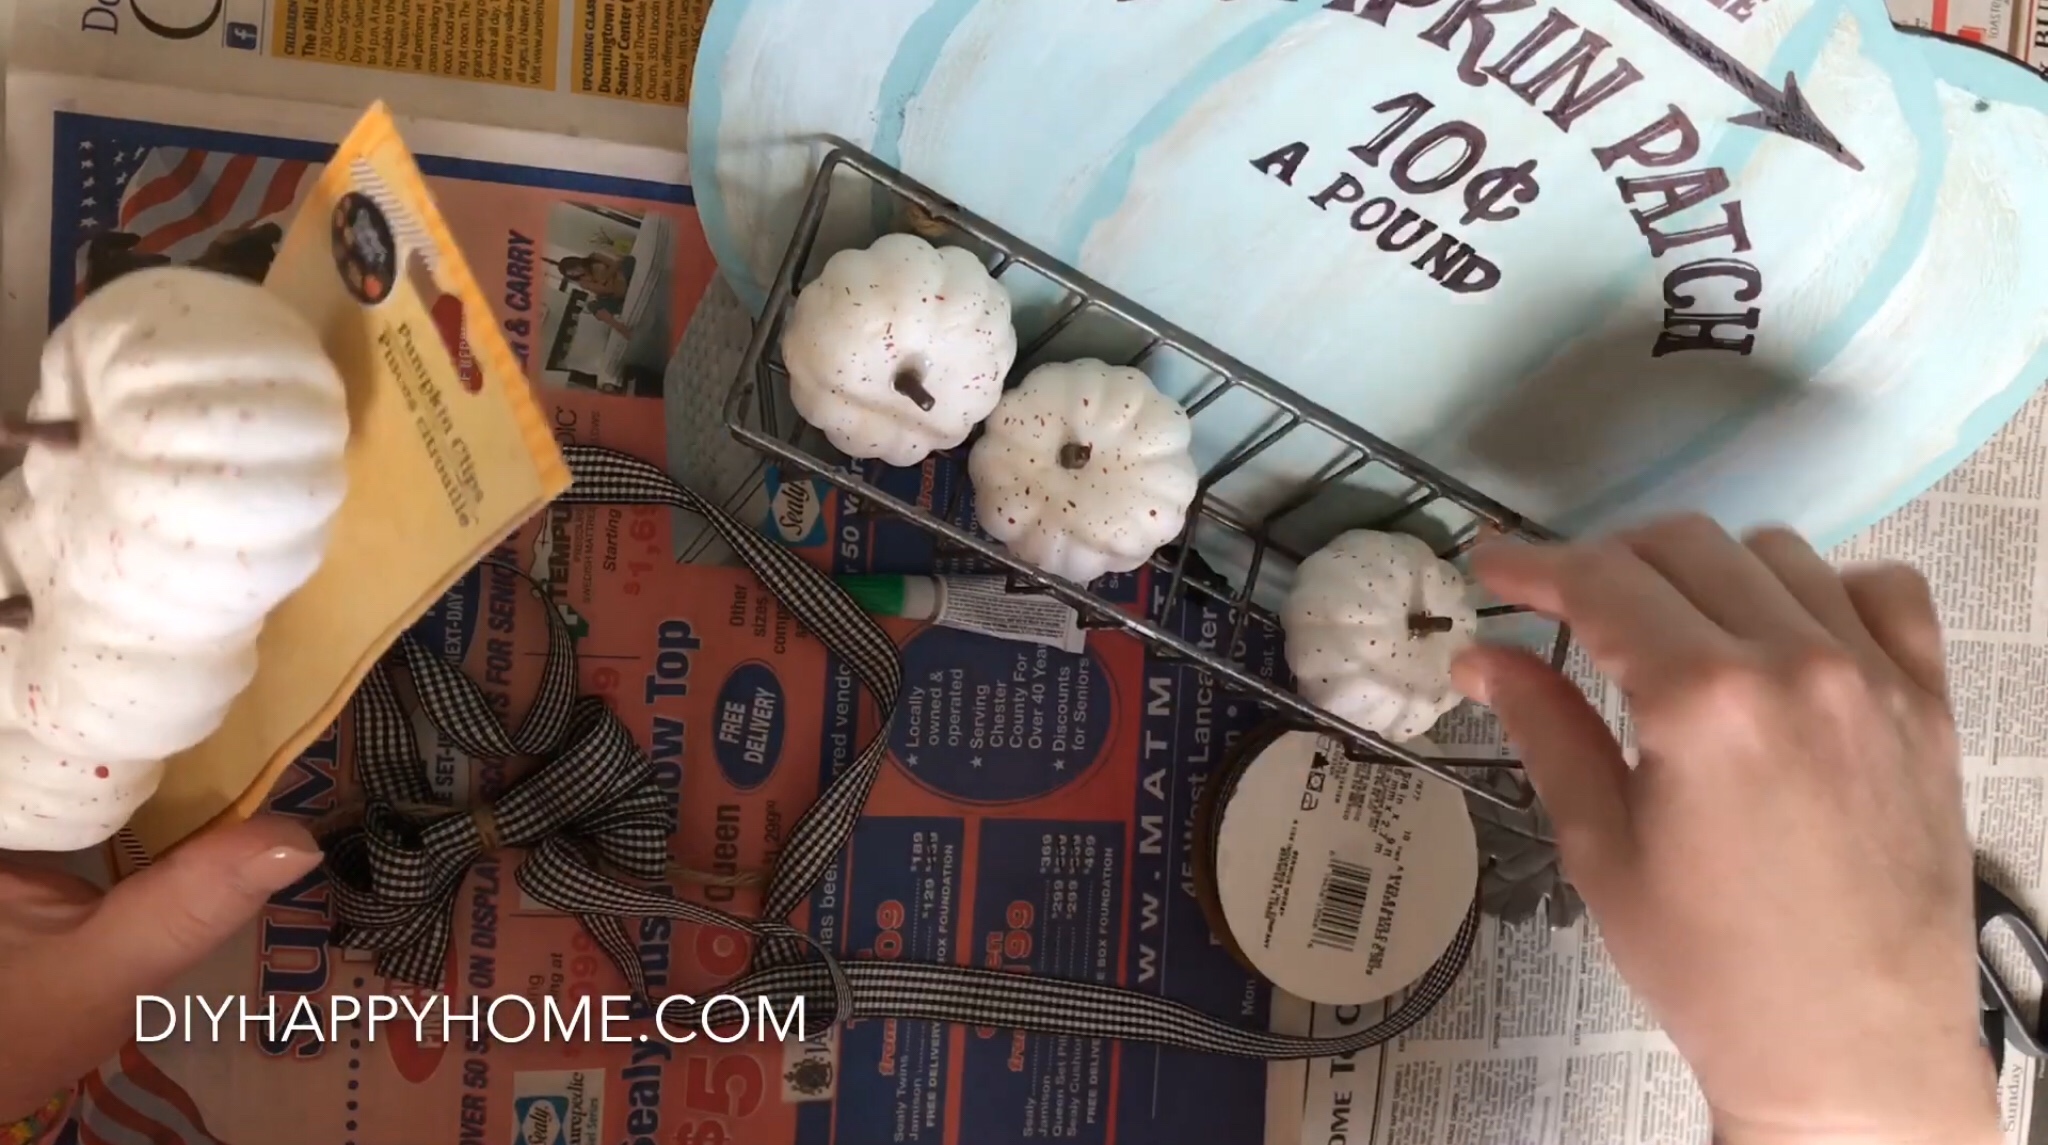
I used superglue to glue the metal leaf to the front of the wire metal basket.

Next, I arranged the greenery that I purchased at Joann and the mini pumpkins in the wire basket.

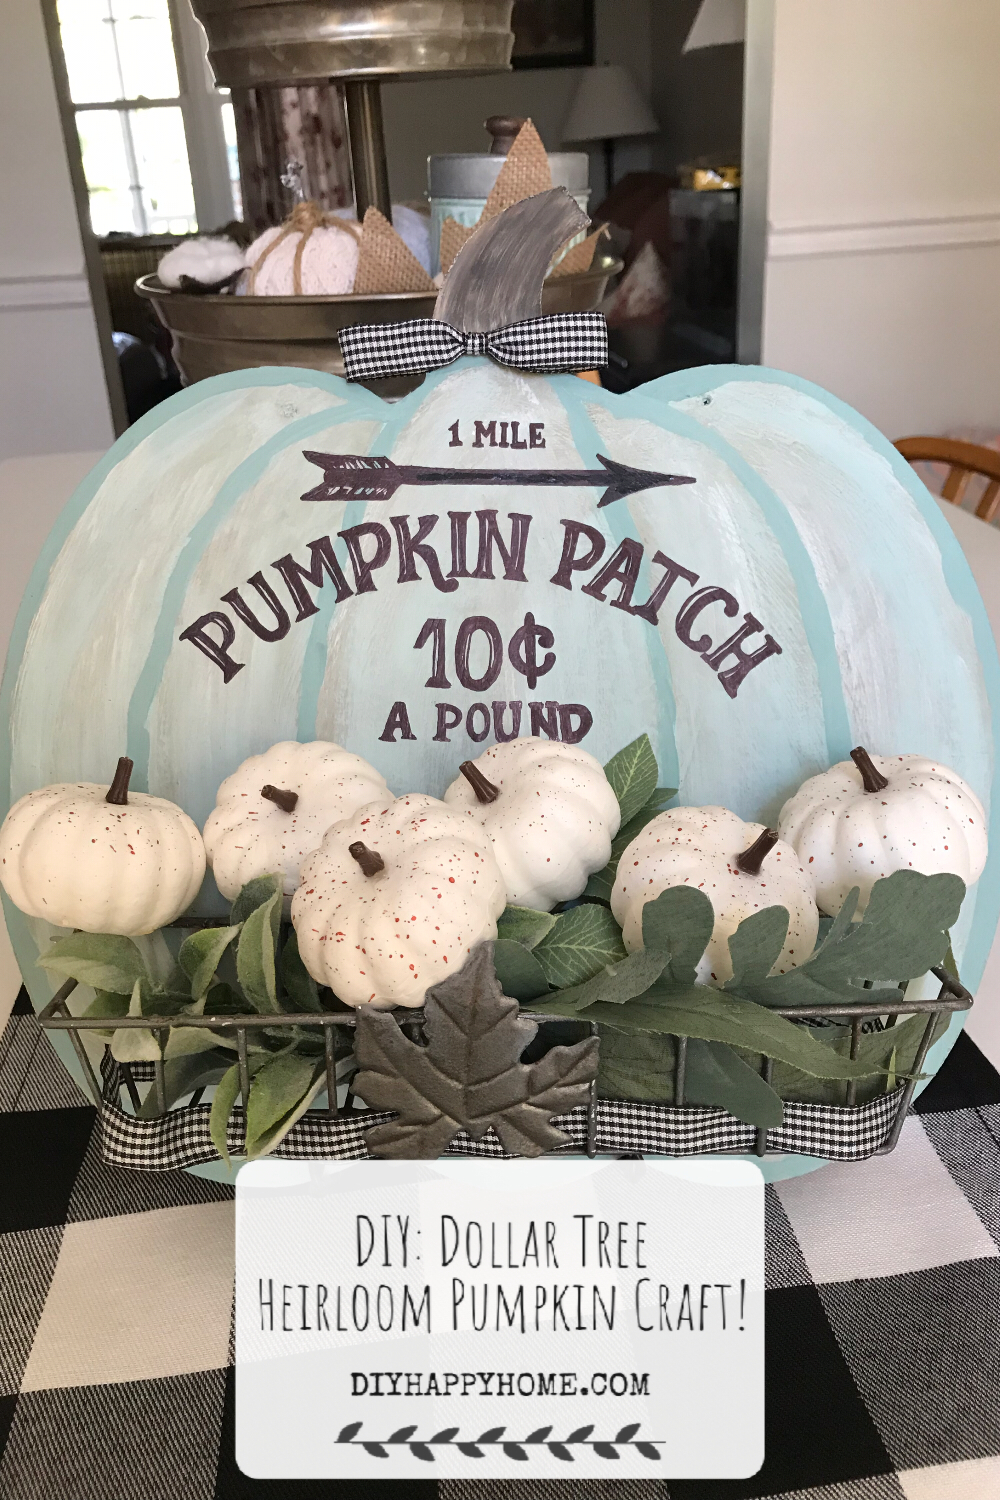
I’m so pleased with the final result! Please let me know in the comments if you decorate for fall, and if so, what color scheme you use! Please feel free to like, comment, and share! Please also follow my blog! And see my how-to video and also Subscribe to my YouTube Channel for some fun future projects and delicious recipes!
Thanks for joining me! See you next time!
Carla XOXO
