I was at The Dollar Tree the other day and picked up various pumpkins for fall. I decided that I would do a pumpkin make over. I like the look of heirloom pumpkins. The color of the heirloom pumpkins are so unique, some gray, some greenish gray, and some aqua gray, they are all so pretty, and it’s amazing that nature can grow them in so many shapes, sizes, and fun colors!
Here are pumpkins I bought for a dollar each at The Dollar Tree:
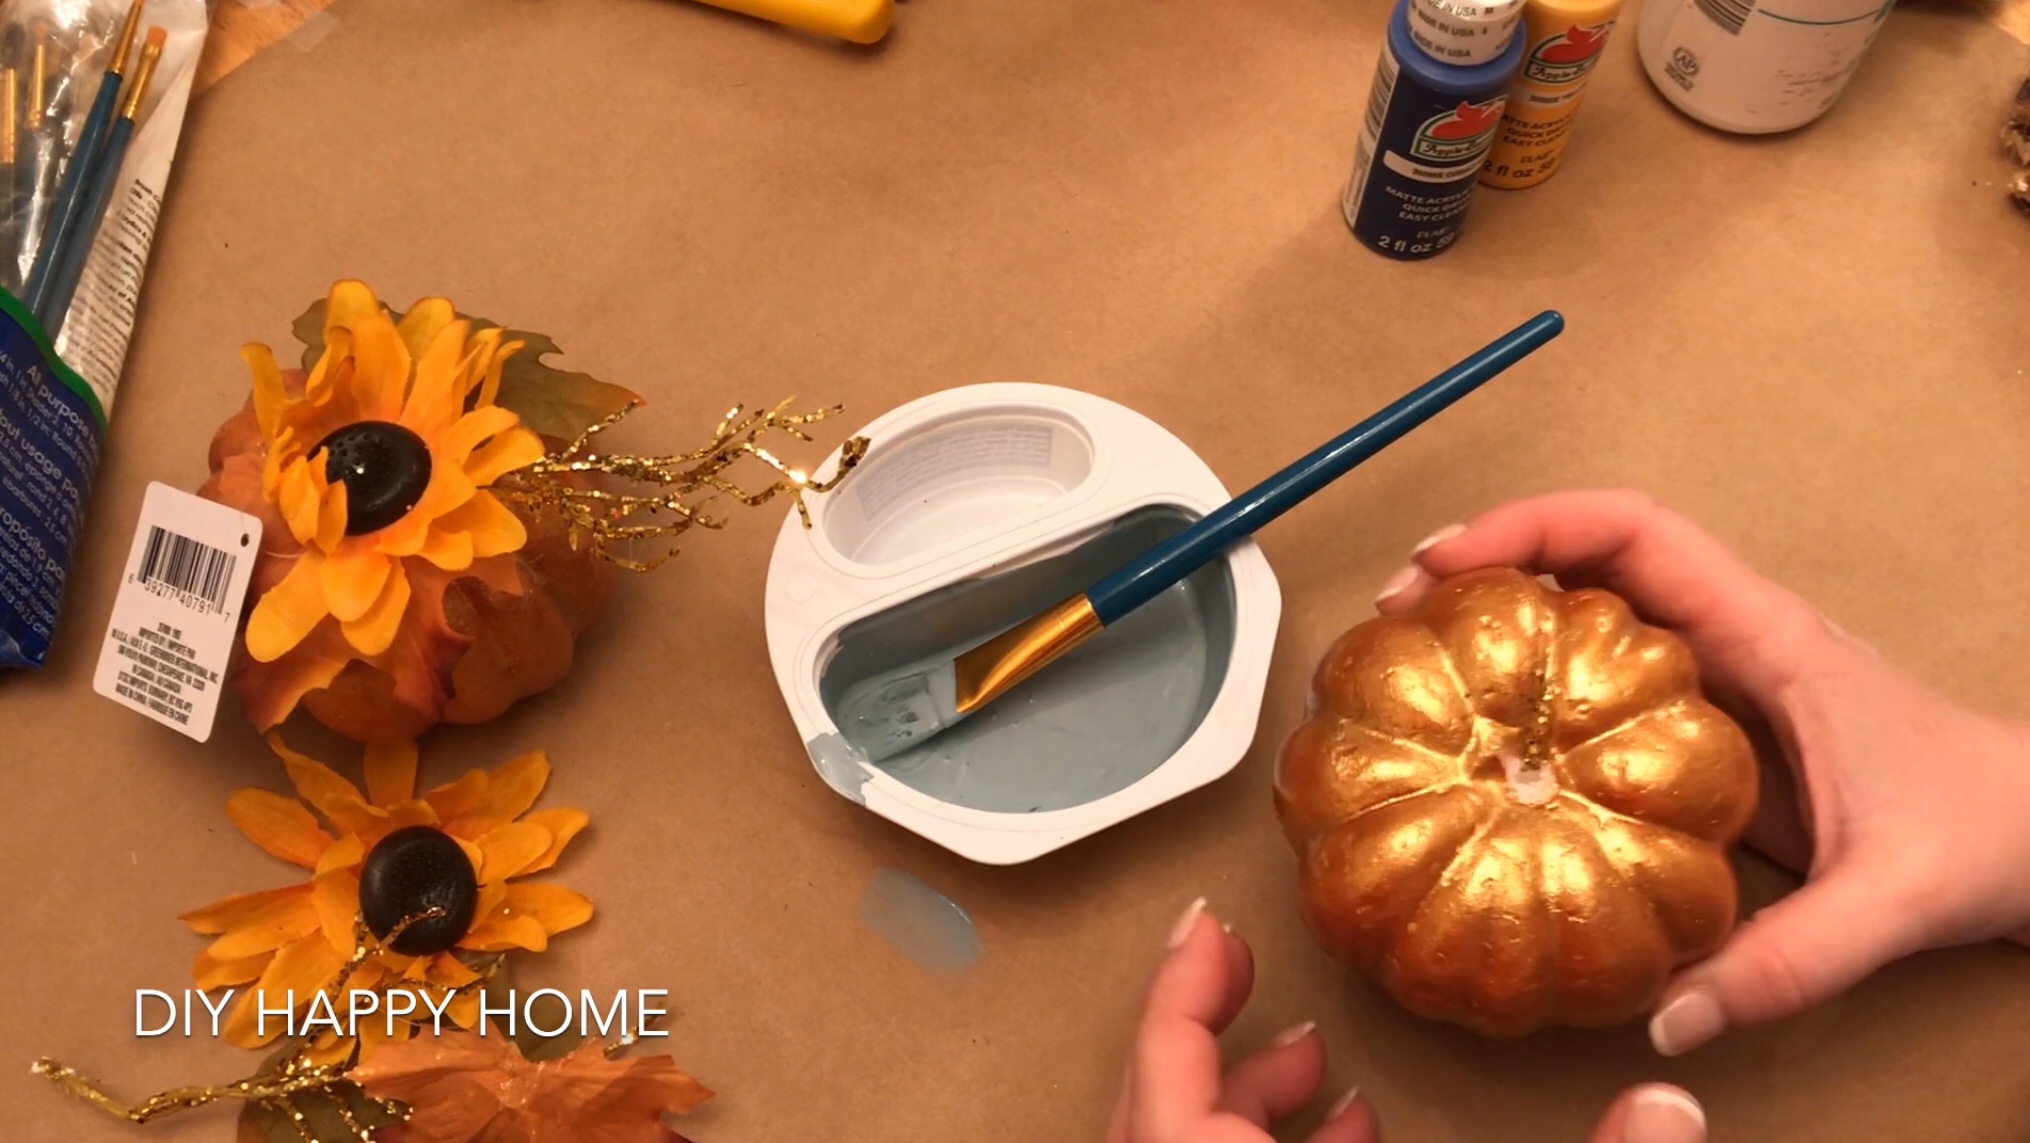
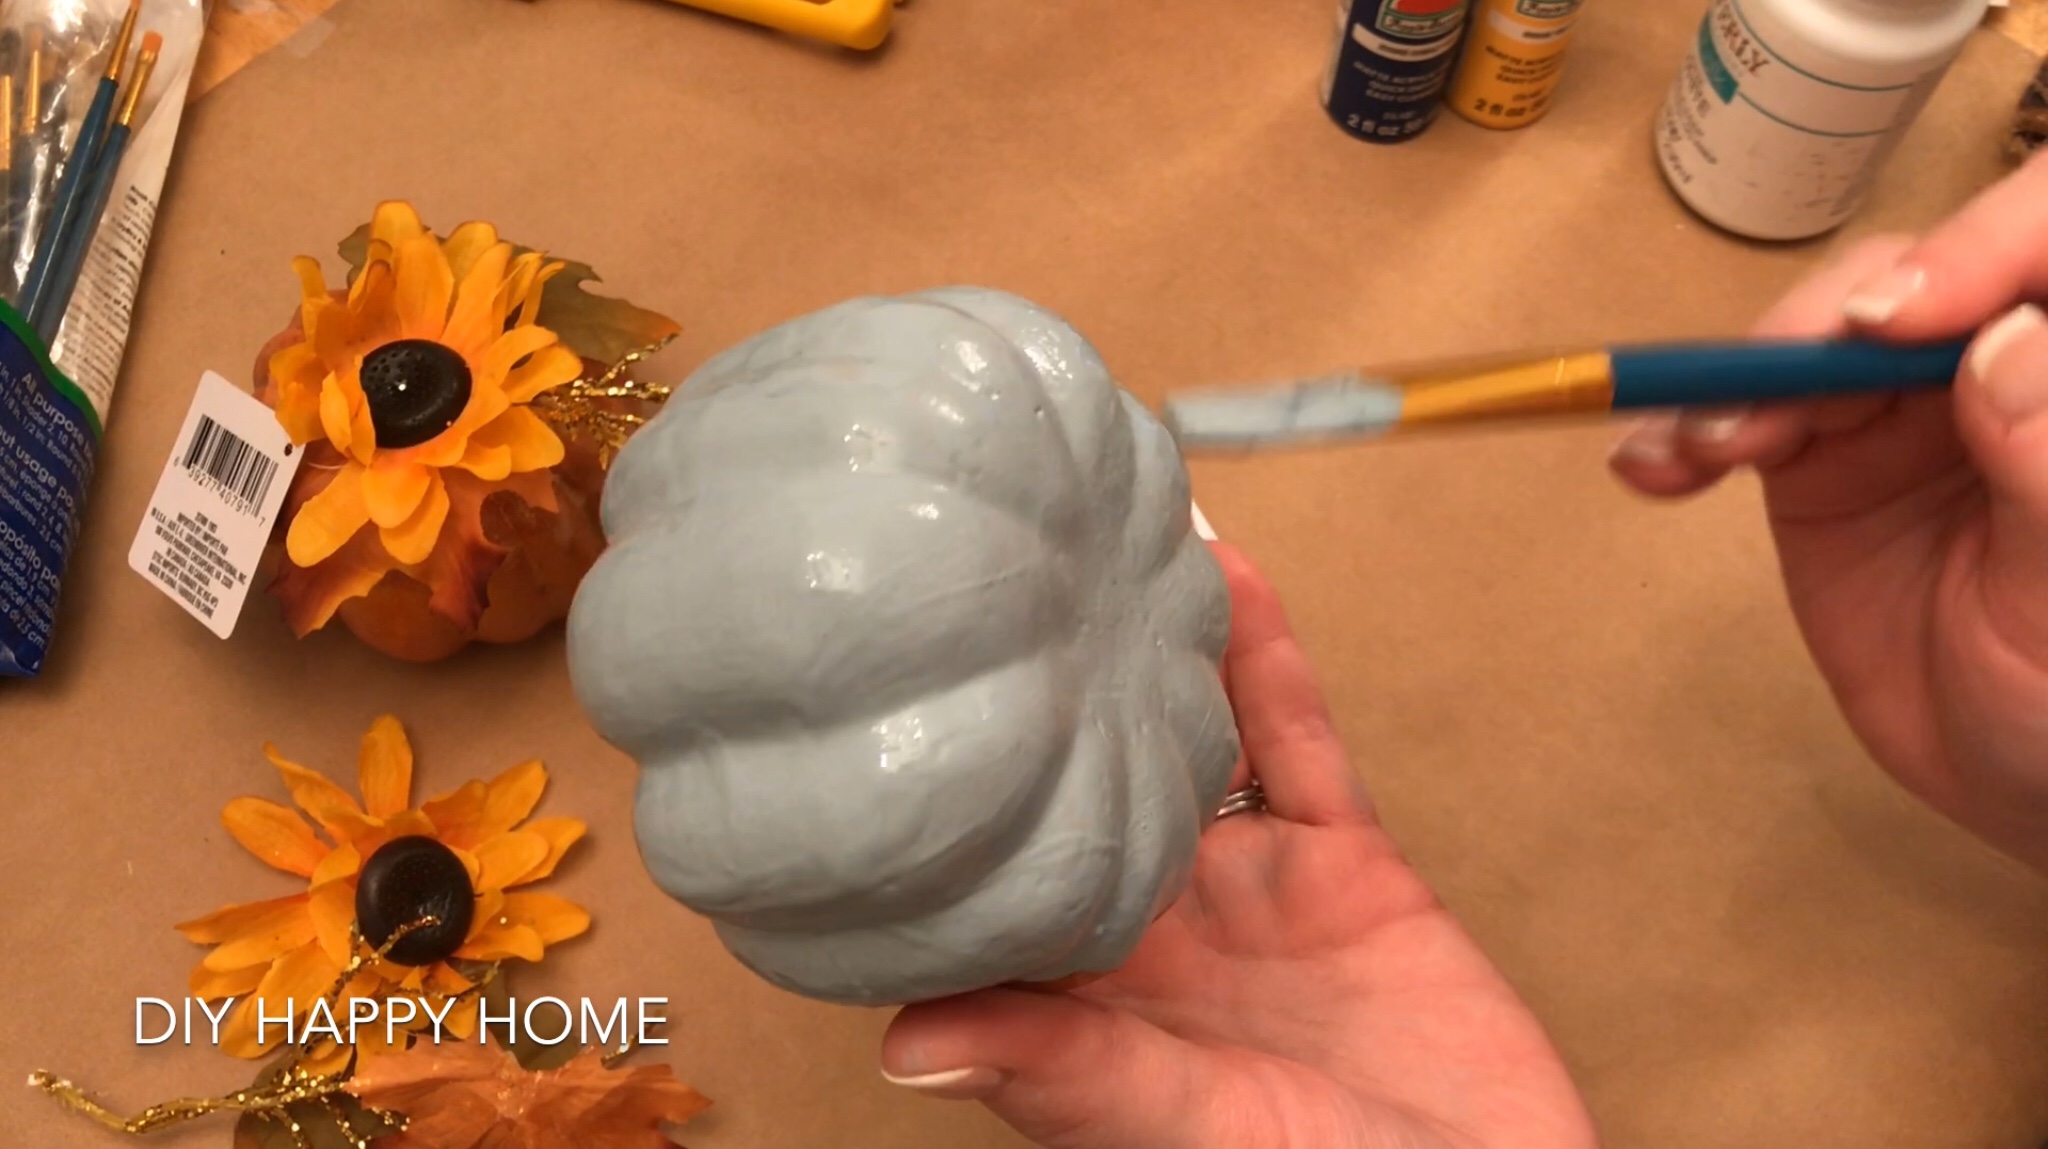
I removed all of the florals from the top of the pumpkins. Next, I mixed acrylic cobalt blue paint, and a tiny bit of yellow, to form an aqua color. To lighten the paint, I used white acrylic chalk paint. The result was a cement aqua color. I painted one of the three pumpkins in that color. Another pumpkin I painted a shade lighter by adding more white. And the third pumpkin I painted white using the white chalk paint.
I also bought a pack of fall scatters that had five mini pumpkins and gourds for one dollar. I painted them as well, in the same colors as I painted the pumpkins.
Next, I painted the grooves of each pumpkin in a darker shade for some dimension.

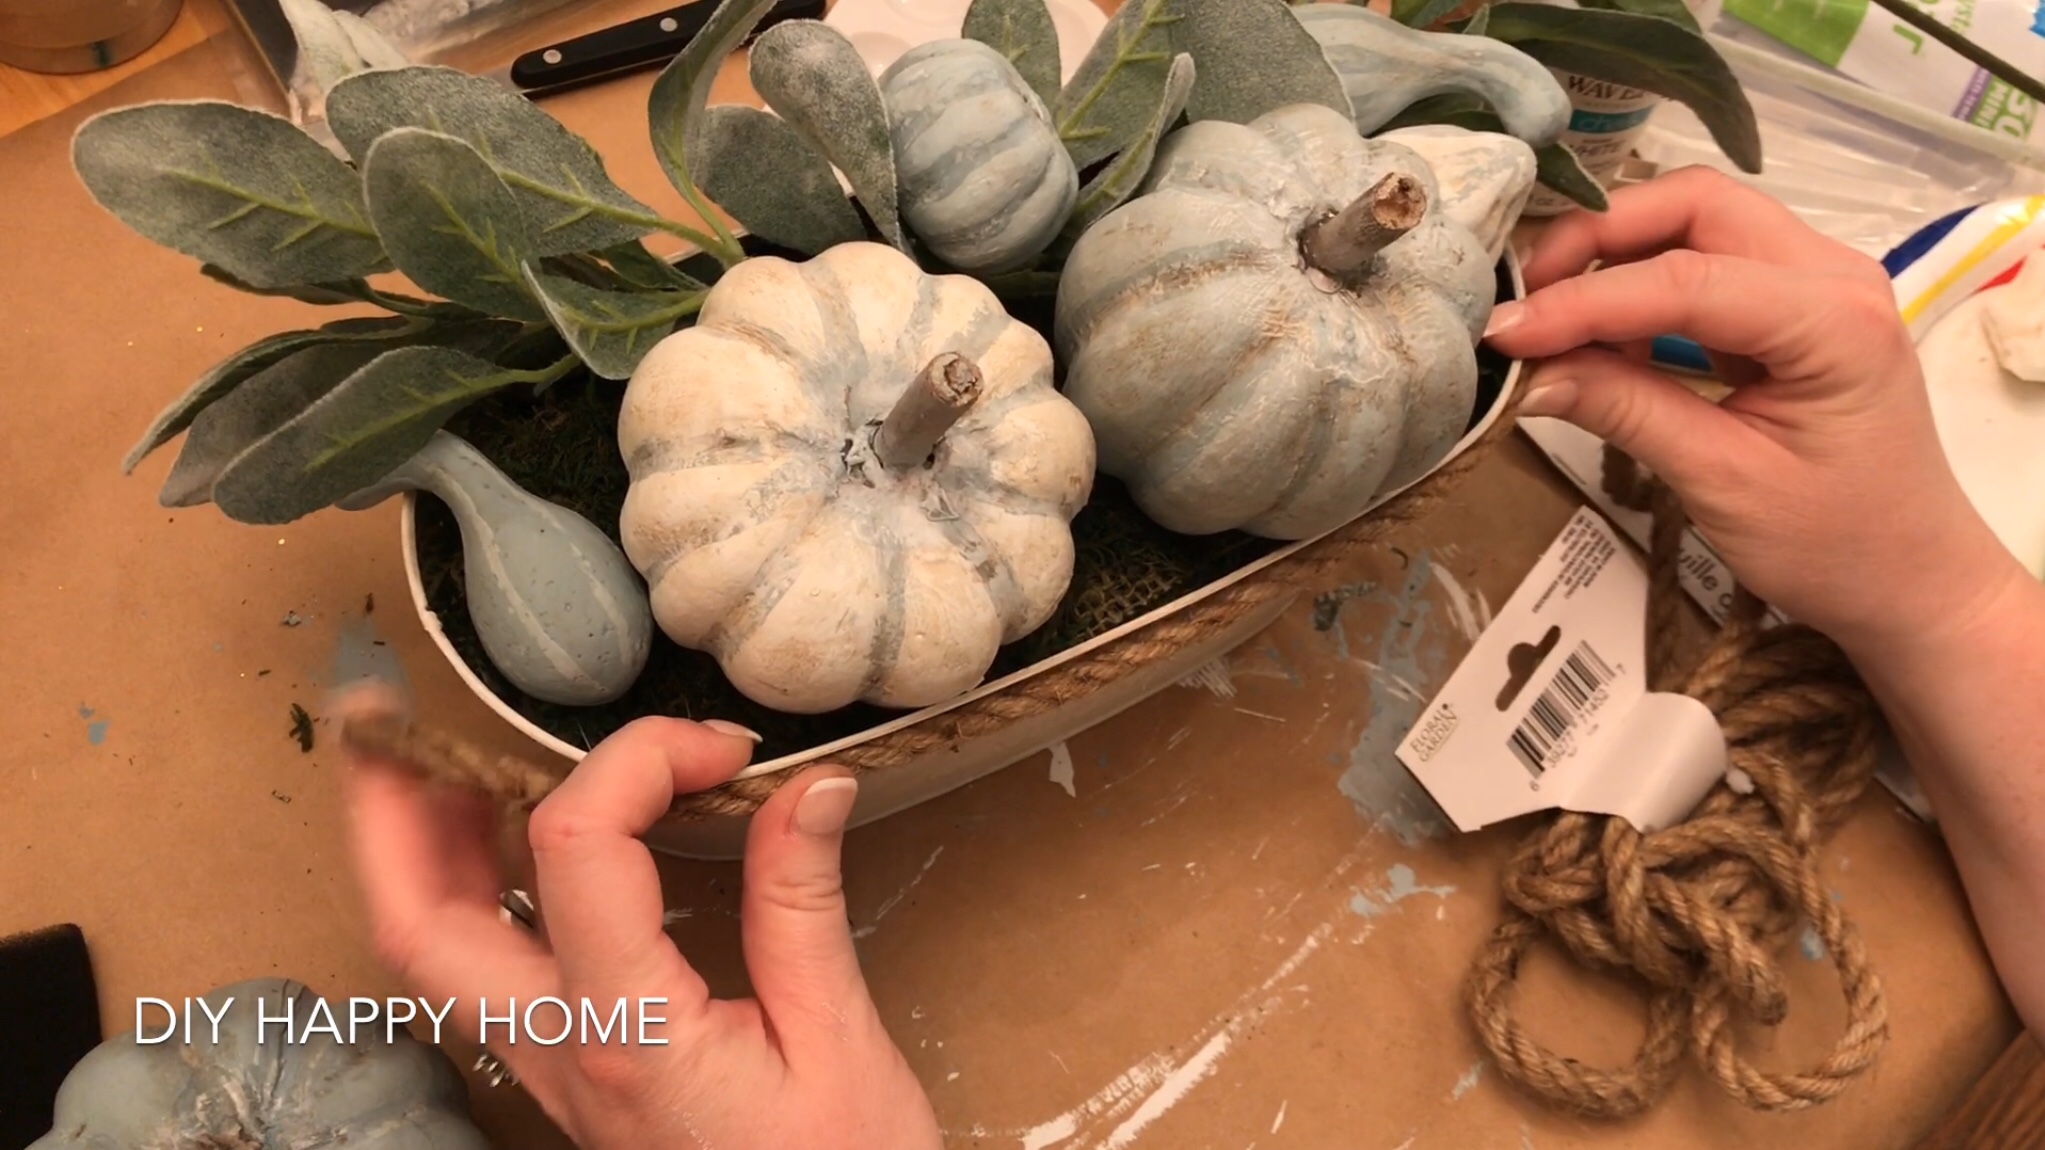
Then I dry brushed each pumpkin and gourd with the white chalk paint.

I then took some brown wax to antique each pumpkin and mini gourd. You basically brush it on and use a damp paper towel and wipe off as much as you want to achieve the look you want.

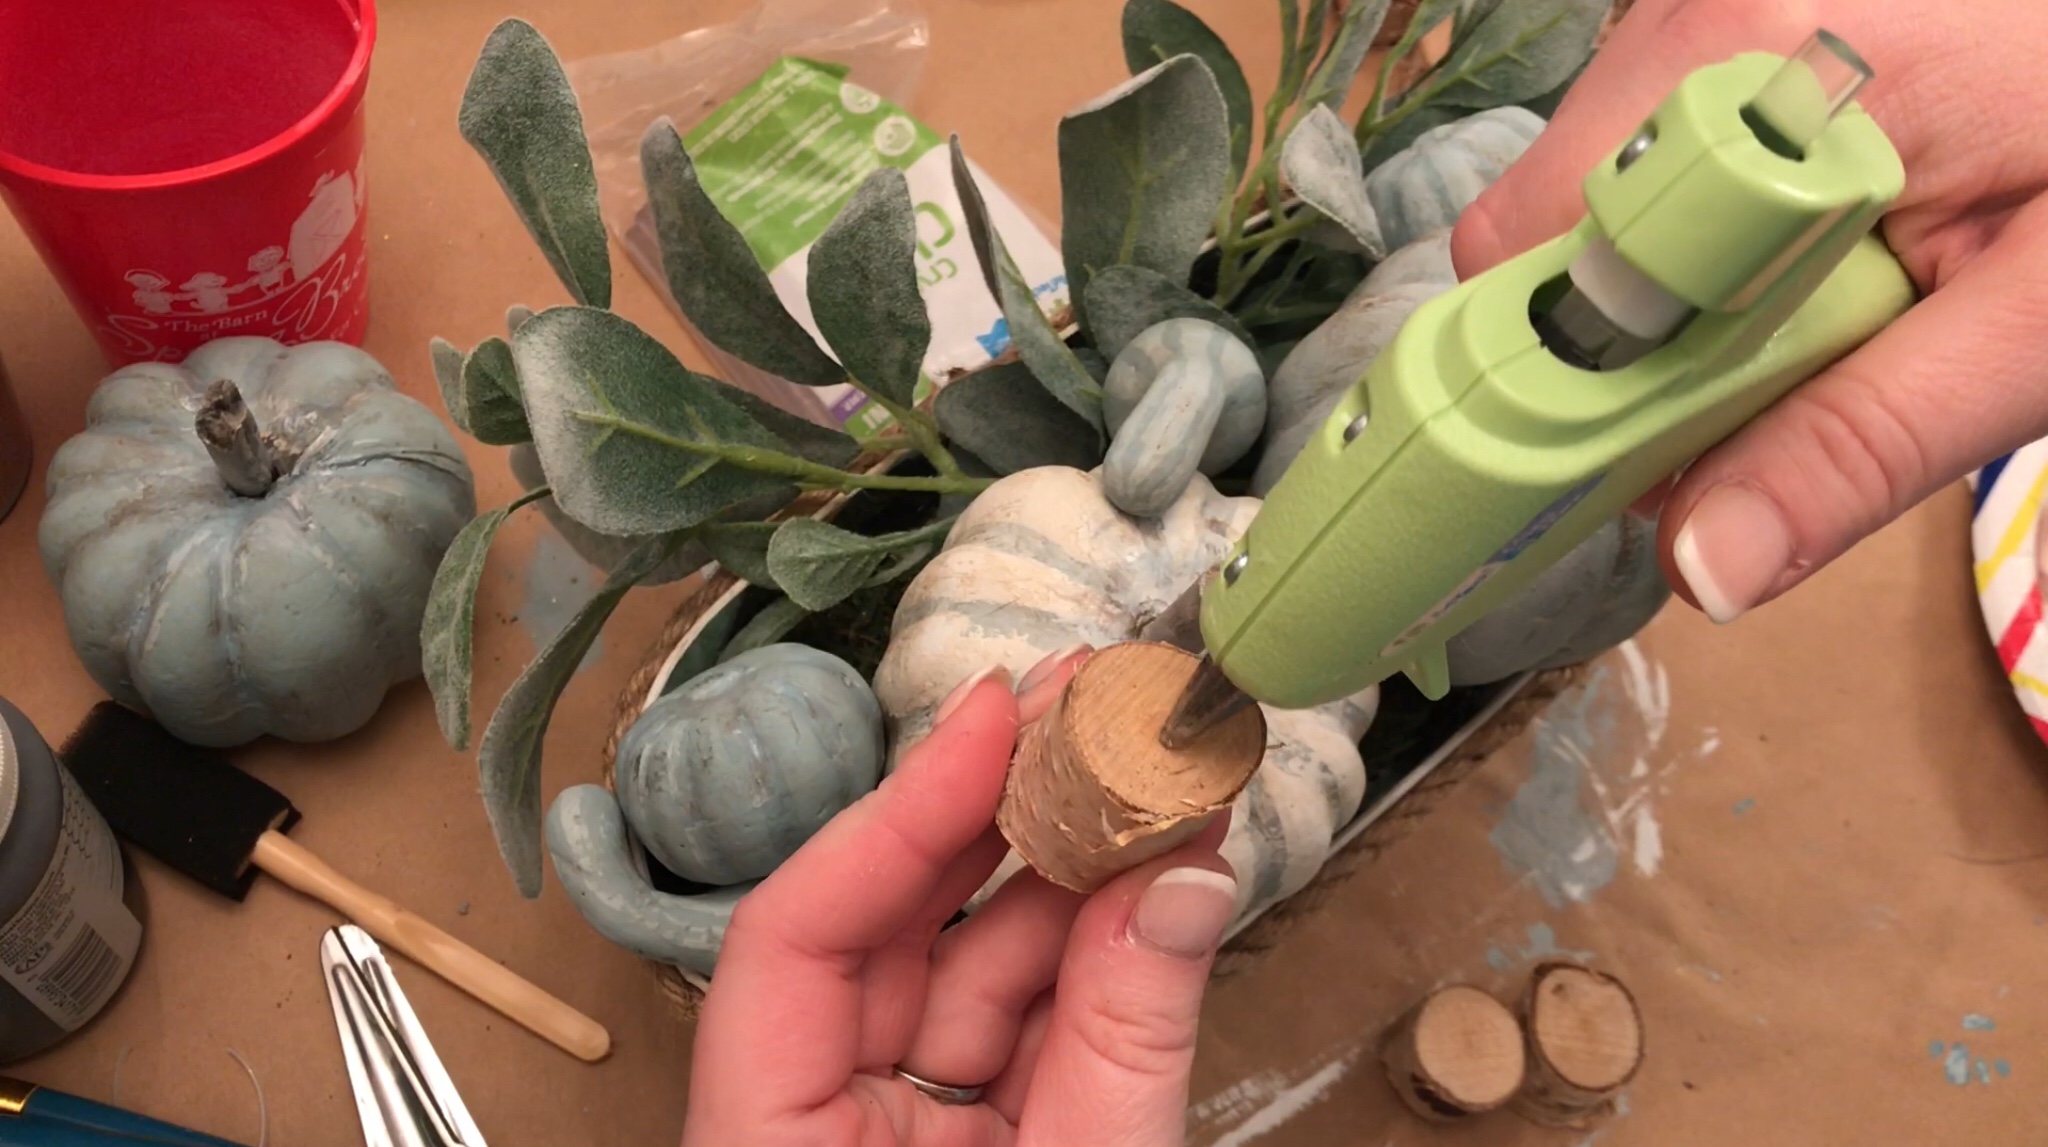
Then I carefully carved a little hole in the top of each pumpkin to add a stem. I used cut branches from my yard and secured them with hot glue.

While waiting for the pumpkins to dry, I started to paint the flowers and garden bucket that I also purchased from The Dollar Tree. I painted it using white chalk paint and made sure to put on a thick layer.

Once the bucket was dry, I dry brushed the antiquing wax on top and then used a damp paper towel to blend it in until I achieved the desired look that I wanted.
Then I added some store bags to the bottom of the bucket for height. Next, I used a sheet of moss from The Dollar Tree, cut it in half vertically, and hot glued it in place.

Next step was to decide on how to arrange all the pieces.

I decided to add some Dollar Tree nautical rope to the top of the bucket. I adhered this using some hot glue.
After they are arranged, pumpkins and gourds are then secured with some hot glue. I then took four cut branch pieces that I also purchased at The Dollar Tree and secured them to the bottom of the bucket for legs. This gave the bucket some height.
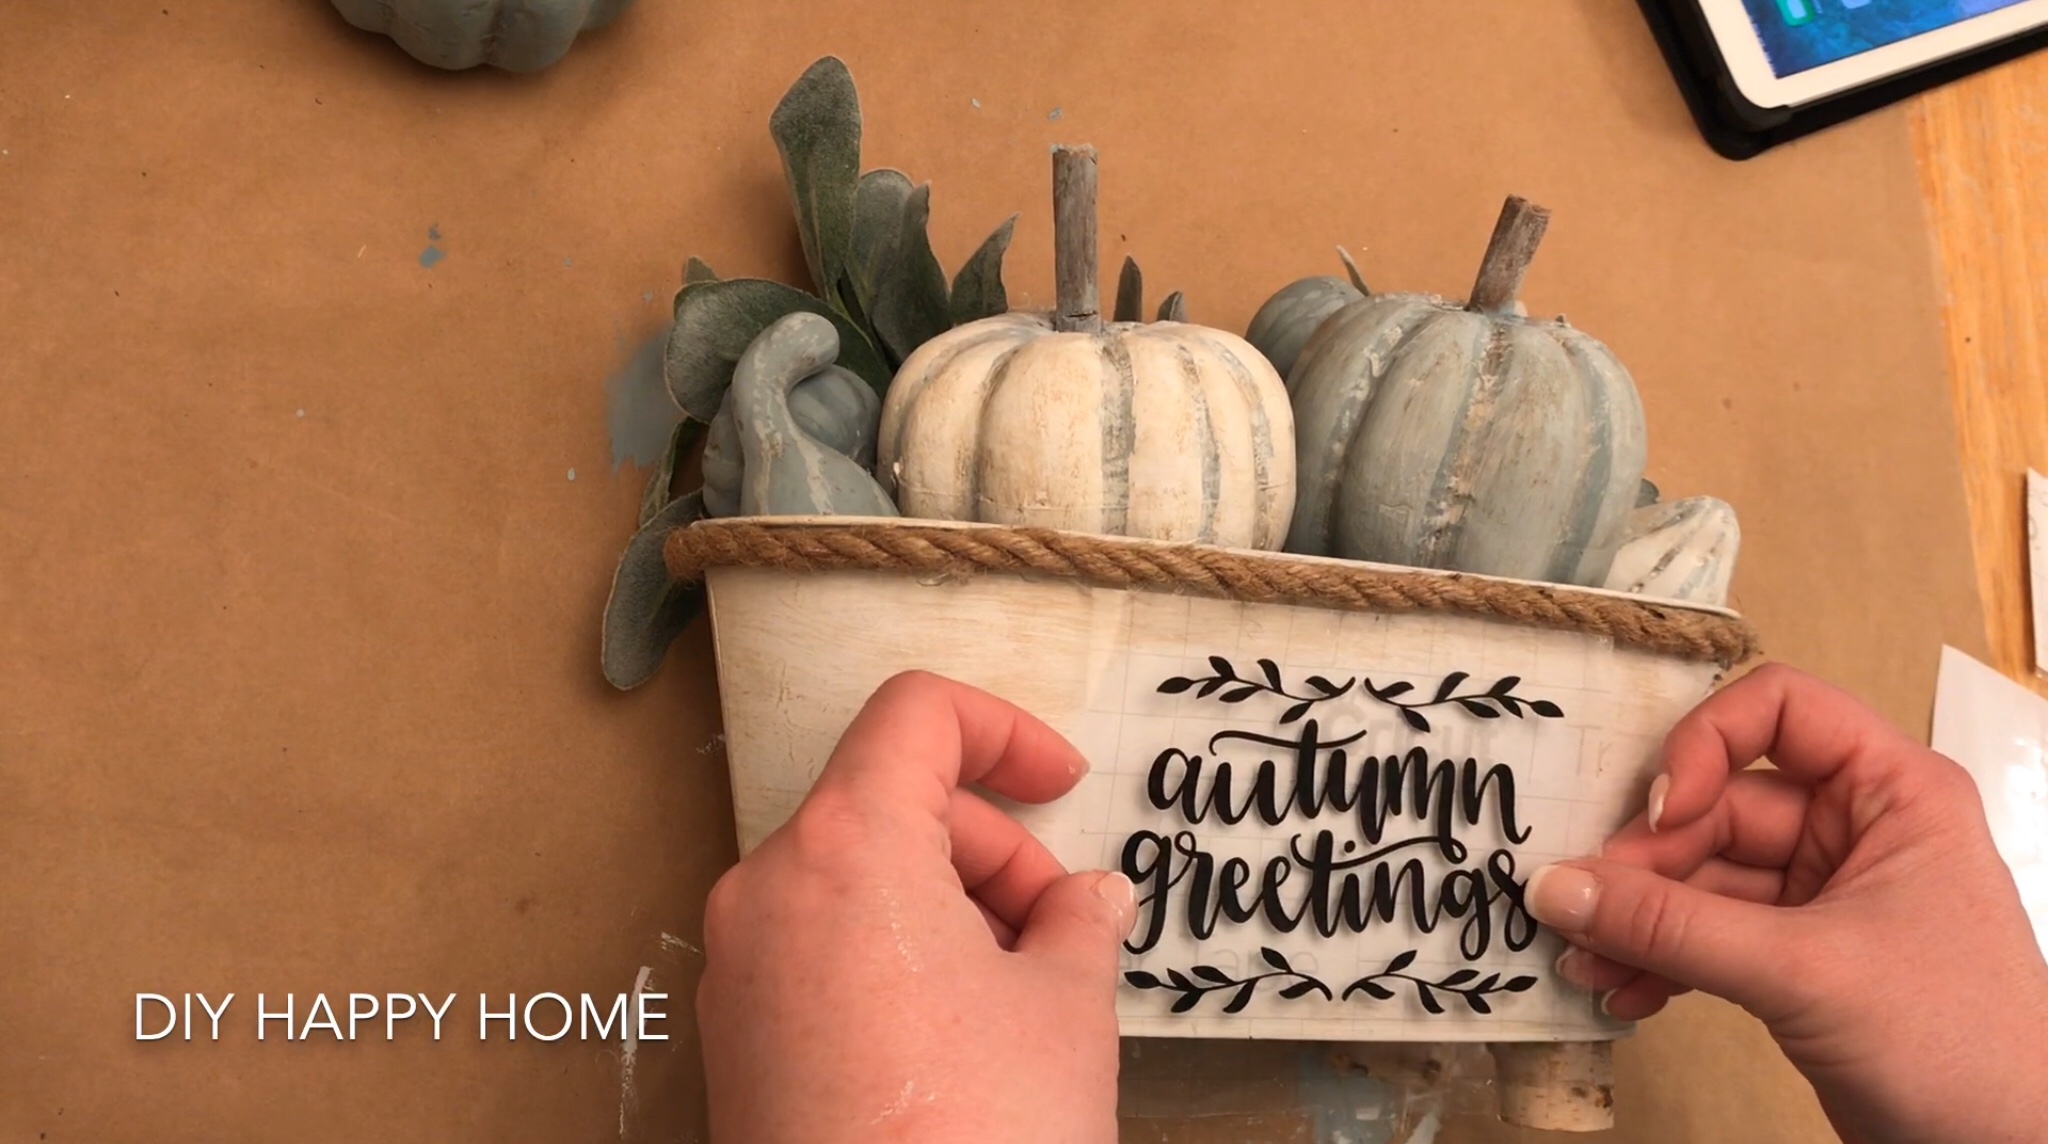
I made an “Autumn Greetings” vinyl transfer on my Cricut. I then transferred the vinyl to the front of the bucket. If you don’t have a Cricut and would like to make this craft, the vinyl transfer is available for purchase in my Etsy shop.
Here’s the finished heirloom pumpkin arrangement. It was about 7 dollars and change to make. The only items that didn’t come from the Dollar tree were the paints and the lamb’s ear that I already had.

I am happy with how it turned out! I hope you like it too! There’s a step by step video on my YouTube Channel, DIY Happy Home. Check it out, please subscribe to my Channel!
I hope you liked this craft project as much as I did creating it! Come back for some more fun fall and seasonal projects coming up!
Carla, DIY Happy Home
